Configuring PPPoE, Interfaces and DHCP on a FortiGate 40F

When building a brand new FortiGate device, either for a client or for yourself, the first things that you will be doing is getting the device connected to the internet via PPPoE and setting up interfaces and DHCP.
For my experience with FortiGate and installing new devices, this has been either with replacing Cisco ASA's or Cisco routers with FortiGate devices. So analysing different configuration files and inputting them into the FortiGate for easy network deployment has been an interesting process.
In this guide, however, we will be showing what it's like to set up a brand new FortiGate 40F Wi-Fi device for my home network.
We will start with:
- Logging into the FortiGate
- Setting up an Admin password
- Configuring PPPoE
- Configuring the LAN interface with DHCP
- Configuring an Interface for the Wi-Fi with DHCP
- Configuring two Firewall policy's for LAN and Wi-Fi for Internet access
Logging into the FortiGate
First thing we need to do is to access the FortiGate's default IP address, we can do this by plugging an Ethernet cable into port 1 on the device and browsing to 192.168.1.99 in our favourite browser. This can be browsers like, Google Chrome, Firefox, or Edge.

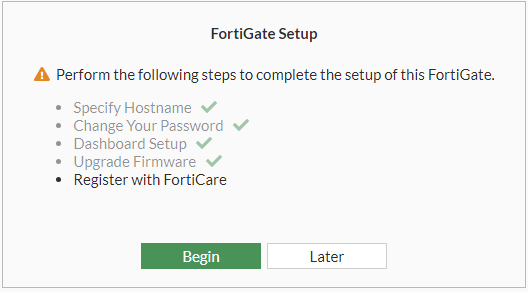
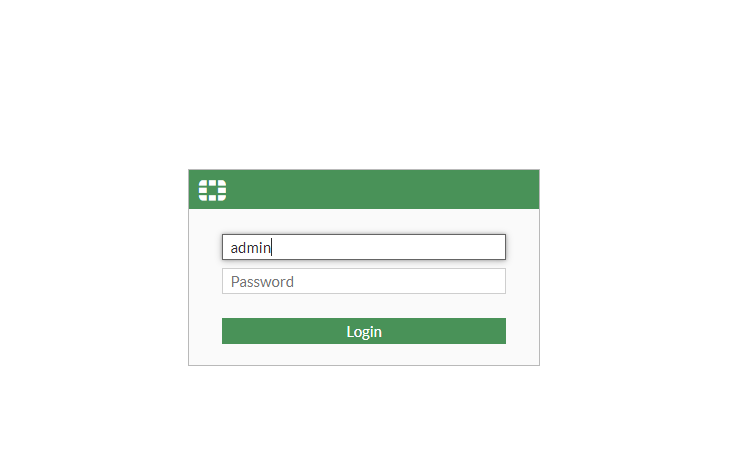
After logging in, you will be presented with a FortiGate Setup part. Mine may look different to yours as some of my stuff has been set up previously.
- Specify Hostname
- Change Your Password
- Dashboard Setup
- Upgrade Firmware
- Register with FortiCare
Right now we can ignore this stuff, I will go into detail on other posts about this stuff in the future. However, just press later to proceed.

Now that we are logged into our FortiGate we can see the main dashboard page with information regarding our FortiGate and our network.
Information like System information, Licences, FortiGate Cloud, Security Fabric, as well as Memory and Session information. Next, we will create an Admin password for our device.
Set up an Admin Password
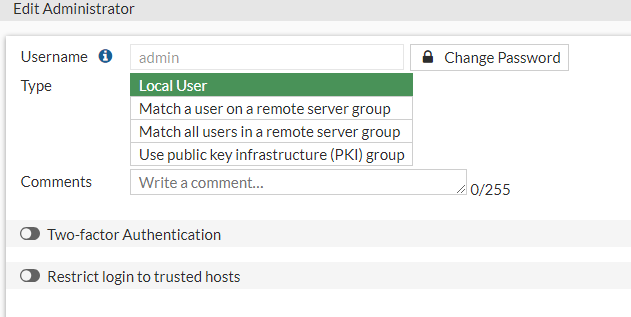
We will change the password of our admin account from having no password. We can do this by going to System > Administrators

Here, we can select the Admin account below by double-clicking it.

We can select the Change Password.
Here we can leave the Old Password as blank and add the new password into the New Password and Confirm Password section and press OK.
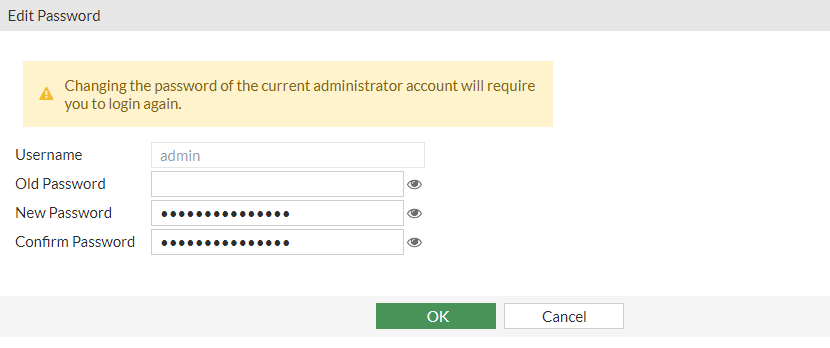
Now, when we log out, we can use our new password to log into the device.
Configure PPPoE
PPPoE stands for Point-to-Point Protocol over Ethernet. It's a network protocol used to encapsulate Point-to-Point Protocol (PPP) frames inside Ethernet frames. This is commonly used for connecting clients to an Internet Service Provider (ISP via a digital subscriber line (DSL), fibre or other broadband connection.
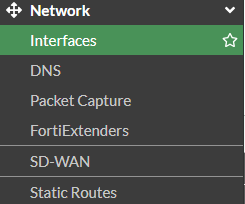
We can go to the Network > Interfaces on the left-hand side to configure our interfaces with the PPPoE credentials. We will need to do this to get internet access to our device. Once we have configured the Wan Port, we can plug our cable connected to our modem at home into our WAN port to get access to the Internet from our ISP (Internet Service Provider).
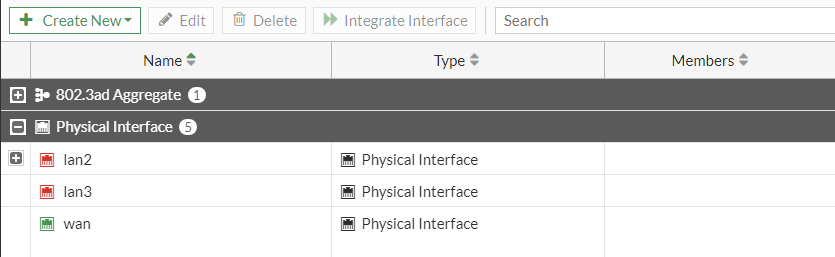
If we select the WAN port, we will be able to edit the interfaces.
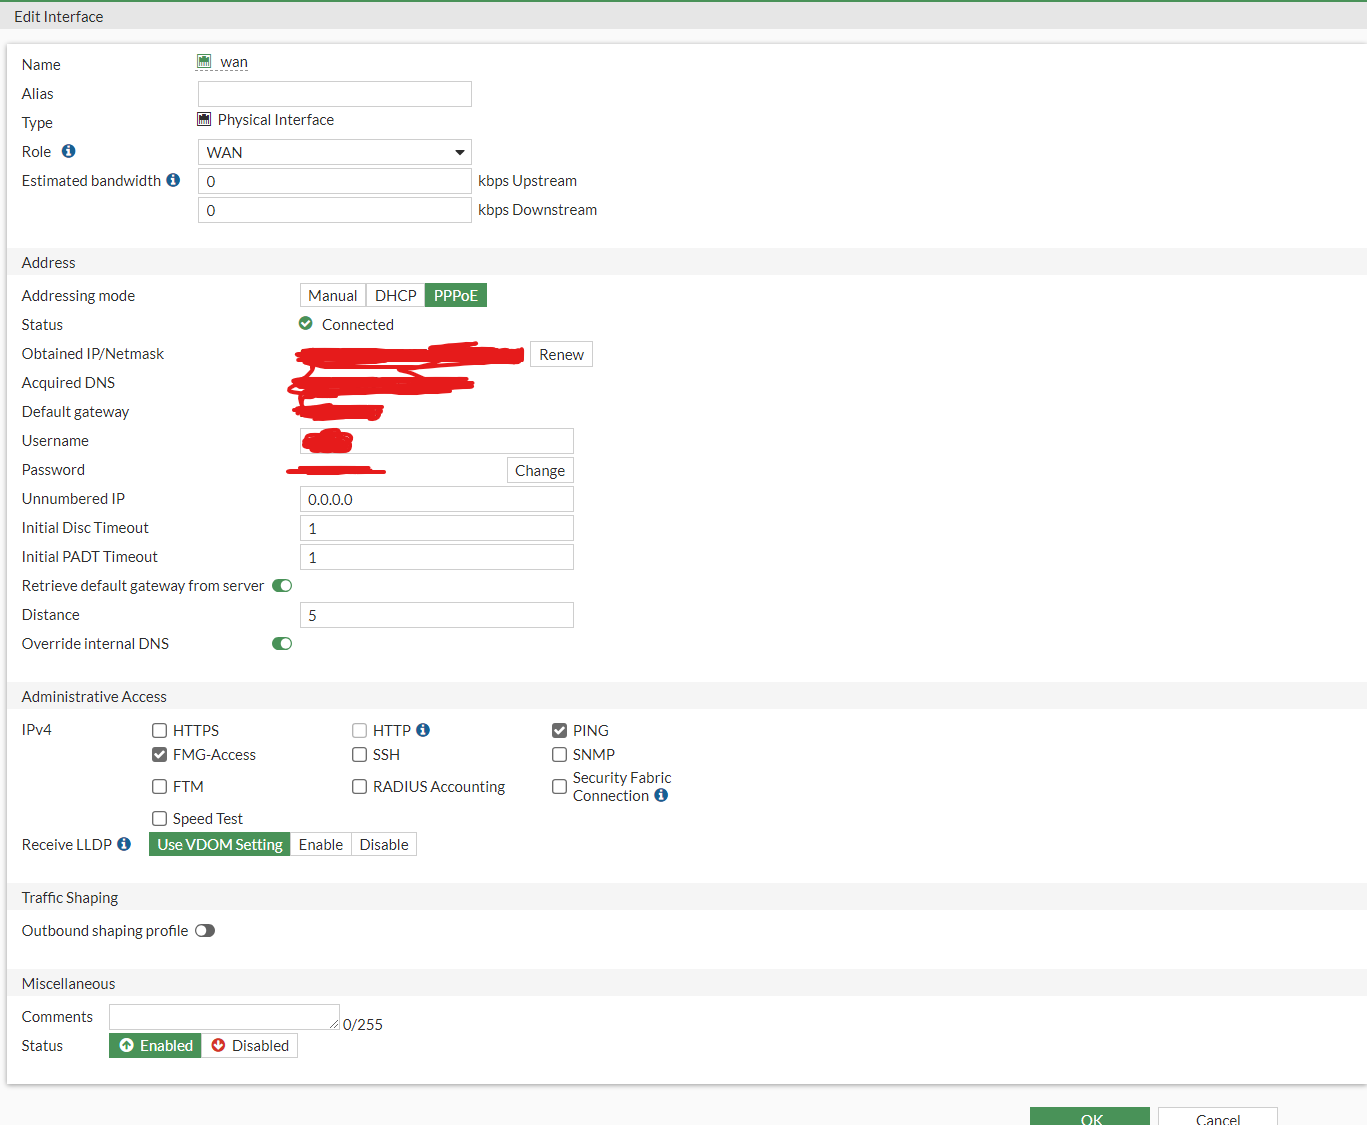
Here we can see a few options that we need to configure:
- Addressing Mode - Should be set to PPPoE
- Obtained IP/Netmask - This will be set from the ISP when we have plugged our cable from the modem or internet feed to the Wan port
- Acquired DNS - This will also be provided by the ISP
- Username - PPPoE credential provided by your ISP
- Password - PPPoE credential provided by your ISP
Now we have placed all of our information into the WAN interface, we can press the OK button below. This will save the process and our WAN port is now configured.
Optional information
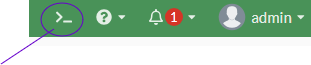
You can also find information using the Command Line Interface (CLI). To access the FortiGate CLI, you can click on the Shell Icon at the top right of the page, next to the admin profile
Here we can have a look at our newly created WAN interface by typing out the command:
show system interface "wan"
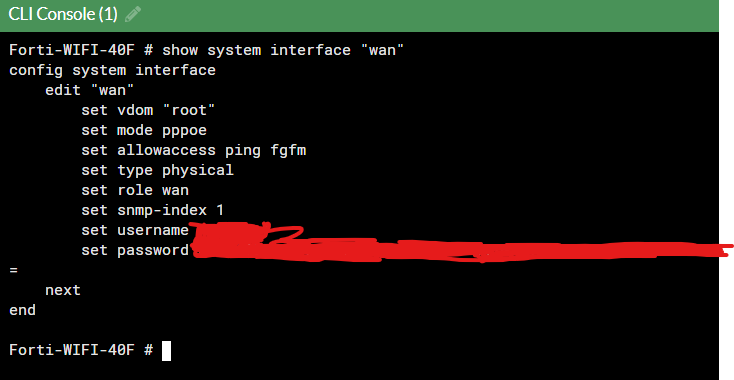
Here we can see the WAN interface
- set vdom "root": This sets the virtual domain (vdom) to "root," which is the default administrative domain on the FortiGate device.
- set mode "PPPoE": This configures the interface to use PPPoE (Point-to-Point Protocol over Ethernet), commonly used for DSL connections.
- set allowaccess ping fgfm: This allows access to the interface for ping (ICMP) and FortiGate FortiManager (fgfm) protocols.
- set type physical: Specifies that the interface type is physical, indicating it is a hardware interface.
- set snmp-index 1: Sets the SNMP (Simple Network Management Protocol) index to 1, which is used for network management.
- set username: Sets the username for PPPoE authentication.
- set password: Sets the password for PPPoE authentication.
Setting up LAN interface with DHCP
DHCP stands for Dynamic Host Configuration Protocol. It is a network management protocol used to automate the process of configuring devices on IP networks, thereby simplifying management
On the FortiGate 40F Wi-Fi device, it uses a Software switch. A software switch is a virtual switch that can be used to simplify communication between devices connected to different FortiGate interfaces.
If we go to Network > Interfaces, I can see that there is a Software Switch tab that has a name of "Internal"

We can see a member channel of "lan". We can hover over this member channel to see what is inside that "lan" object.
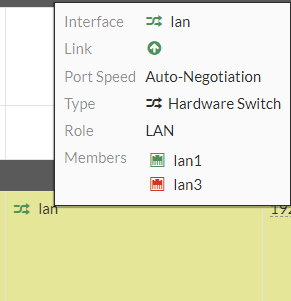
We know that this "LAN" group object has lan1 in it, which is the port1 on our device that we are connected to.
If we click into that interface, we can bring up the option to edit the interface.
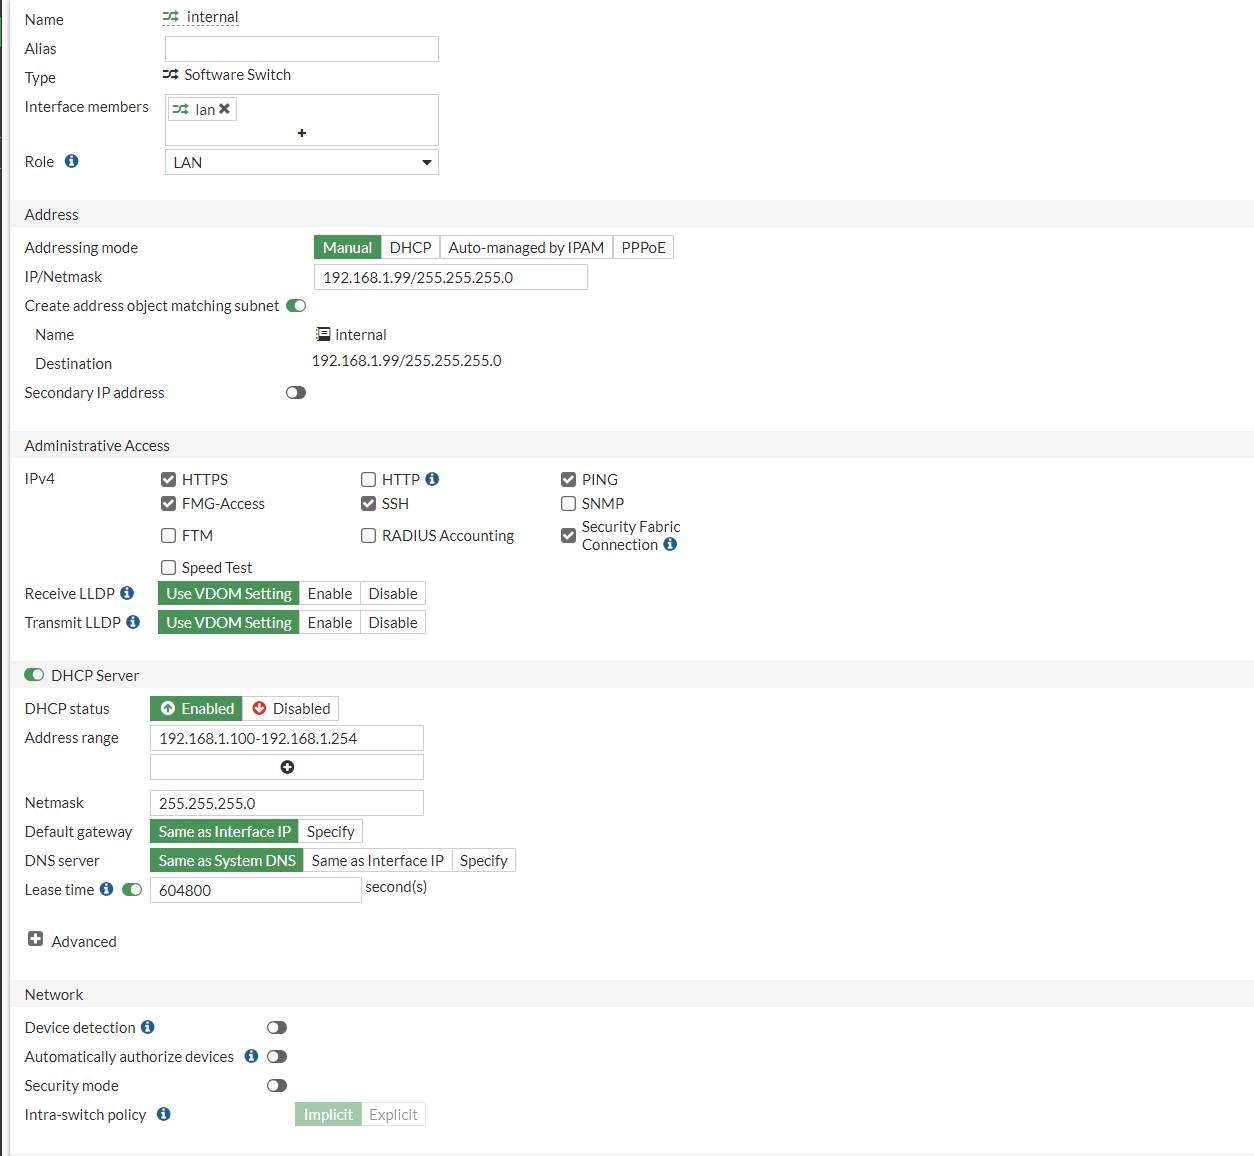
We can see that it's giving us the default IP address that we used to get on to the device, and a DHCP Status below it.
I would like to change the default IP address to something different and also change the DHCP scope as well.
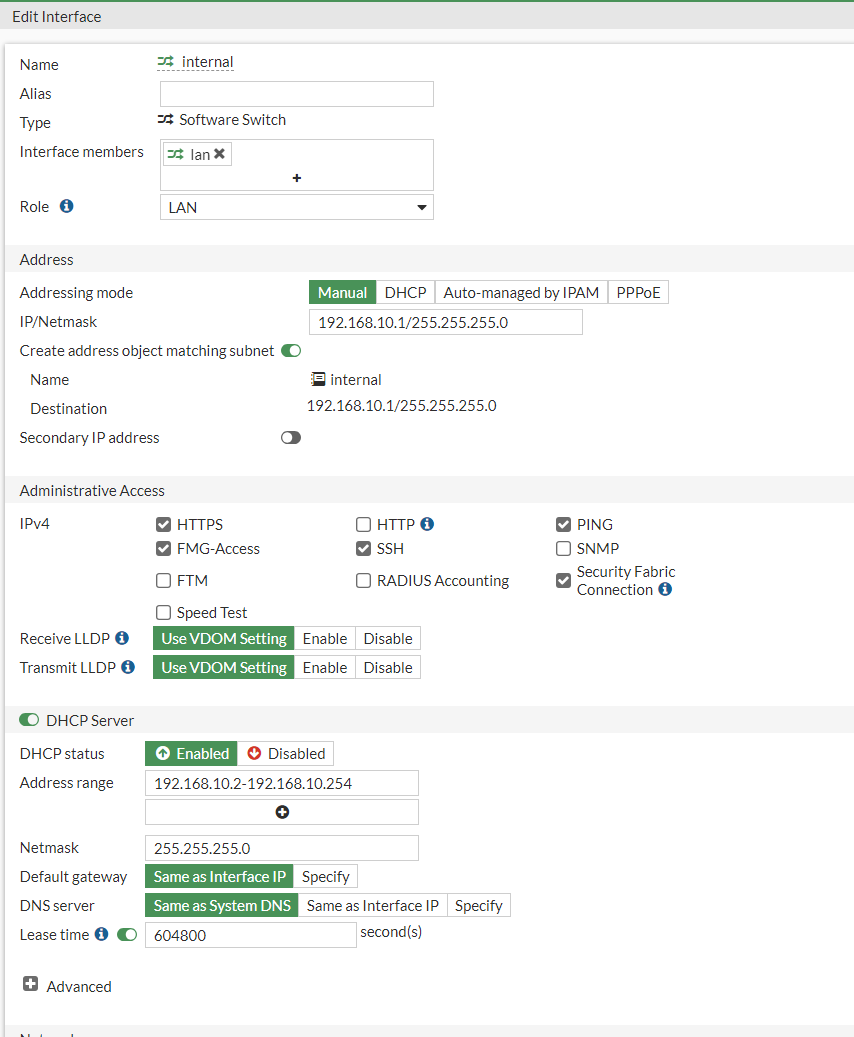
- IP/Netmask: 192.168.10.1/24
- DHCP Address range: 192.168.10.2 -192.168.10.254 /24
- HTTPS: Ticked
- Ping: Ticked
- FMG-Access: Ticked
- SSH: Ticked
- Security Fabric Connection: Ticked
It will look something like this:
Press the Okay button at the bottom. Once these settings have been changed, we will be kicked out of the FortiGate as we have changed the static IP address and our default gateway.
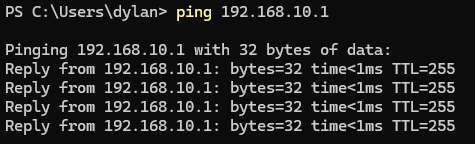
We will need to browse to 192.168.10.1
We should be able to ping our new default gateway:
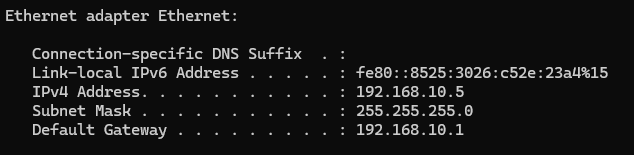
We should be able to see what IP address we are getting back from our DHCP:
Optional Information
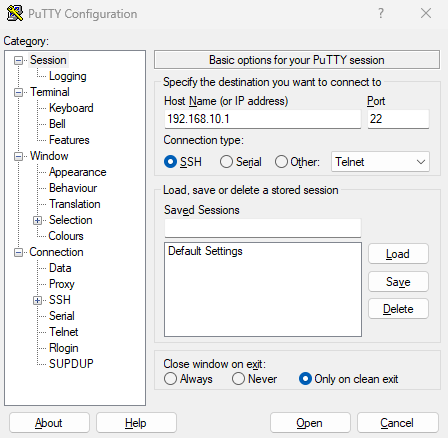
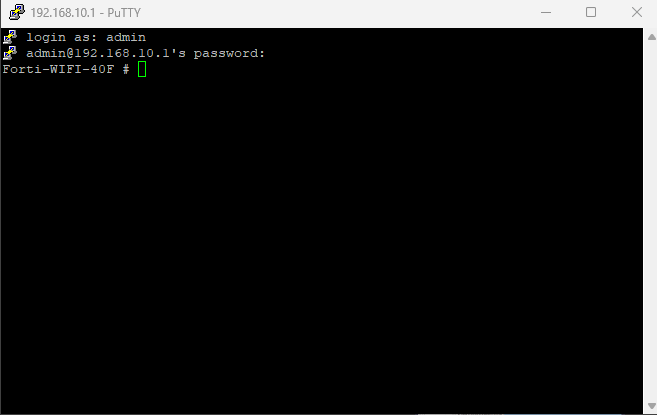
Because we enabled SSH on our new Interface, we can actually access the device via SSH through the CLI. If we have a third party application like Putty, we can use this to log into our device
Open Putty and type the IP address of the FortiGate and the port 22 and press open:
We will get a terminal pop up, and we are able to log into our device with our admin credentials.
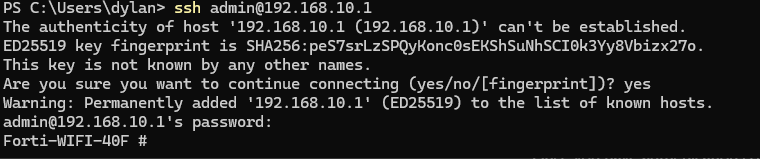
Or we can use Windows CMD to connect to the device as well.
Setting up Wi-Fi Interface with DHCP
I want to create a new subnet range for my wireless devices so they are separated from my LAN devices.
If we go to Network > Interfaces, we can see our Wi-Fi SSID at the bottom

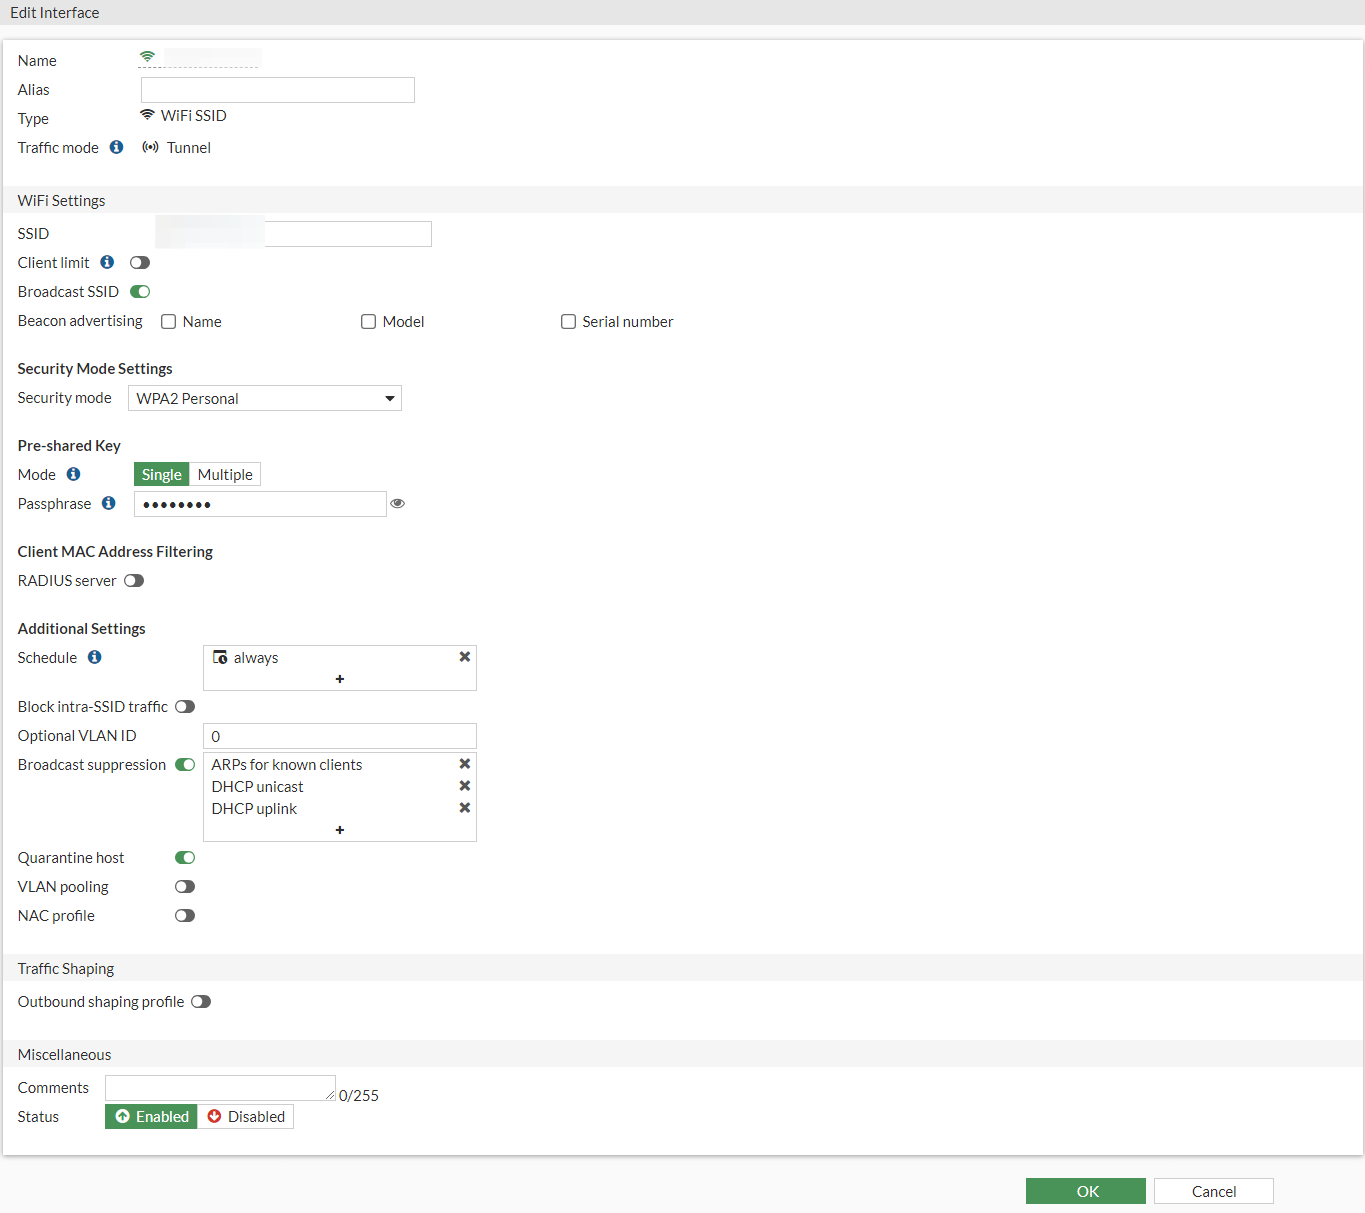
If we click into one of these SSIDs, we can configure the SSID with information that we want it to present. I.E Name of the SSID, Password, Security Mode setting etc.
Here is what mine looks like setup.
Now, with our SSID setup, we want to create a new Switch interface and attach our SSID to it.
To do this, we will need to go to Network > Interface > Create New > Interface
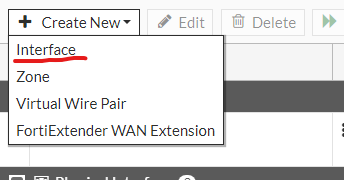
We want the Type to be a Software Switch, just like our LAN device we made earlier. Then in the Interface members section, we will add our Wi-Fi SSID. The Role will be set to LAN.
It should look something like this:
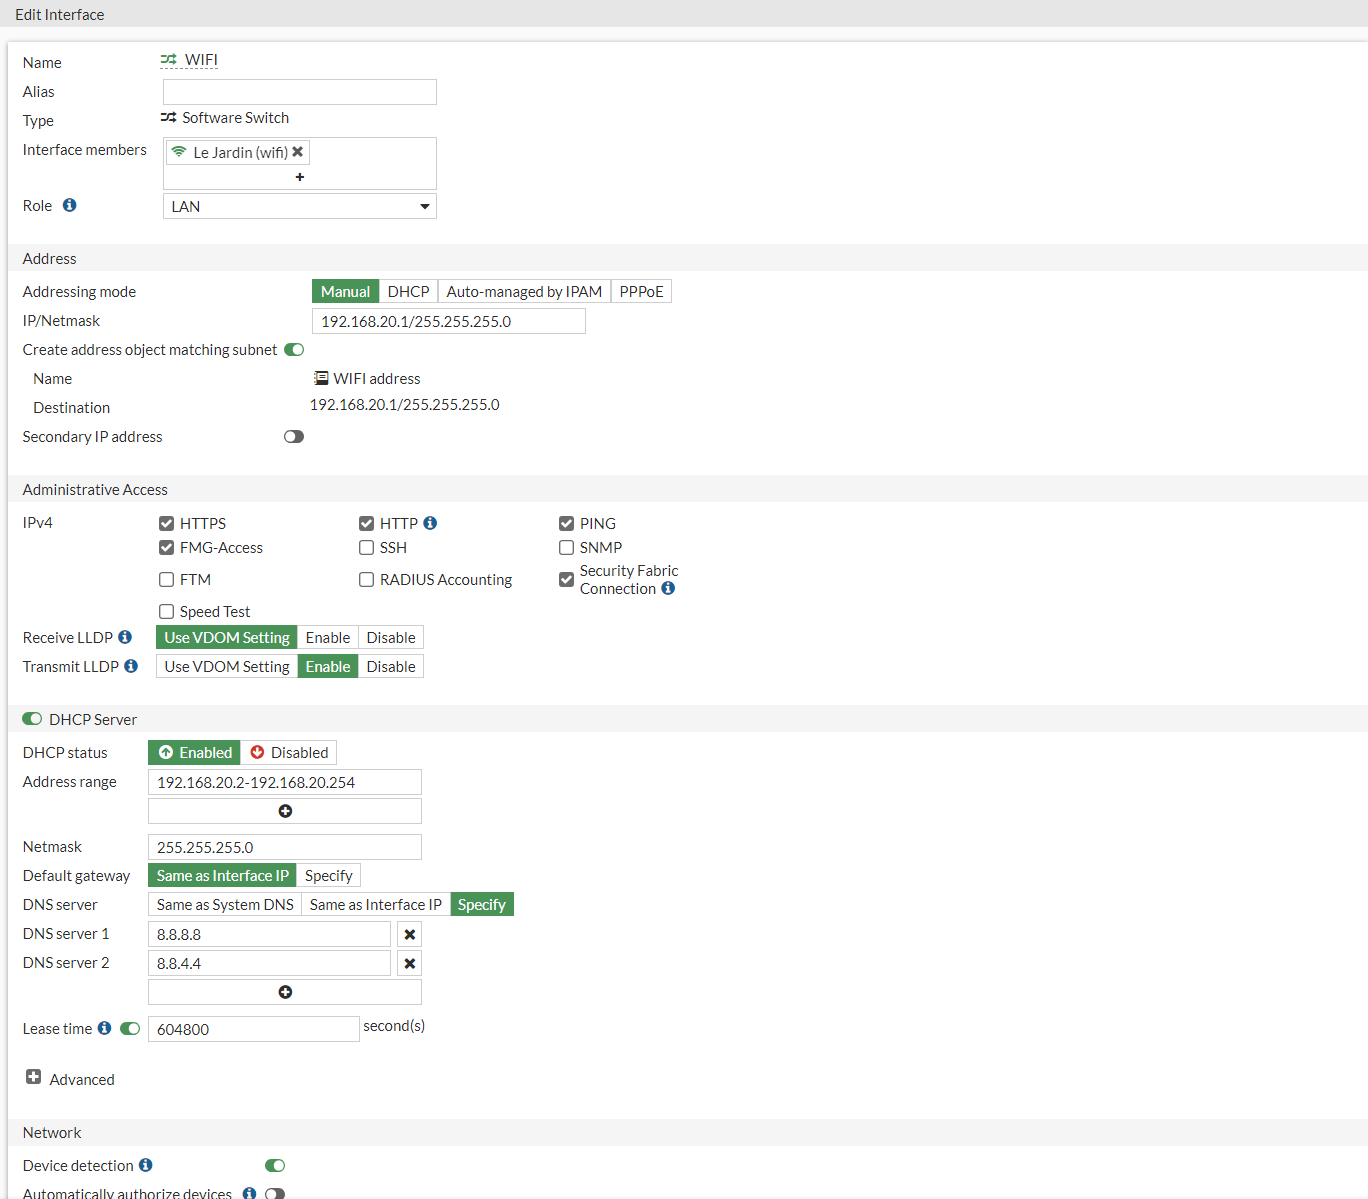
- Name: Name of the Interface
- IP/Netmask: 192.168.20.1/24
- HTTPS: Ticked
- HTTP: Ticked
- Ping: Ticked
- FMG-Access: Ticked
- Security Fabric Connection: Ticked
- DHCP: 192.168.20.2–192.168.20.254
- DNS: 8.8.8.8 –8.8.4.4
These settings above are what I have set, however you can change them to what you would like. I want any device connected to Wi-Fi to be on the 192.168.20.x /24 subnet range, whereas my LAN network to be on 192.168.10.x.
I can press OK at the bottom of the interface page to save our new Interface.

Now we can see both LAN Interface and Wi-Fi Interface with both static IP addresses connected to the Interface and DHCP enabled on the interface for our Wireless and LAN devices.
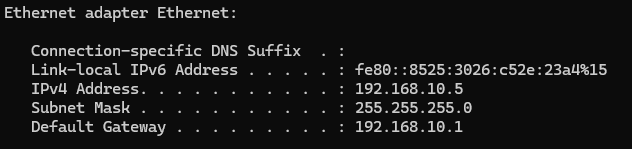
I can check with ipconfig on my computer to see what IP address I am getting on my LAN device.
And I can go to the Network section on my phone to see what IP address I am getting when connected to the WIFI SSID.
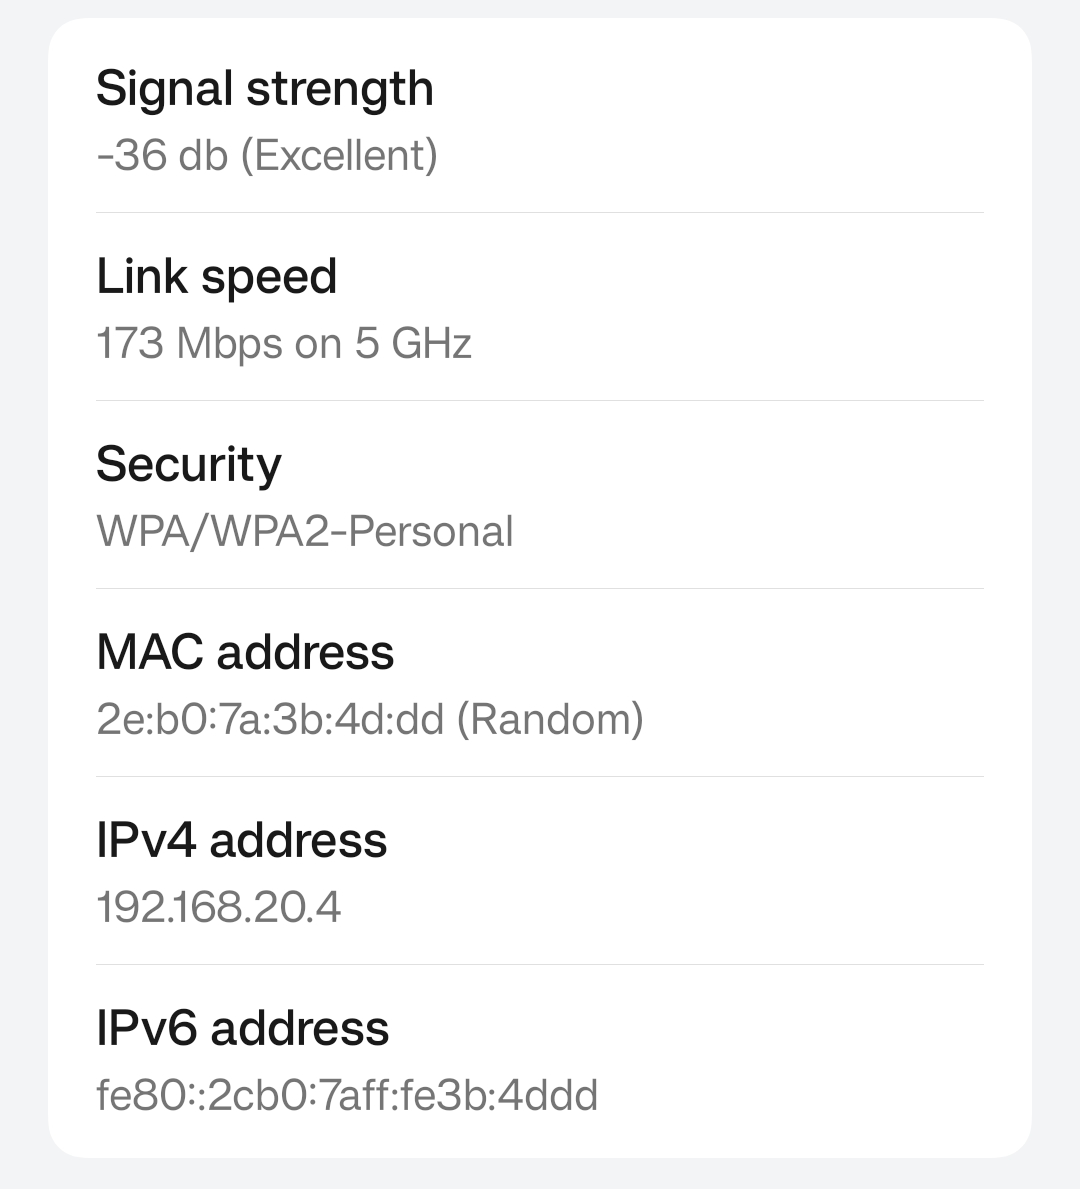
Here we can see that both the Wi-Fi and the LAN are on two different subnet ranges.
Configure two Firewall policies for Internet Access
So we need to configure two Firewall policies for our LAN and Wi-Fi to get internet access. It's actually a very easy process that you can adapt more as you progress, but I just want it to allow everything so it's easy and straight forward for this guide
We can go to Policy & Objects > Firewall Policy
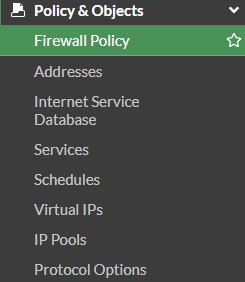
Here we can go to Create New to create our new policy.
Mine looks like this:

- Name: Name of the policy (I called mine Lan due to it being connected to my LAN interface)
- Incoming Interface: Internal Switch interface is what my LAN interface is called
- Outgoing Interface: Wan interface to communicate to the ISP
- Source: All (All source IP addresses)
- Destination: All (All destination IP addresses)
- Schedule: Always (default schedule, always active)
- Service: All Services (All ports and services)
- Nat: Nat Enabled ( Nat enabled out to the Internet)
Now if we press OK at the bottom we can see our newly created firewall policy.
We can check on out PC to see if we are able to ping to 8.8.8.8 via CMD
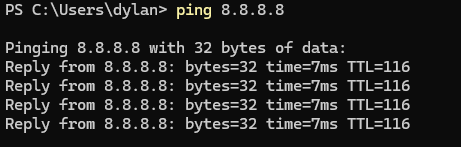
This proves that we are able to reach out to the internet on our PC with our new Firewall Policy.
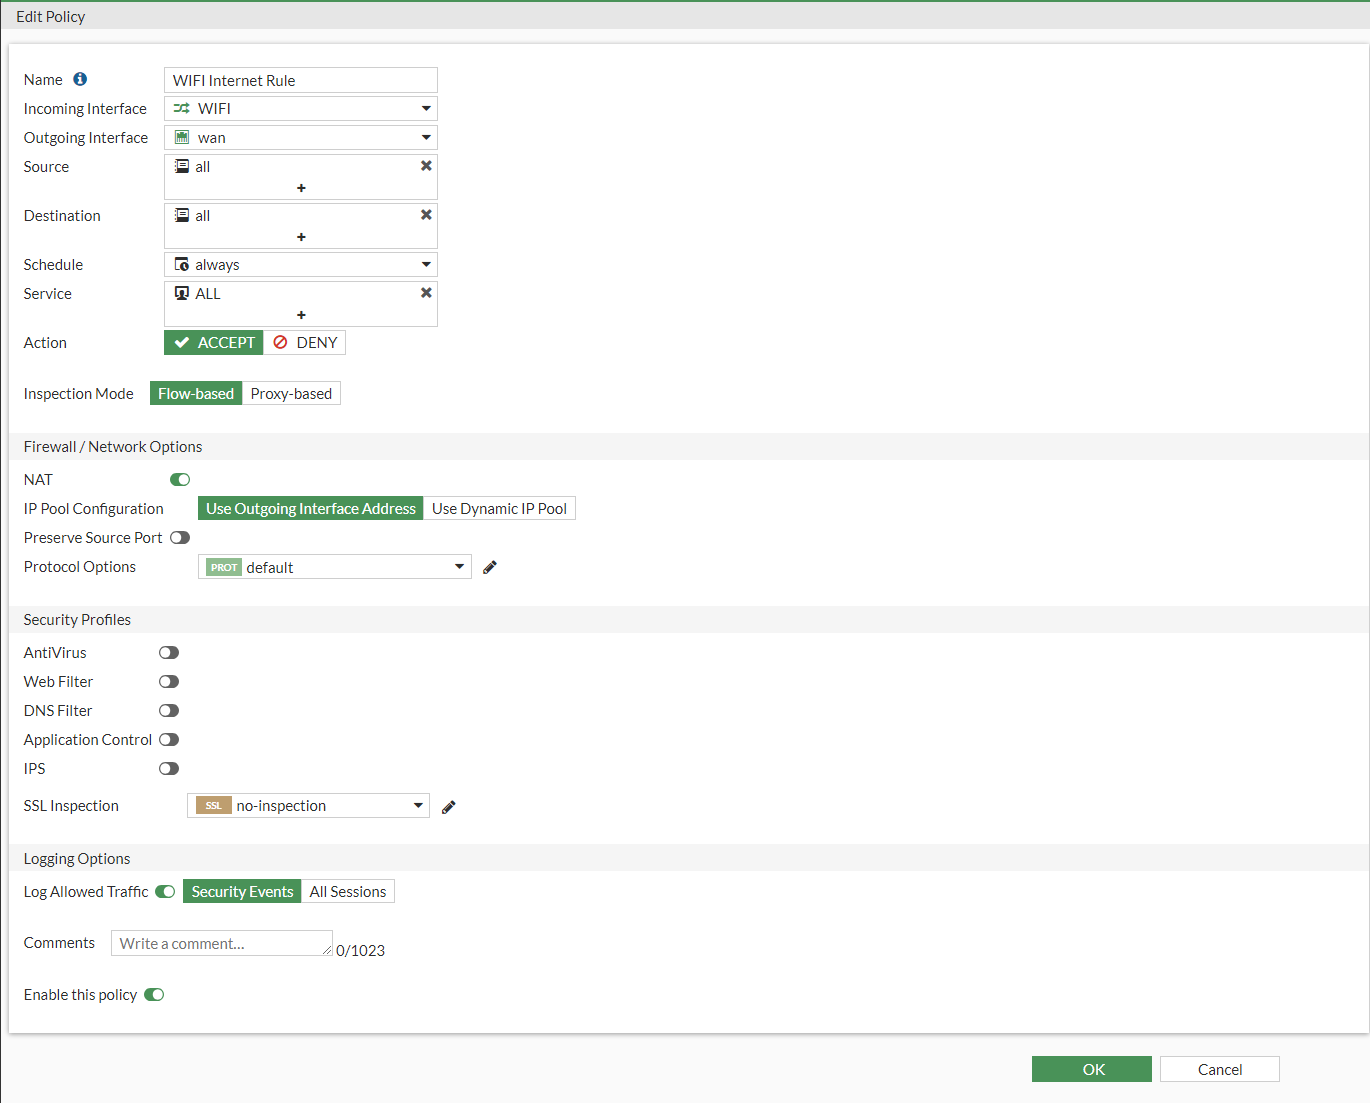
We can do the same for our WIFI now but creating a similar rule.
Below is the firewall policy for our WIFI internet rule.
Conclusion
We've successfully completed a comprehensive setup of the FortiGate 40F, turning a fresh installation into a fully operational network device for both wired and wireless users. Here’s a recap of our journey through the FortiGate configuration:
- Initial Access and Setup: Accessed the FortiGate’s default settings via its IP address and updated the admin account with a secure password.
- Internet Connectivity: Configured the WAN port with PPPoE to connect to the ISP, ensuring our device can reach the internet.
- Local Network Configuration: Set up DHCP on the LAN interface and modified the default IP settings to cater to specific network needs.
- Wireless Configuration: Created a separate subnet for wireless devices and established a dedicated SSID, enhancing network organization and security.
- Security Measures: Implemented firewall policies for both LAN and WIFI, ensuring secure and controlled access to the internet.
Thank you for following this guide, and happy networking!