How to deploy FortiGate in AWS

FortiGate devices can be seamlessly deployed in Amazon Web Services (AWS) to protect your cloud infrastructure. By combining the scalability of AWS with FortiGate robust security features, you can secure your workloads, implement advanced threat protection, and create site-to-site VPNs for hybrid deployment.
In this guide, we will carry on with our previous post on setting up an IPsec VPN Tunnel from On-Prem FortiGate to AWS. I would recommend you read that post before continuing, as we will be working from the same configuration from that post. You can find the post linked below.

Objectives:
- Adding Private subnet and associating routes in the routing table.
- Deploy a FortiGate firewall in AWS via the Marketplace.
- Define and configure subnets for the FortiGate in AWS.
AWS Configuration
- Log into AWS Management Console
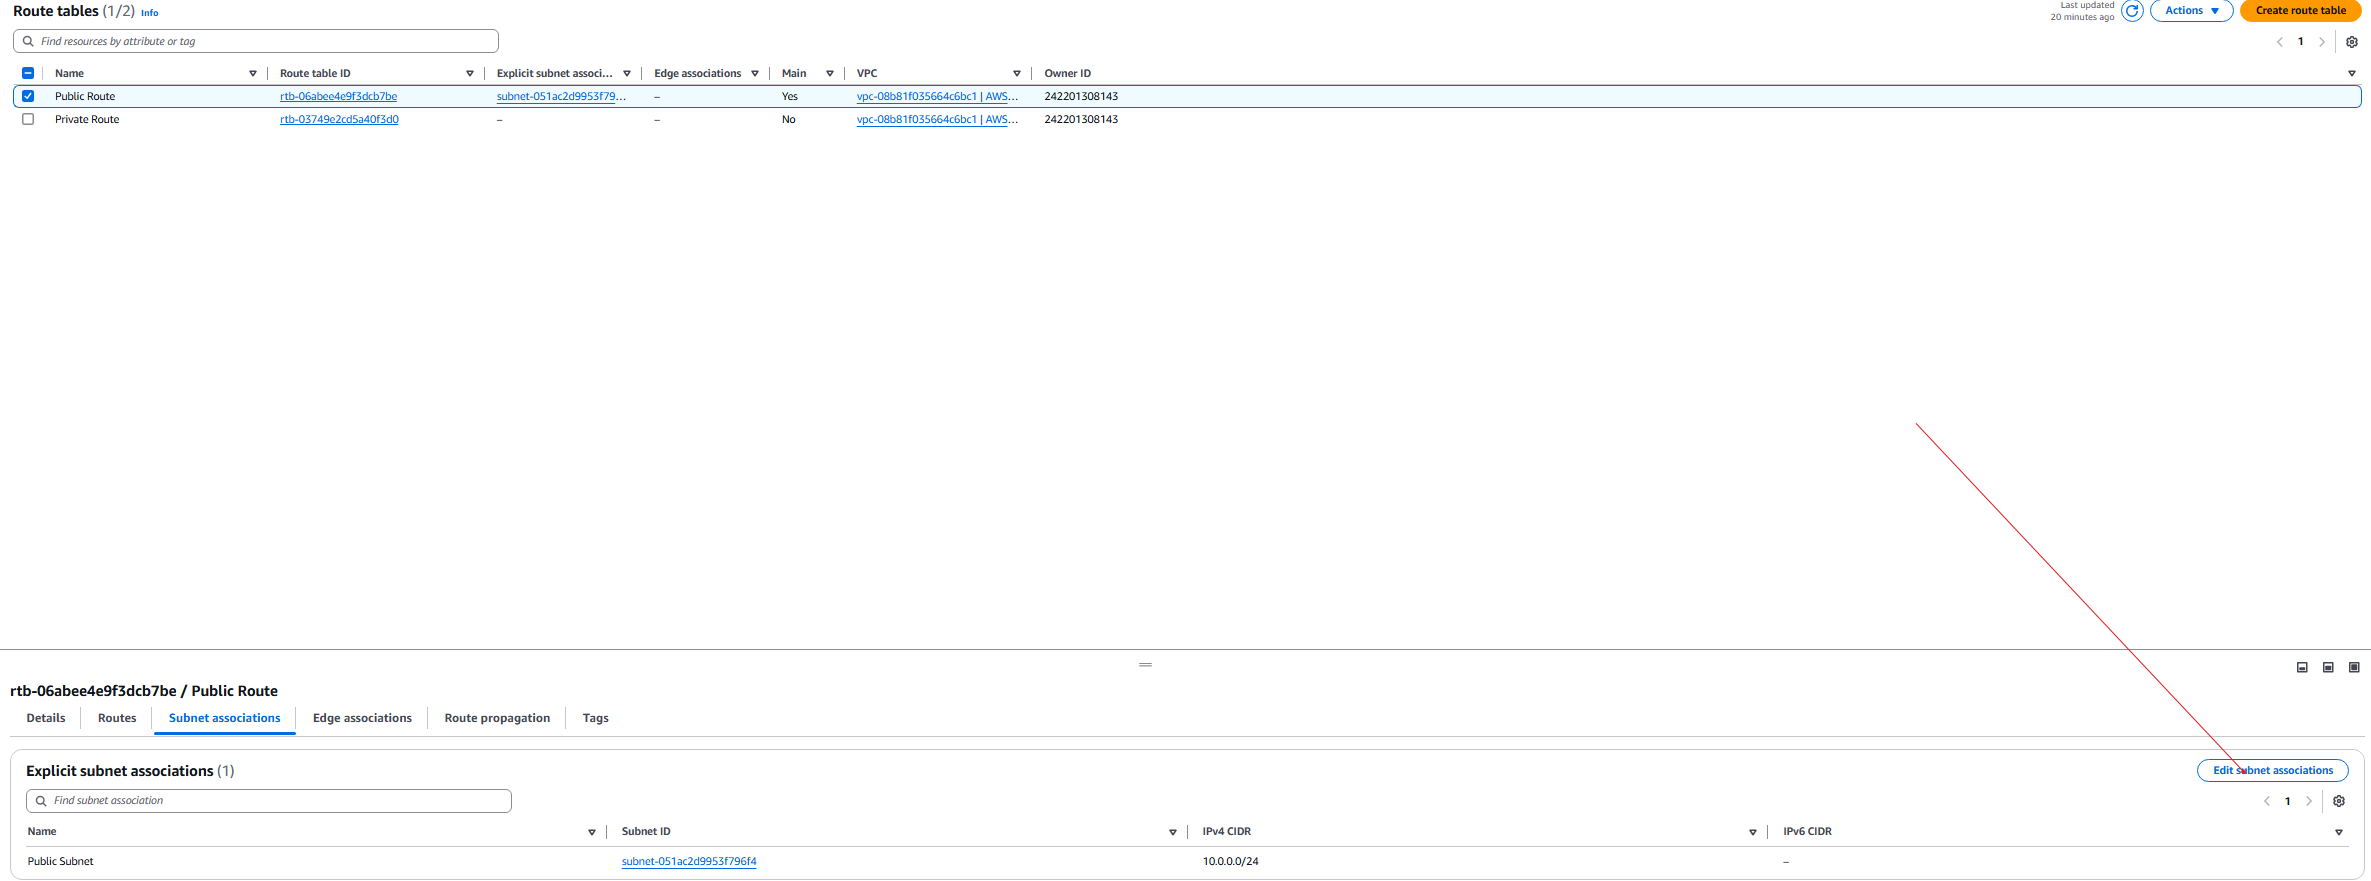
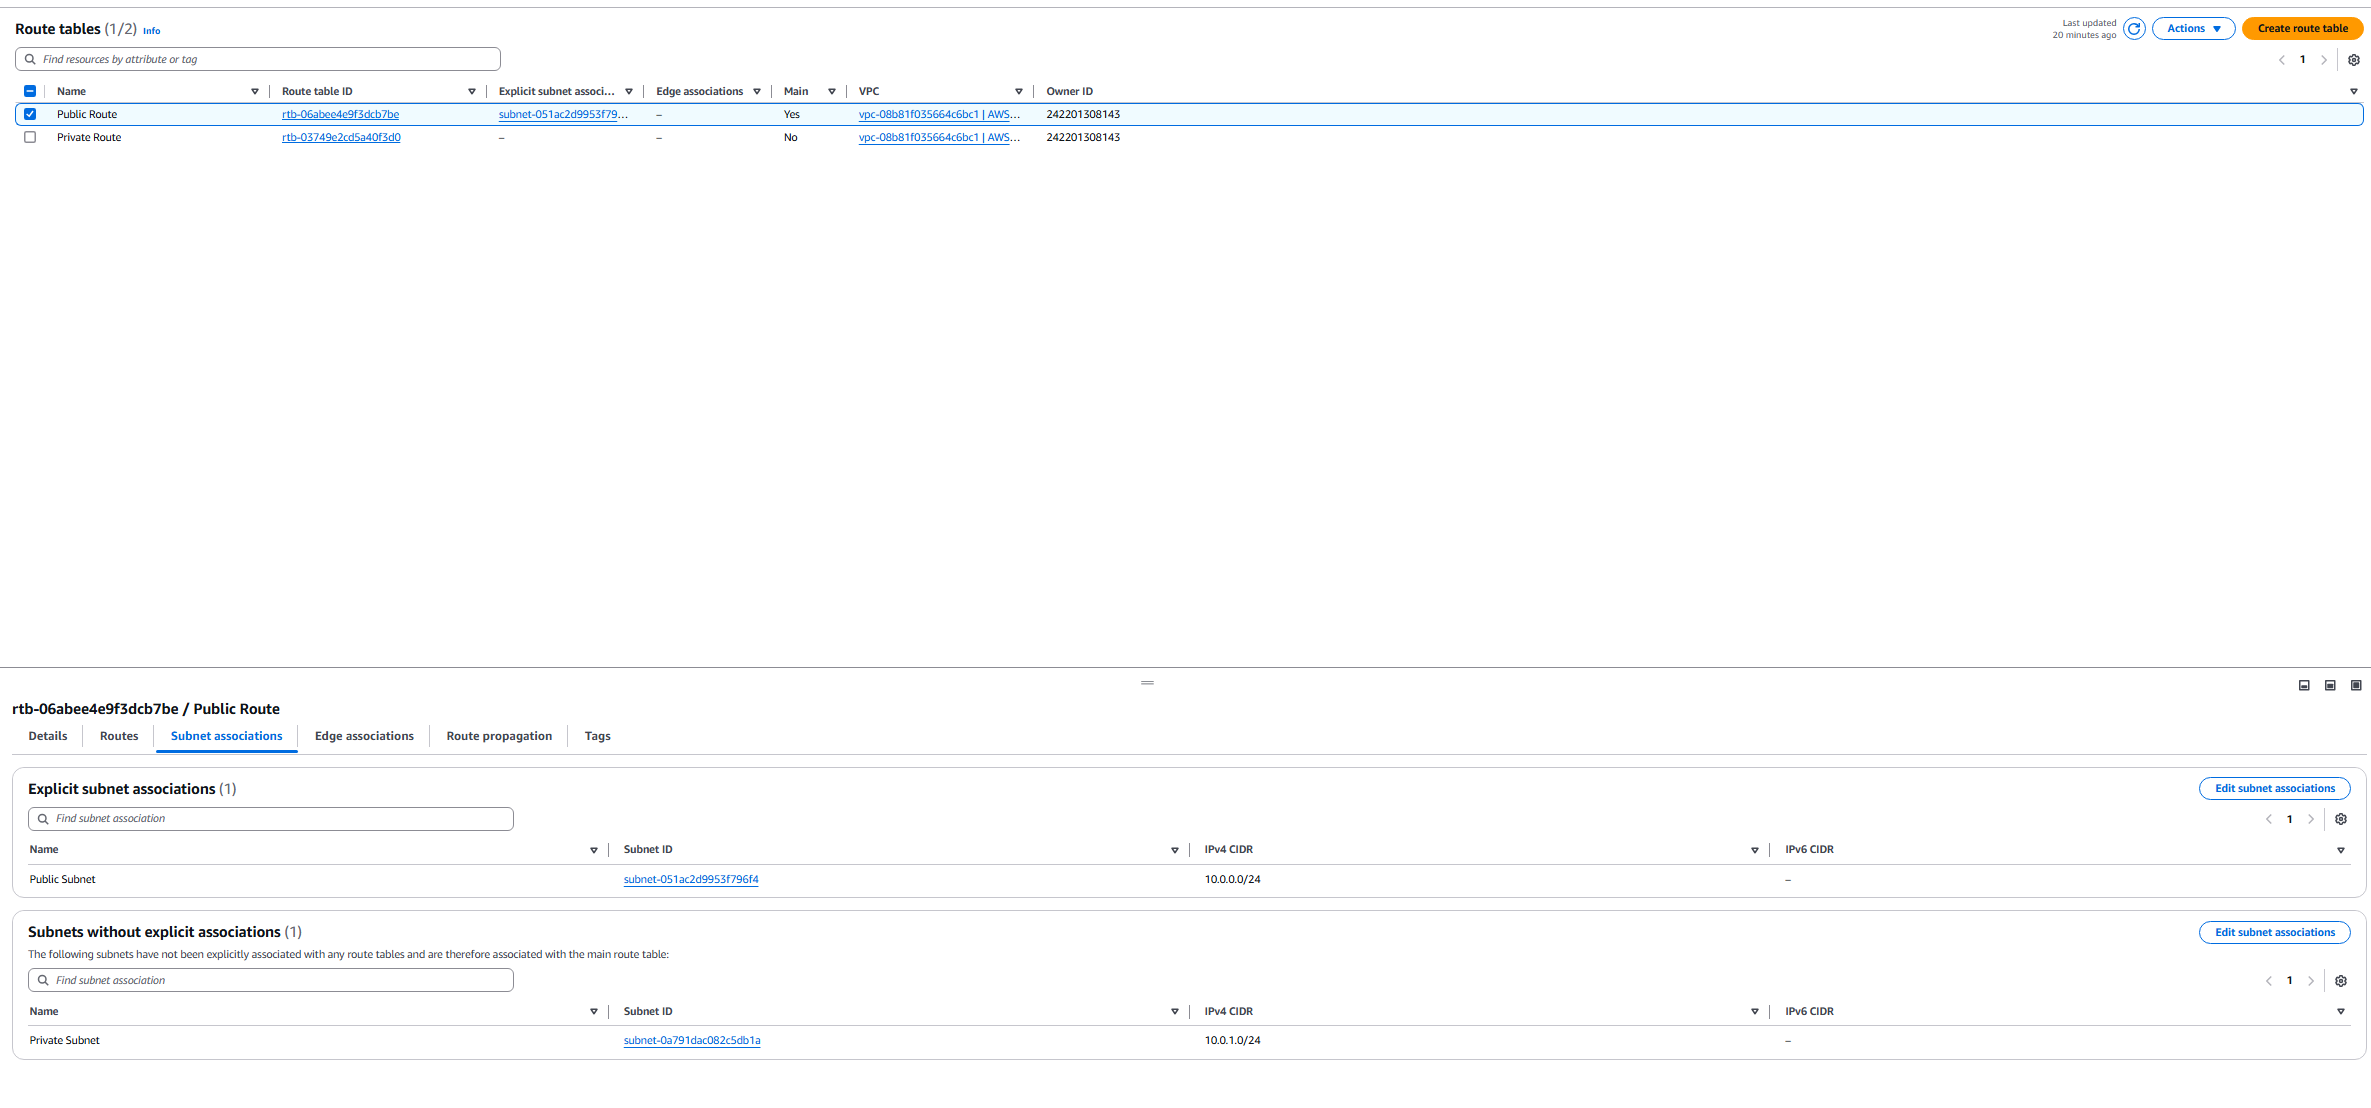
At the moment, we have two Public and Private subnets.

2. We need to create a Private route in our route table.

- Create new route table called Private Route
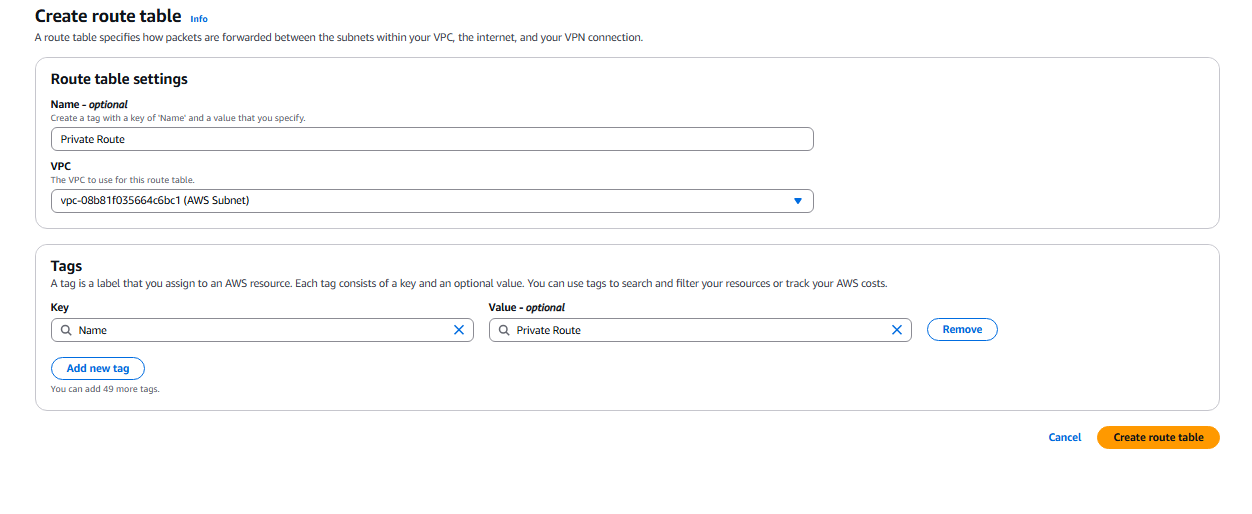
- Now we can rename the route that was in there from before to Public Route.

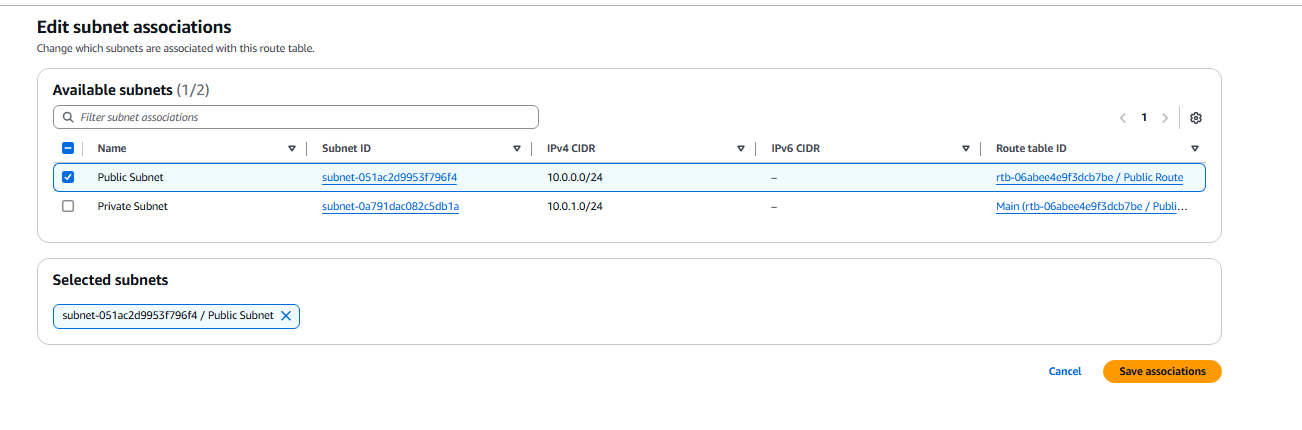
- We need to subnet associate the Public subnet to the public route.
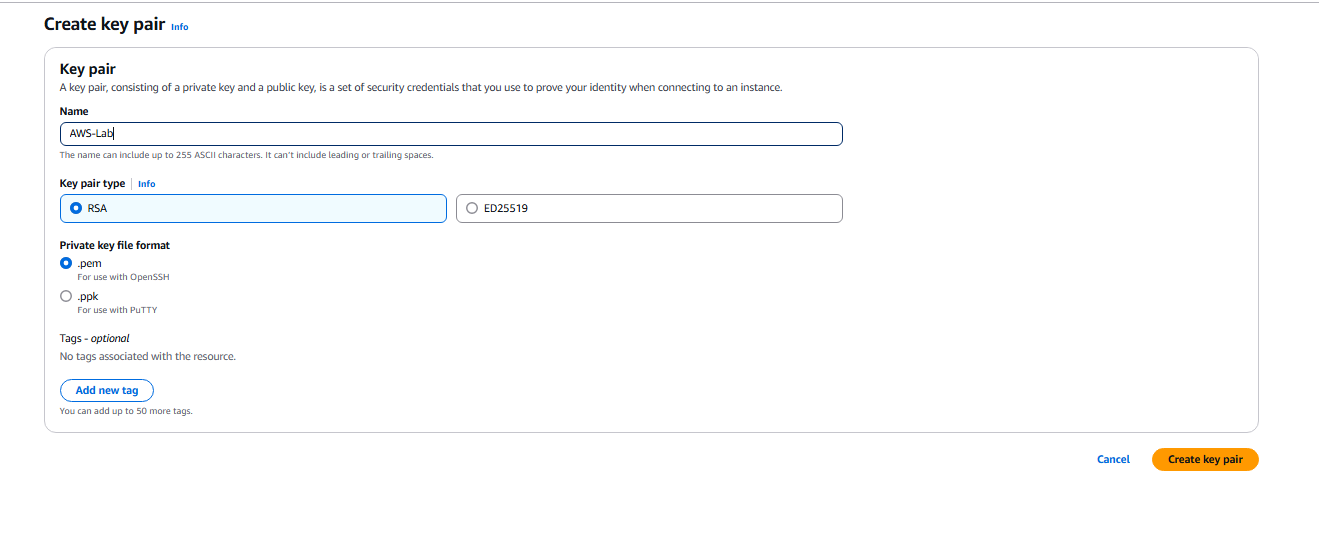
- Now we need to set up our Key Pair for the VM, go to EC2 - Key Pairs > Create Key Pair.
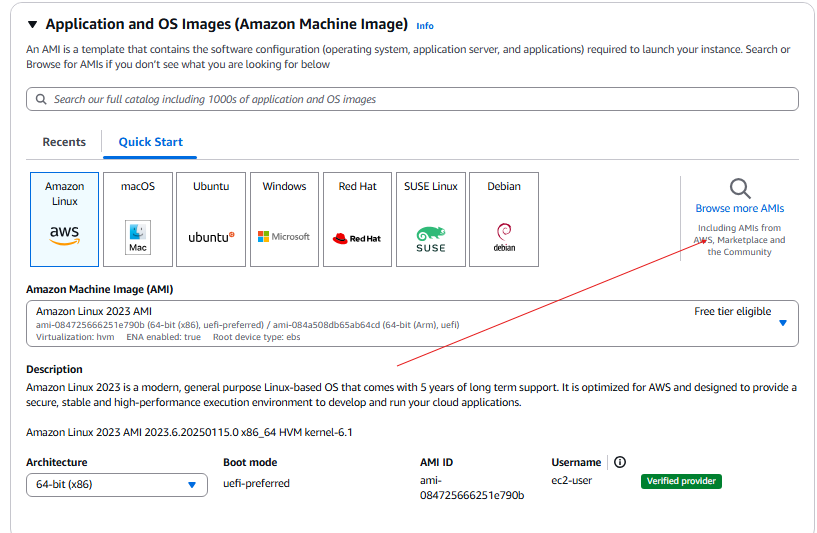
- Now we can go to the Launch section and launch are instance.
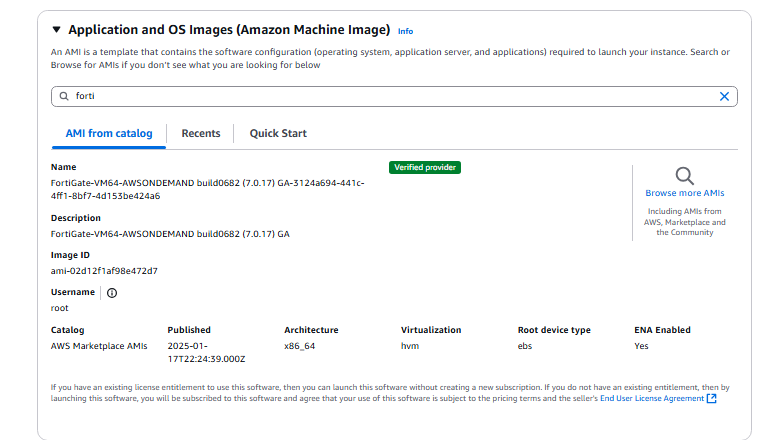
- Click Browse more AMIs.
- search for Fortinet and select the Fortinet FortiGate Next-Generation Firewall.

- Press Subscribe now.
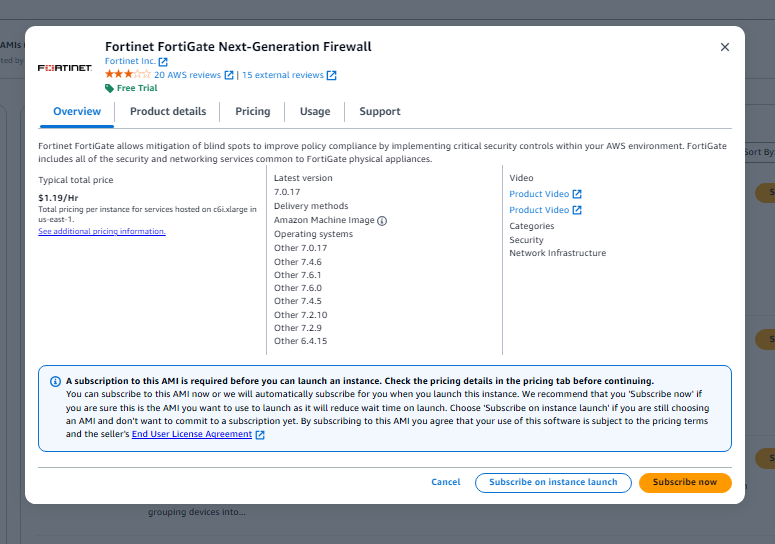
- Make sure the OS has been selected in the options. You should see the FortiGate-VM64.
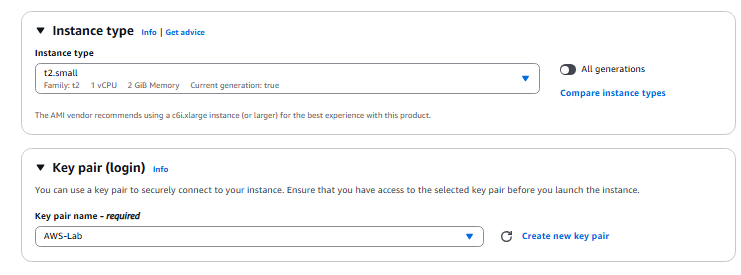
- T2.small is the free version, lasts for 30 days. Set the key pair to AWS-LAB.
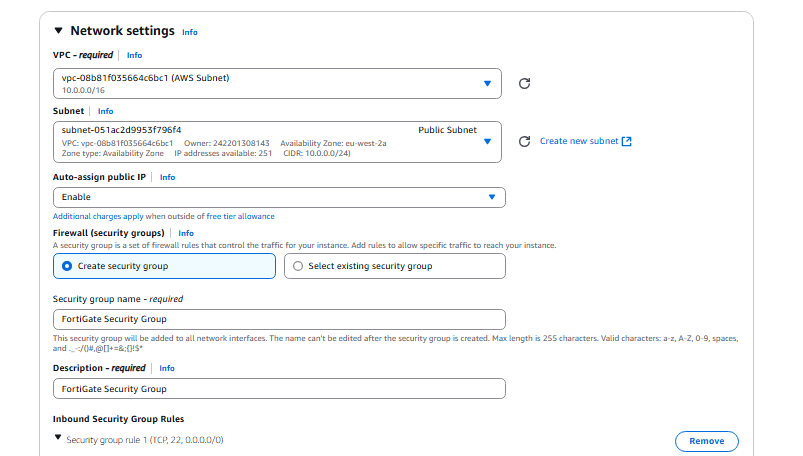
- This is the network configuration section. We will configure it to what we have created beforehand.
- VPC: VPC AWS Subnet
- Subnet: Public Subnet
- Auto-assign public IP: Enable
- Create Security group: Name: FortiGate Security Group, Description: FortiGate Security Group
- All source types are custom and linked to 0.0.0.0/0 which is our internet gateway.
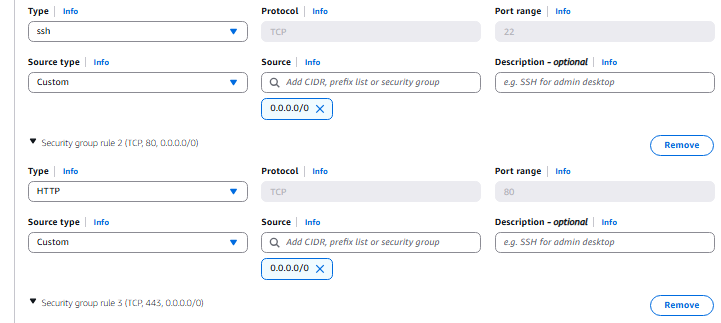
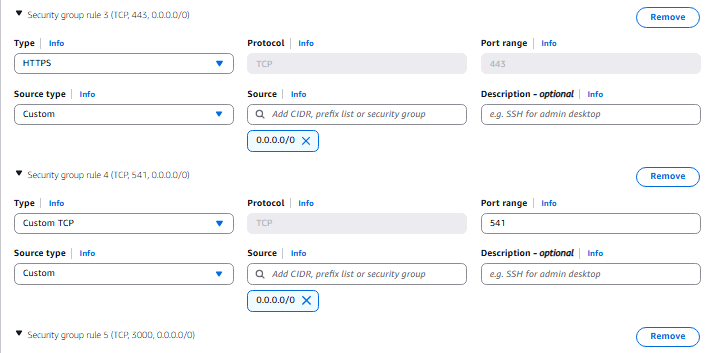
- Add two new Security Group rules, one for RDP and one for All ICMP Ipv4. Linked to 0.0.0.0/0

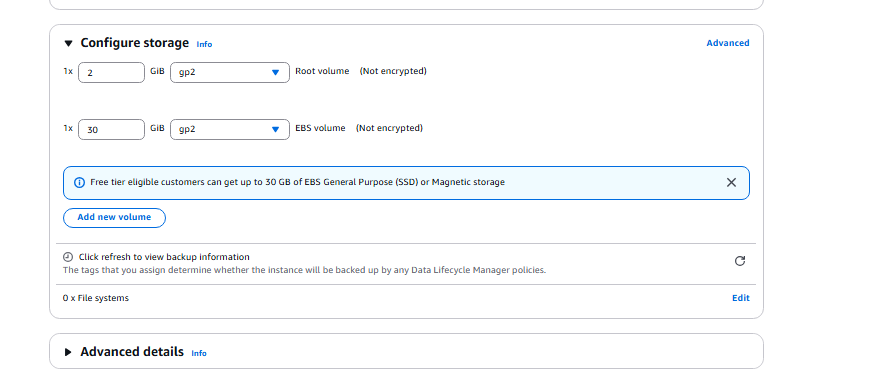
- Storage should be set to 2 and 30 by default.
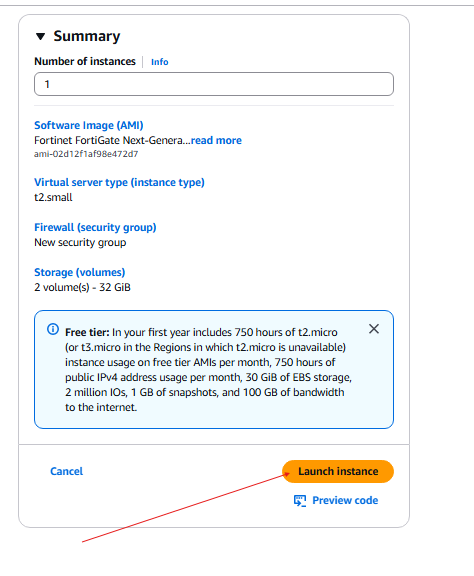
- Launch instance.
- Rename the instance to FortiGate.

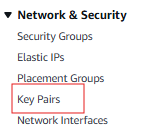
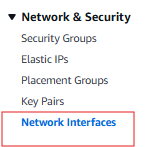
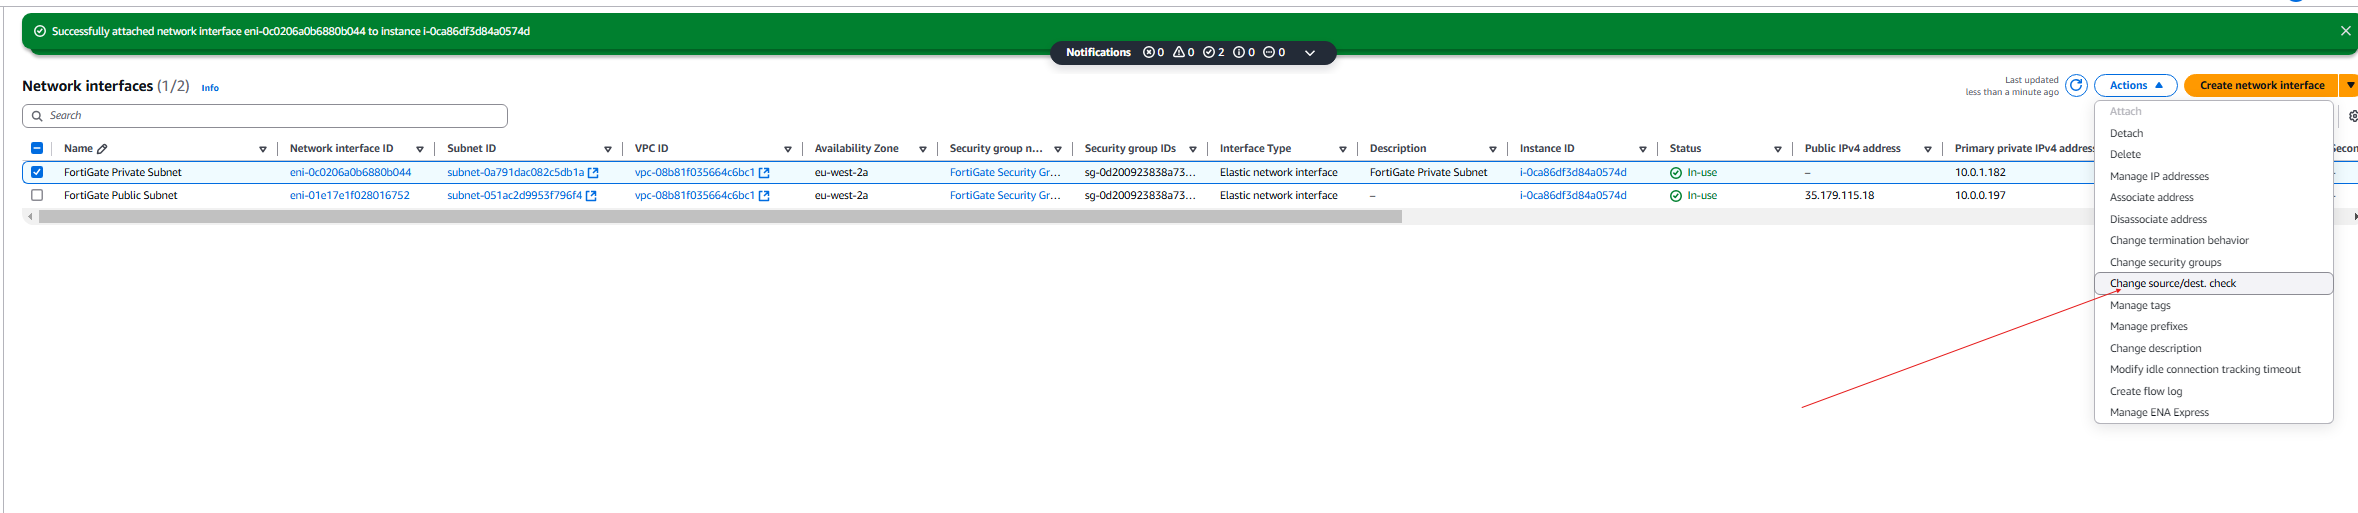
- Now we need to go to Network & Security > Network Interfaces.
- Rename the interface in there to FortiGate Public Subnet.

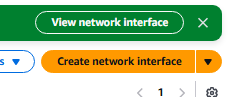
- Now we need to create a new Network Interface.
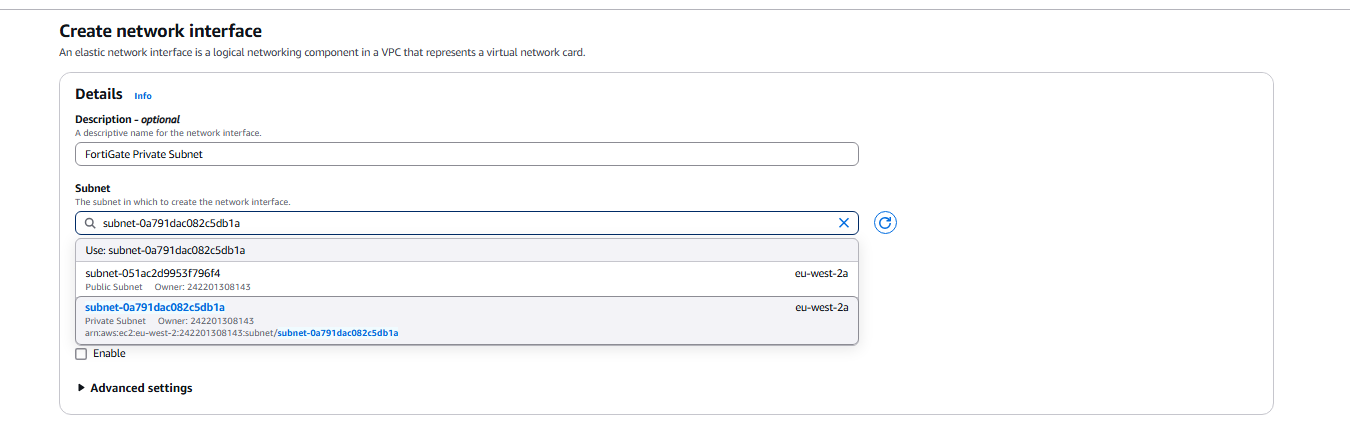
- Name the Interface FortiGate Private Subnet and link the Private subnet to it.


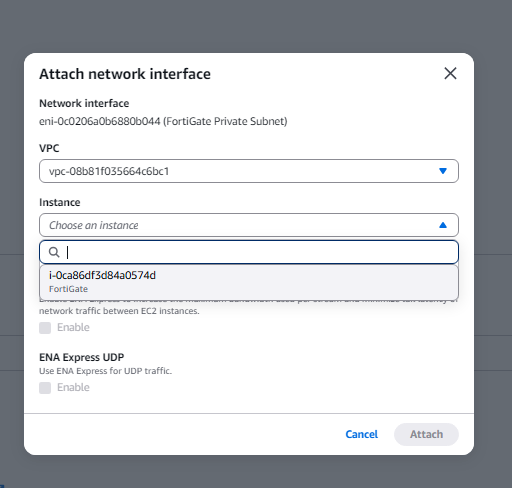
- Click on the FortiGate Private subnet and then click on attach.
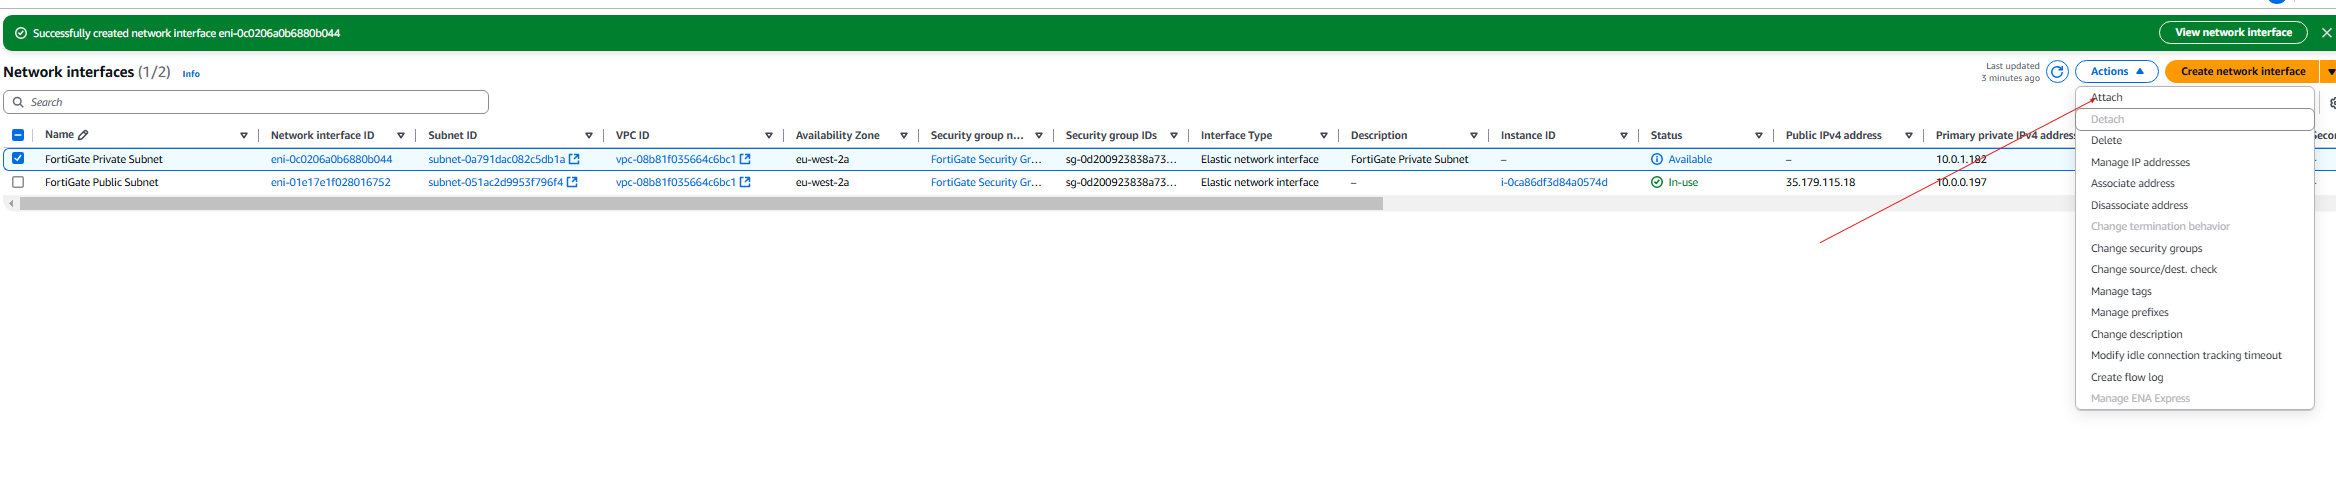
- Choose the FortiGate Instance
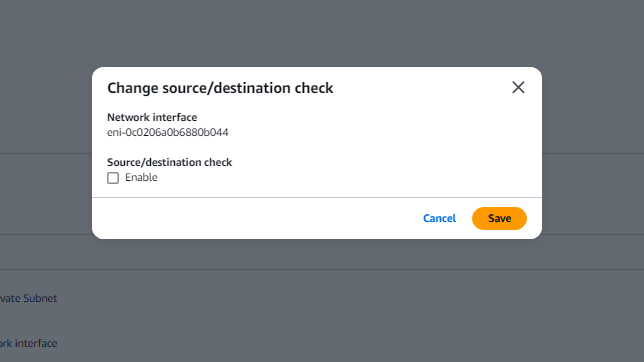
- Click the FortiGate Private Subnet and then Change Source/Dest Check.
- Now disable the Source/Destination check and click save.
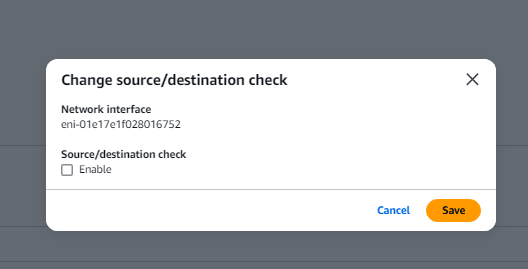
- Do the same for the FortiGate Public Subnet.

- Go back to the VPC and go to Route tables, click the private route and edit routes.
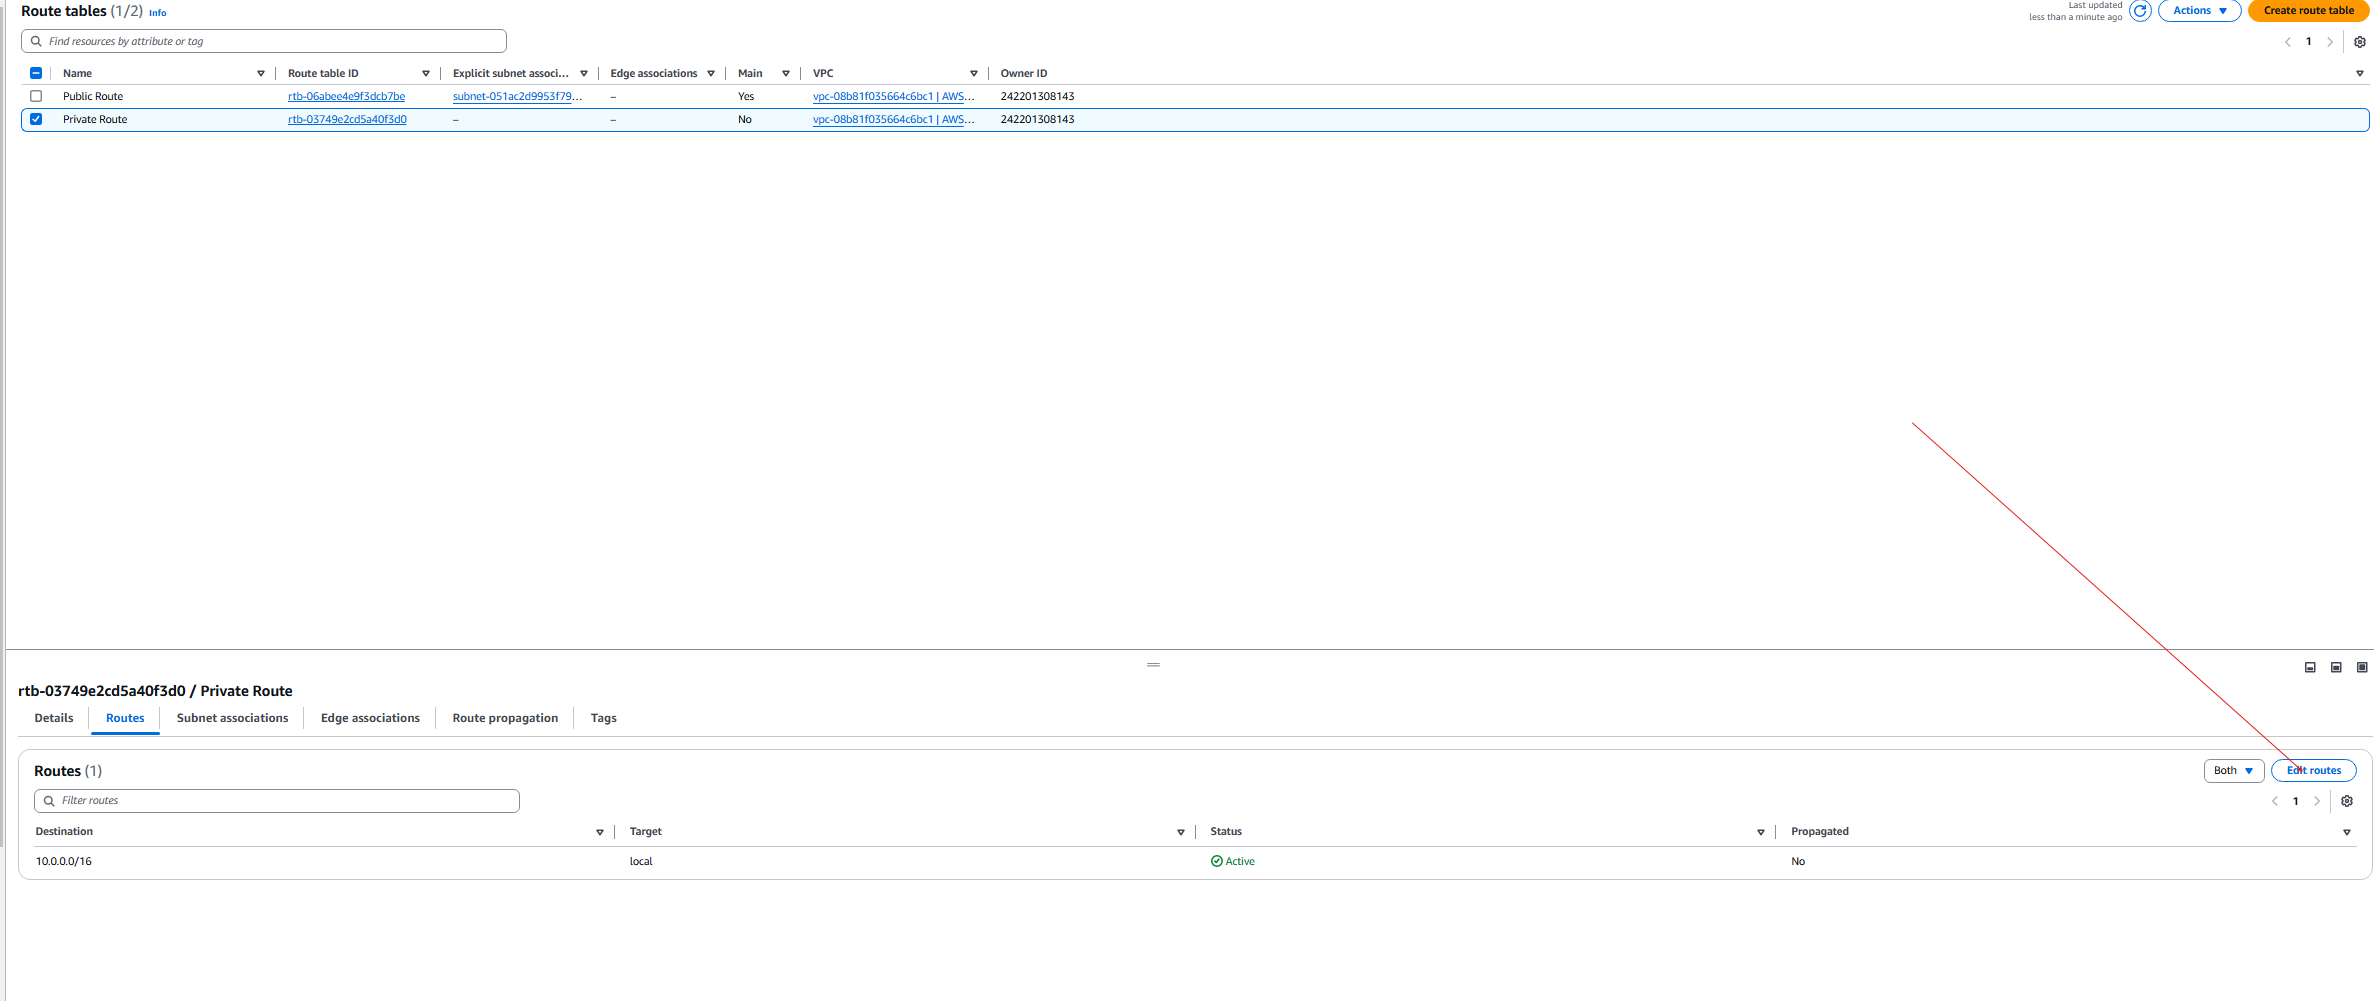
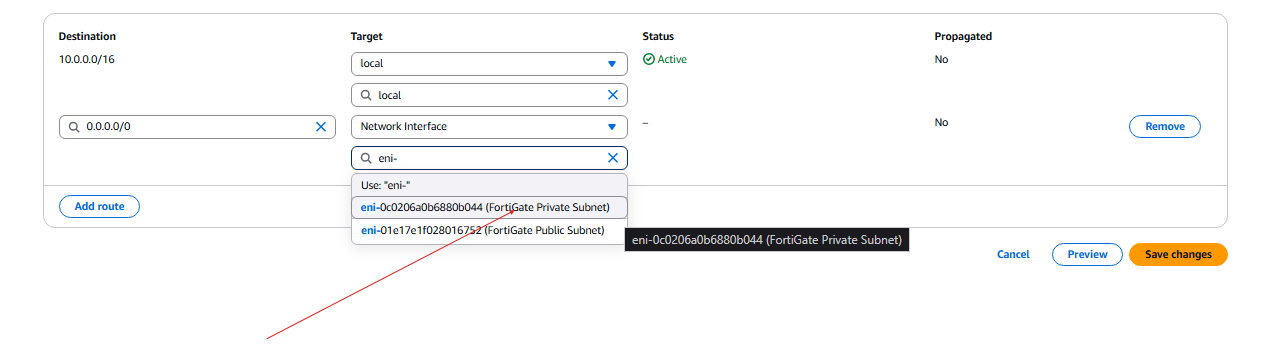
- Add route 0.0.0.0/0 and select Network interface.
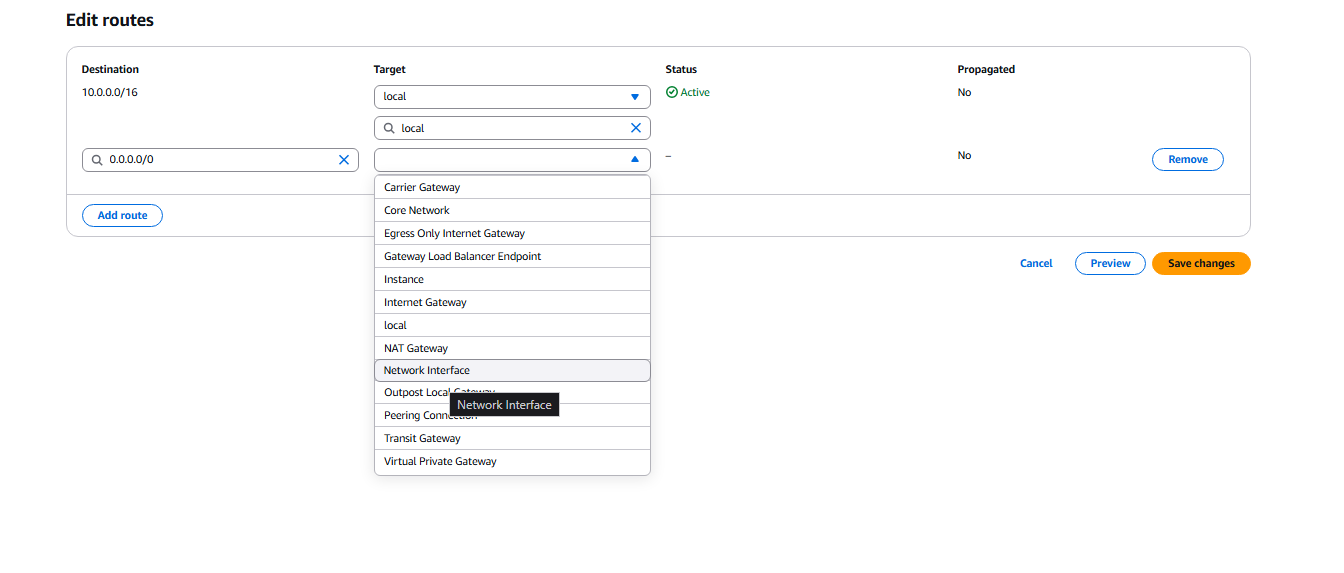
- Select the Private subnet as the network interface. Click Save changes.
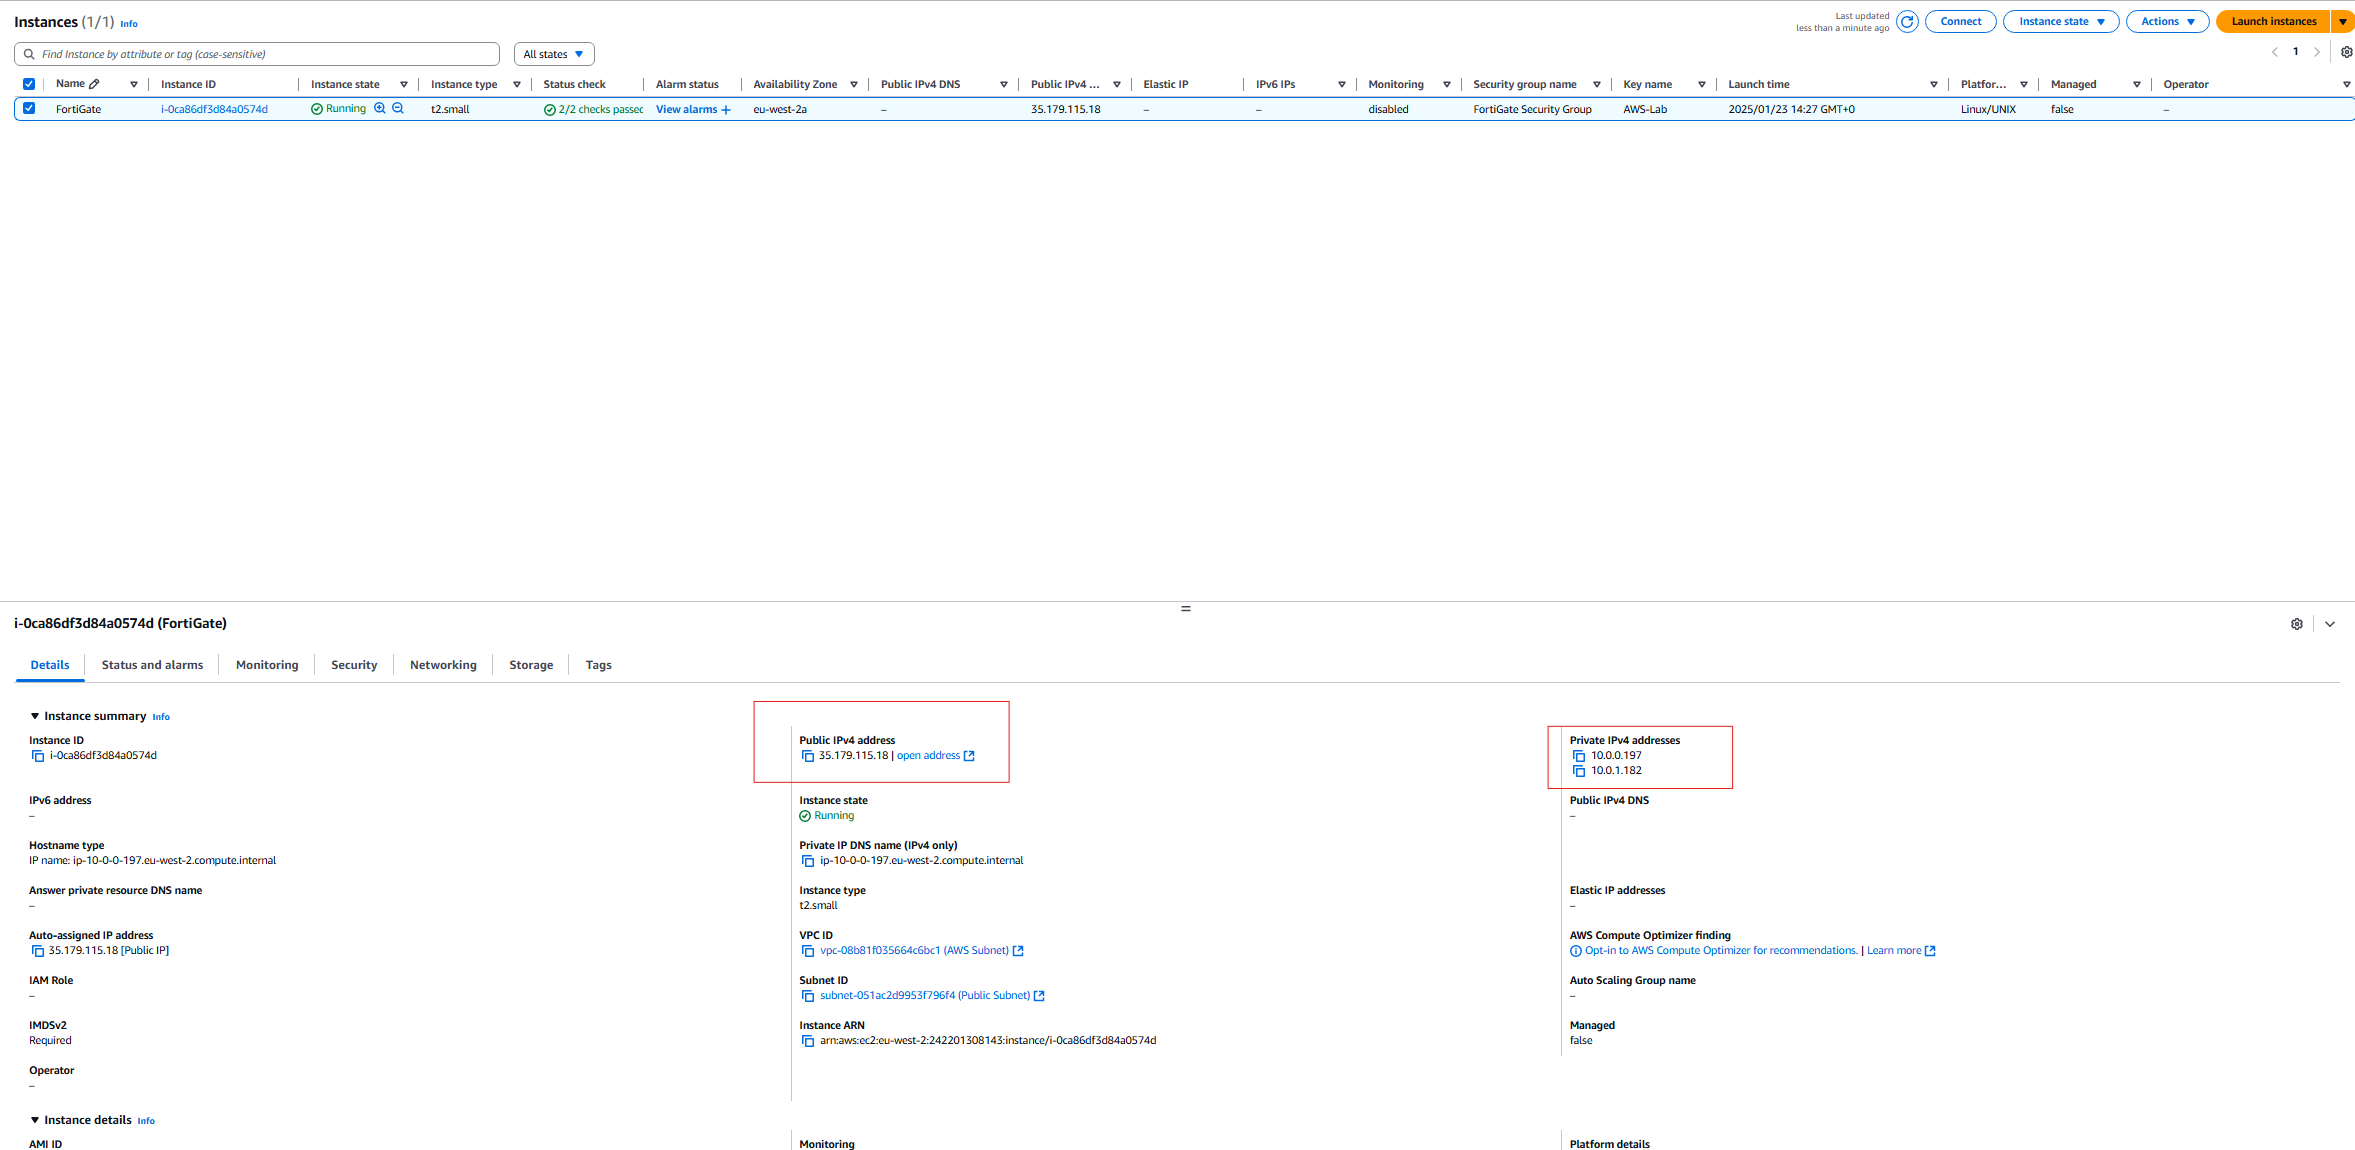
- Now if we go back to the FortiGate instance, we can see the public IP address of the device, and the private address of the device. We can now right-click our public IP address to bring up are FortiGate VM in our browser.
FortiGate Configuration
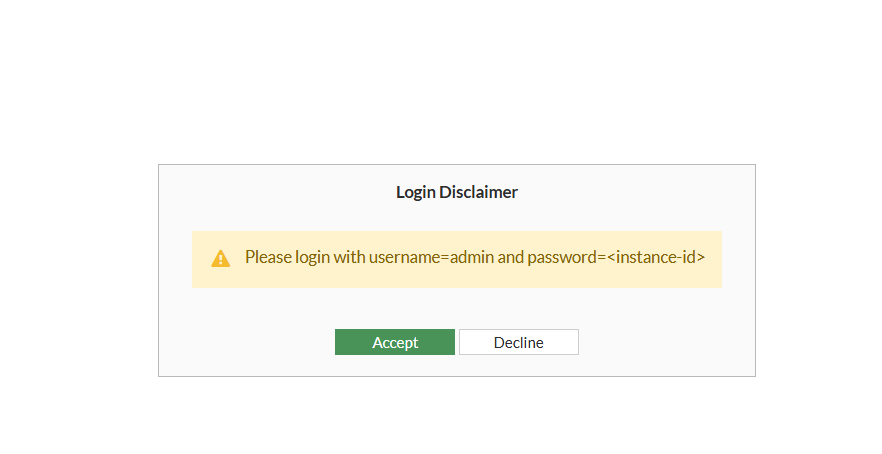
- Login in with the username admin and the instance ID
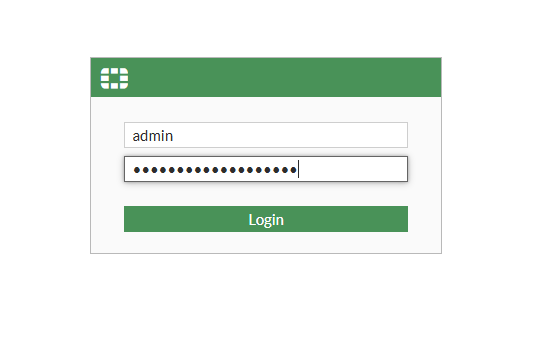
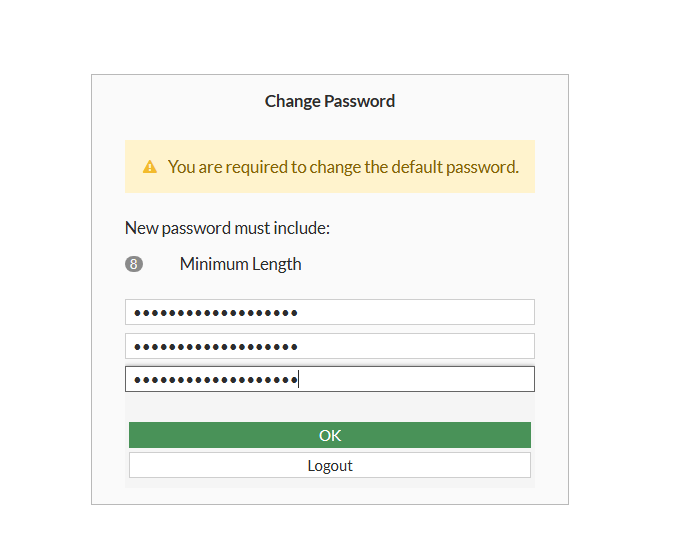
- Change the password.
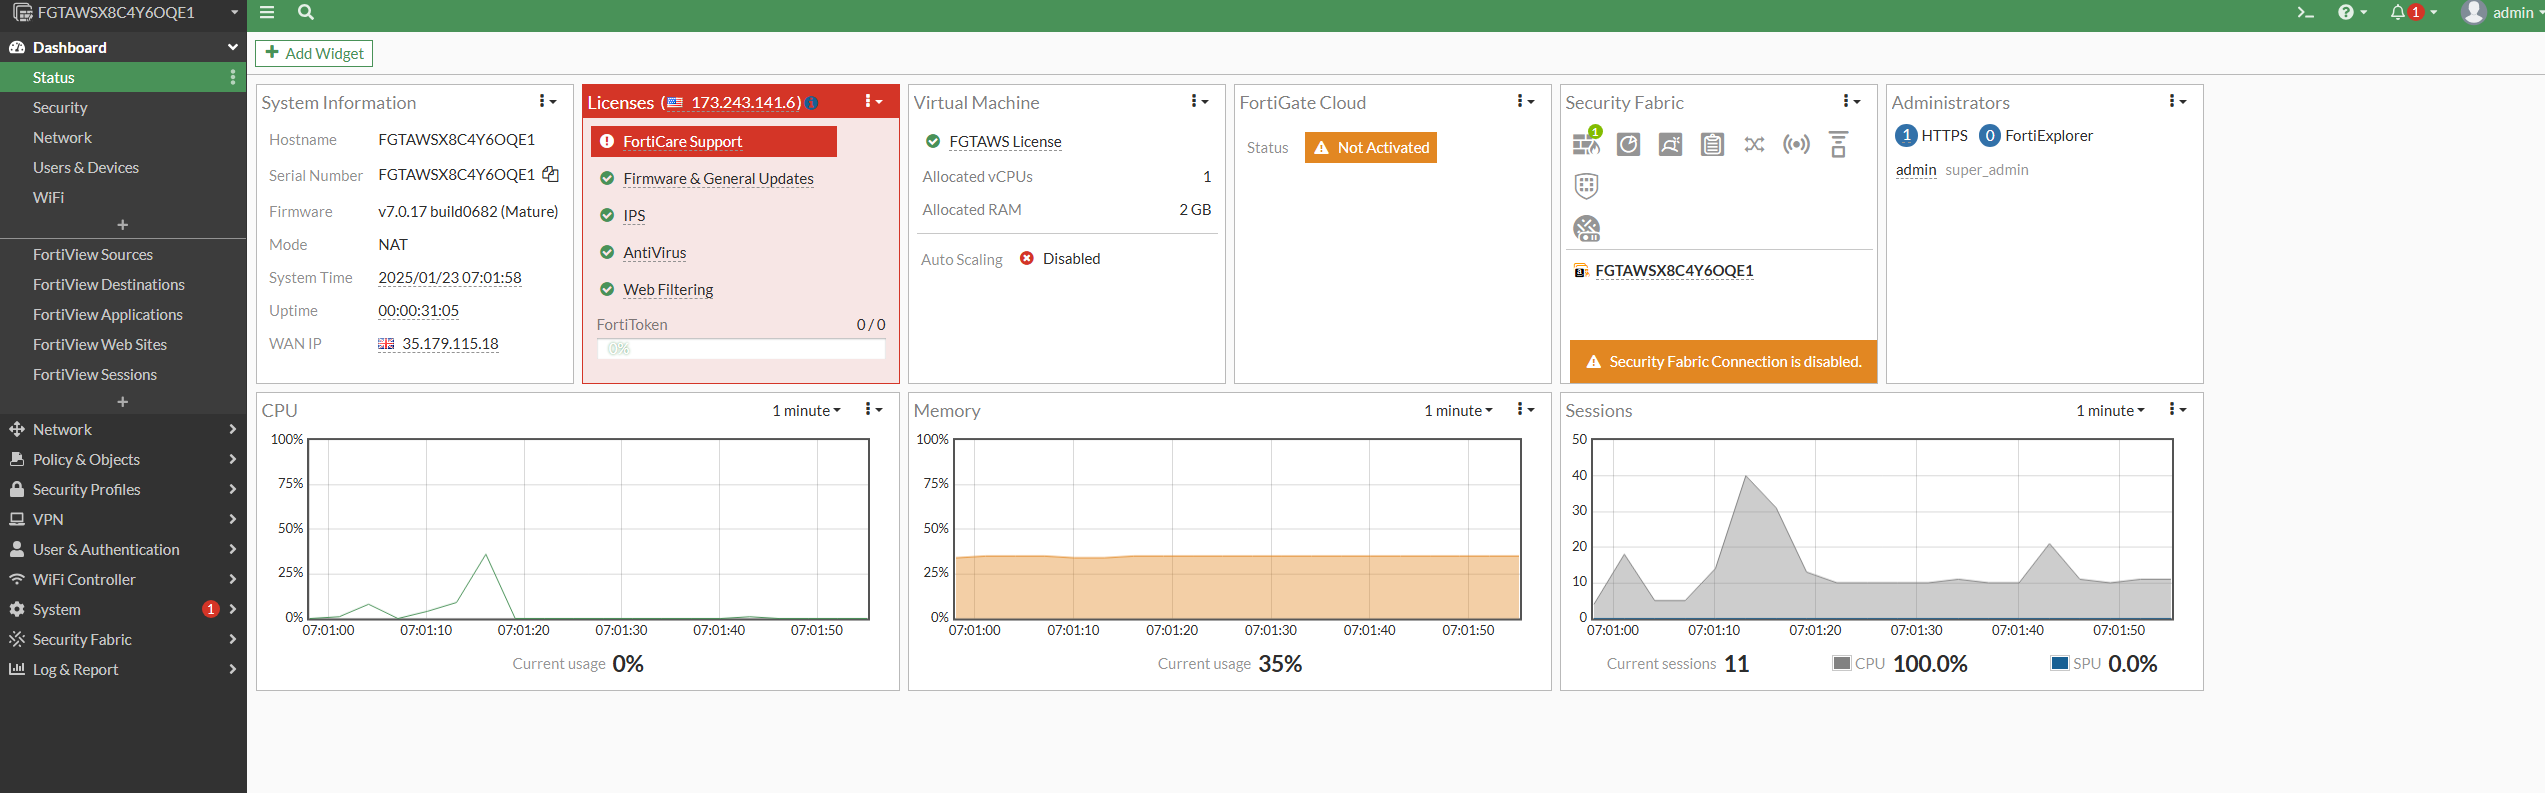
- Now we are logged into the FortiGate, we can see our main dashboard.
- We will now configure are port 2 on the FortiGate to be our LAN port. Port 1 on the device is being used for our external subnet back to the internet.
- Go to Network > Interfaces > Click Port 2
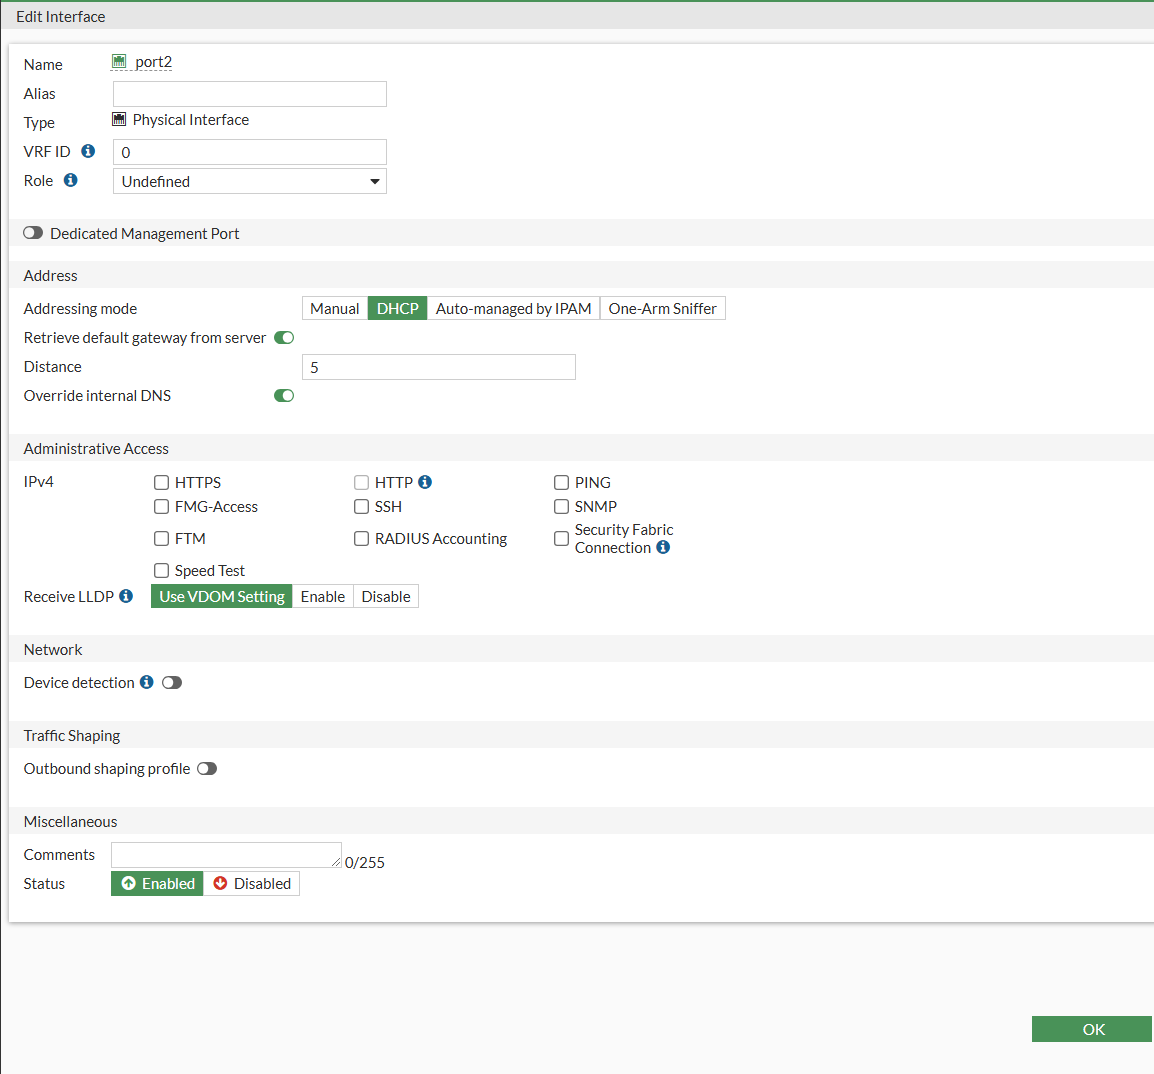
- We can now see our port 2 connected to our private subnet and setup as DHCP

Conclusion
In this guide, we demonstrated how to deploy a FortiGate firewall in AWS, configure its networking, and prepare it for integration with your on-premises network. From setting up public and private subnets to attaching network interfaces and configuring routing, each step was crucial in establishing a functional environment for secure connectivity.
Hope you enjoyed this guide and happy Networking!