Protecting IoT Devices on Your Network Using FortiGate 40F

The rapid growth of the Internet of Things (IOT) has transformed the world we live and work, connecting everything from smart home devices to industrial machinery, However this connectivity brings significant security challenges.
As the number of IoT devices increase, so does the attack surfaces. There is a little joke between professionals in the industry that the S in IoTs stands for security, because there is barely any security or none at all.
IoT devices, are most of the time cheaply made, set for one purpose, have multiple vendor manufactures making different parts to build the device, security is the least of their worries.
In this blog post, we'll delve into best practices for securing your network against the potential threats posed by IoT devices. Using a FortiGate 40F Wi-Fi, we'll provide a step-by -step guide on how to segment the network, configure firewall policies, and implement intrusion prevention systems (IPS).
Creating The IoT SSID
We need to create an IoT SSID, so our IoT devices can connect to. We also need this for when we configure the software switch later on.
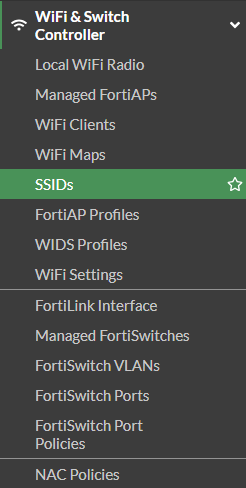
Go to Wi-Fi & Switch Controller > SSIDs > Create New > SSID
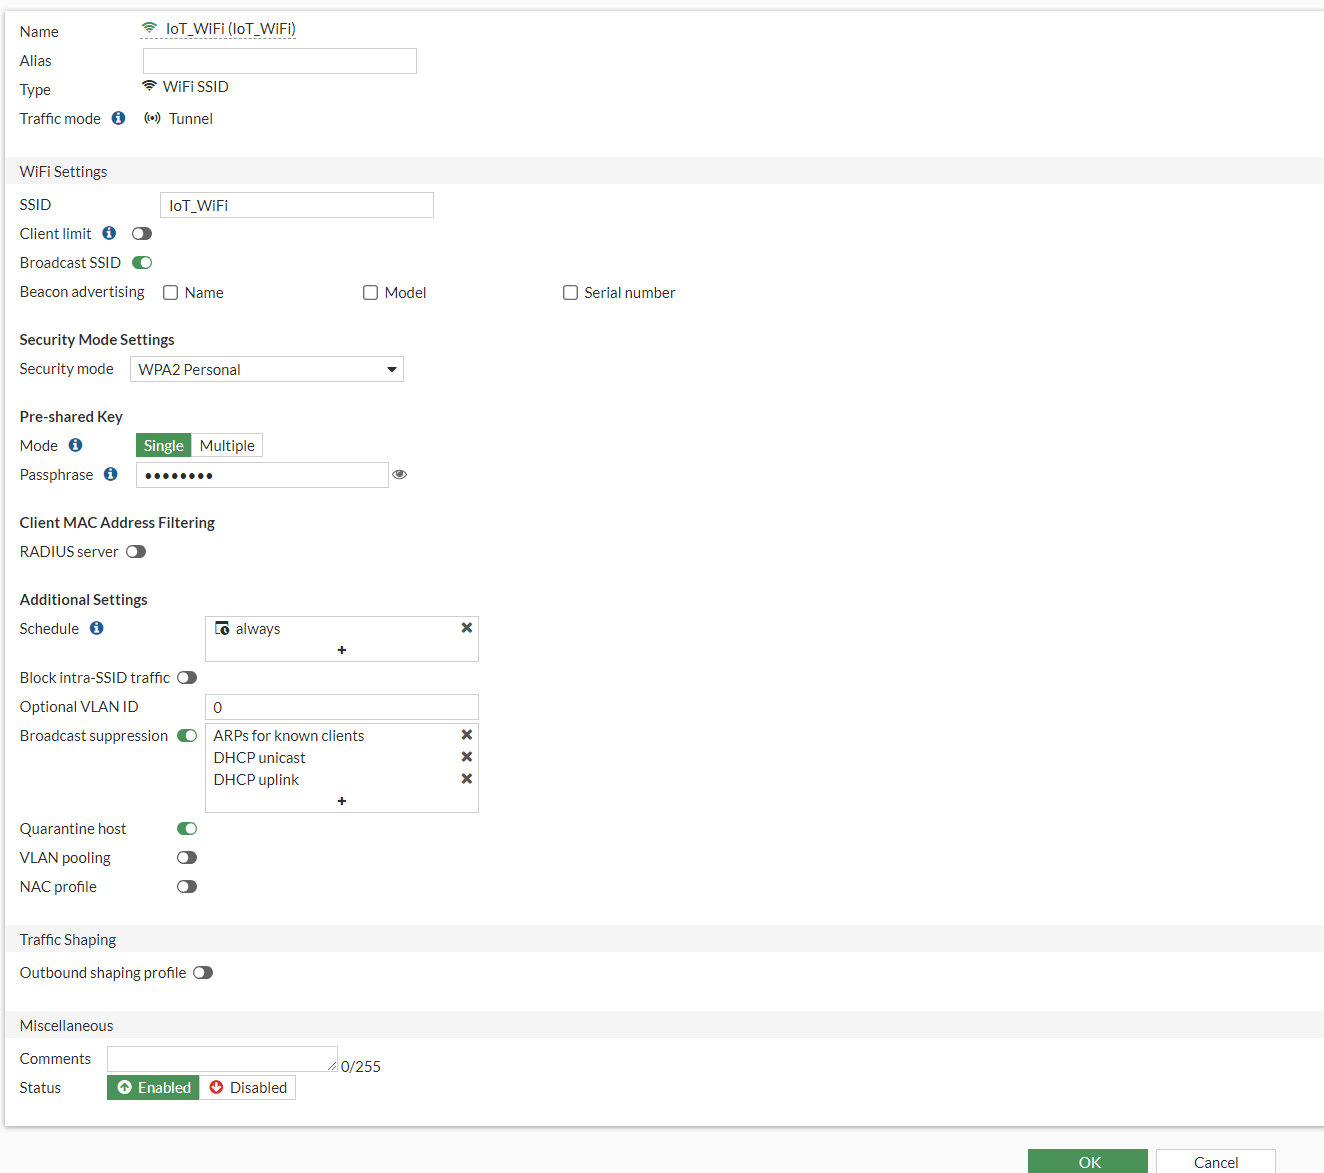
I will be configuring the SSID as the following:
- Name: IoT_WIFI
- Type: WIFI SSID
- Traffic Mode: Tunnel
- SSID: IoT_WiFi
- Broadcast SSID: Enabled
- Security Mode Settings: WPAS2 Personal
- Pre-Shared Key: Single
- Passphrase: create password as you like
It should look like this:
Press OK to save the SSID.
Configuring Software Switch for IoT Devices
A software switch groups interfaces logically, allowing us to manage traffic efficiently for IoT devices.
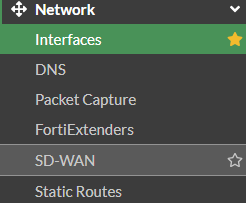
Go to Network > Interfaces > Create New
I will be configuring the software switch with the following:
- Name: IoT Devices
- Type: Software Switch
- Interface members: IoT_WiFi (SSID we just created)
- Role: LAN
- Address Mode: Manuel
- IP/Netmask: 192.168.30.1/24
- HTTPS, HTTP, PING: Enabled
- DHCP: 192.16830.2-192.168.30.254
- Device detection: Enabled
It will look something like this:

Below the Interface settings, you should see the SSID settings, because we added the IoT_WiFi in the interface members. You can change any SSID settings on this interface if you need to.
Click OK to save interface settings.
Configure Firewall Policy
I will be creating two firewall policies to allow the IoT devices internet connection and also a policy to block the IoT devices from my LAN network.
First, let's create the policy to allow internet connection.
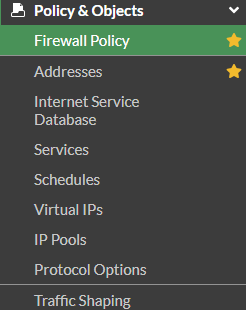
Go to Policy & Objects > Firewall Policy > Create New
I will be setting up my policy like so:
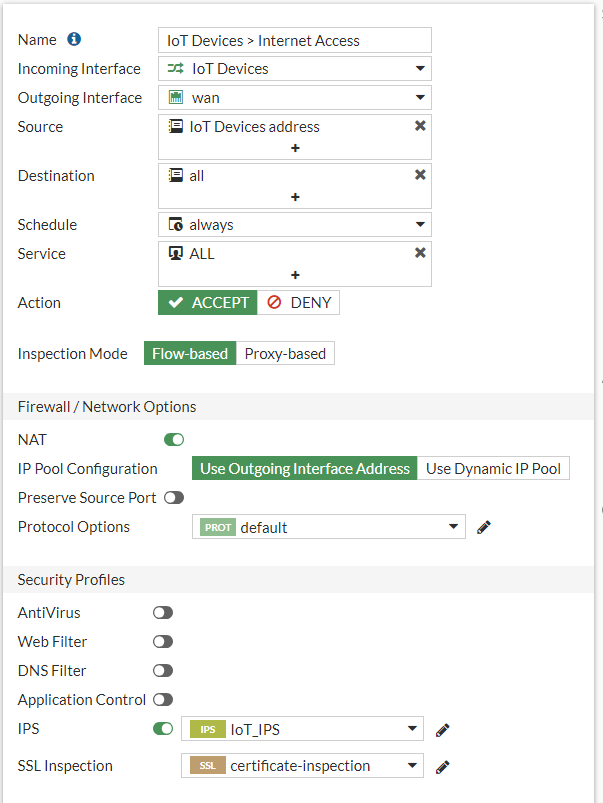
- Name: IoT Devices > Internet Access
- Incoming Interface: IoT Devices
- Outgoing Interface: Wan
- Source: IoT Devices Address
- Destination: all
- Service: all
- Action: Accept
- Inspection Mode: Flow-based
- Nat: Enabled
- Logging Options: Security Events
It should look something like this:
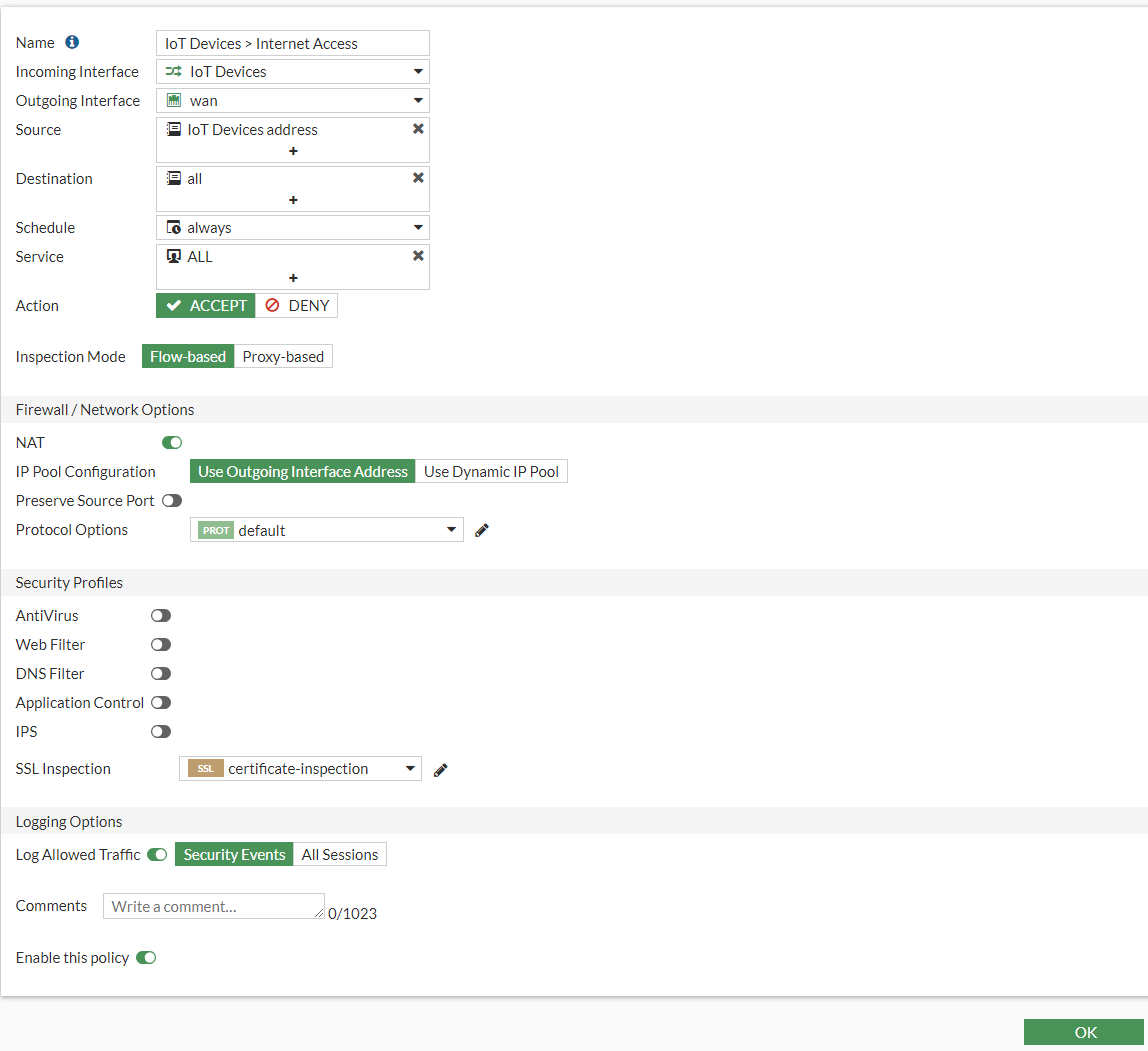
Right now I have not set any IPS detection yet as I wanted to create one to be applied later on. Press OK to save the config. Next we will configure the block policy
Firewall Policy > Create New
I will be setting mine as the following:
- Name: IoT Devices > Block LAN Network
- Incoming Interface: IoT Devices
- Outgoing Interface: Internal
- Source: IoT Devices address
- Destination: Internal
- Service: All
- Action: Block
- Log Violation Traffic: Enabled
It should look like the following:
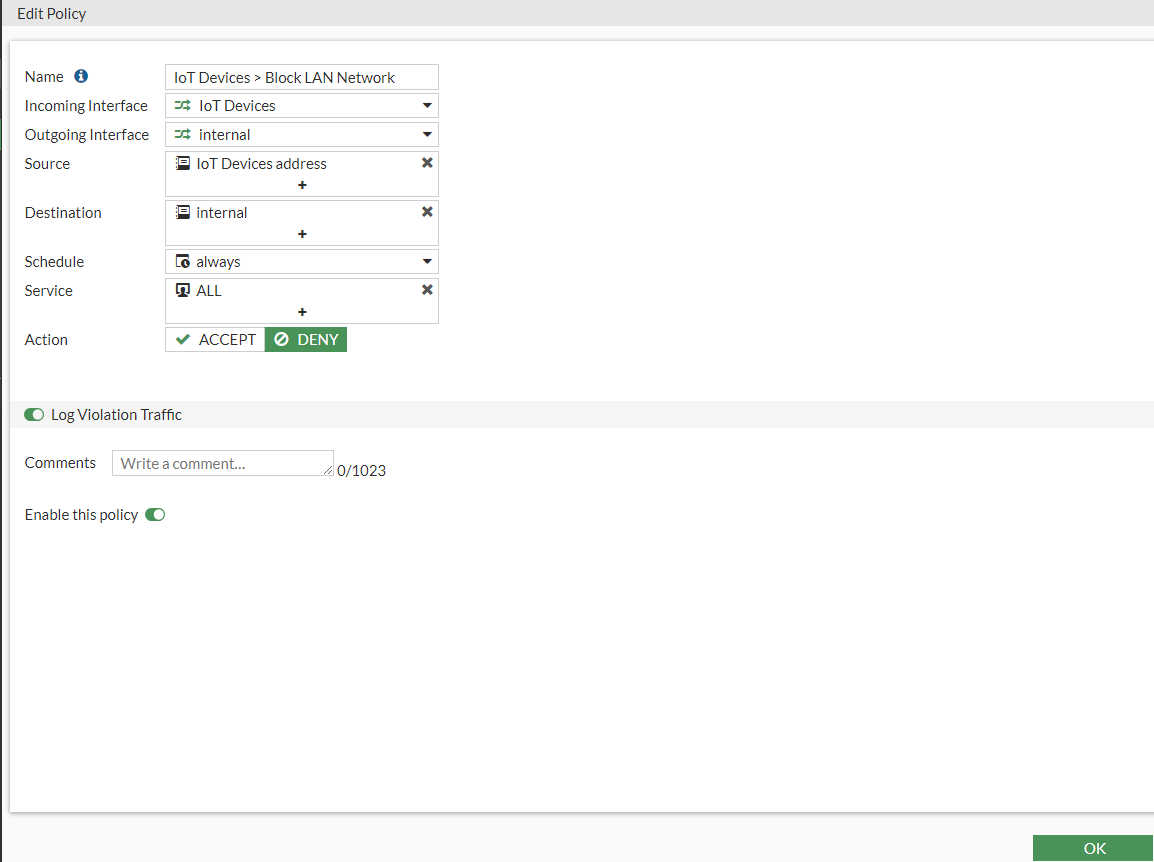
Press OK to Save policy.
Make sure the block policy is above the allow policy. It should look something like this.

Intrusion Prevention Setup
I want to set up IPS sensors to monitor the policy we created for known IoT exploits. We can search predefined signatures on the FortiGate that get updated with FortiGuard subscription. Signatures like known exploits, botnets, vendor specific exploits and more.
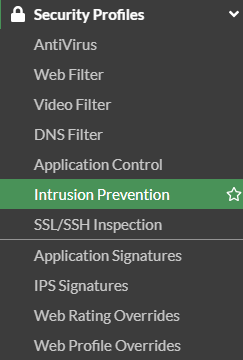
Go to Security Profiles > Intrusion Prevention
Here we can name the IPS "IoT_IPS"
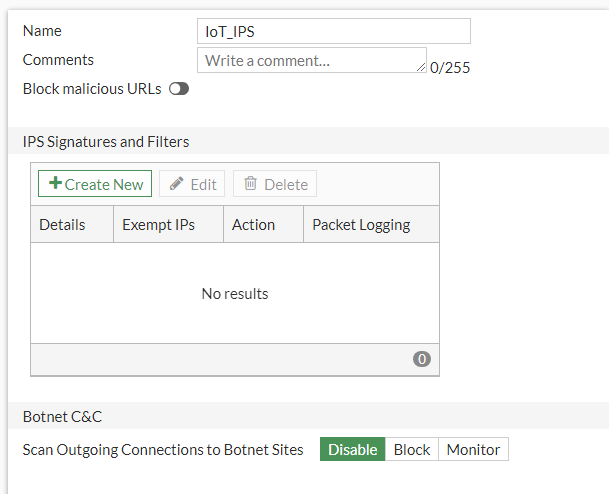
Click the Create New to bring up the IP signatures.
Type: Signature
Action: Monitor
Packet logging: Enable
Status: Default
Rate-Based setting: Default
If we type IoT in to the search bar, we can see a few signatures defined by the FortiGate.
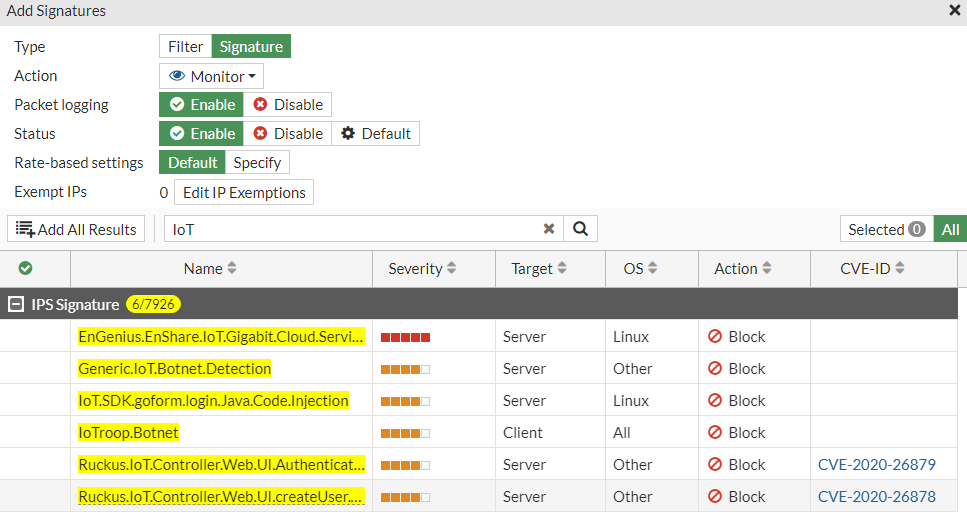
If we hoover over one of them, we can see what the signature's description is.
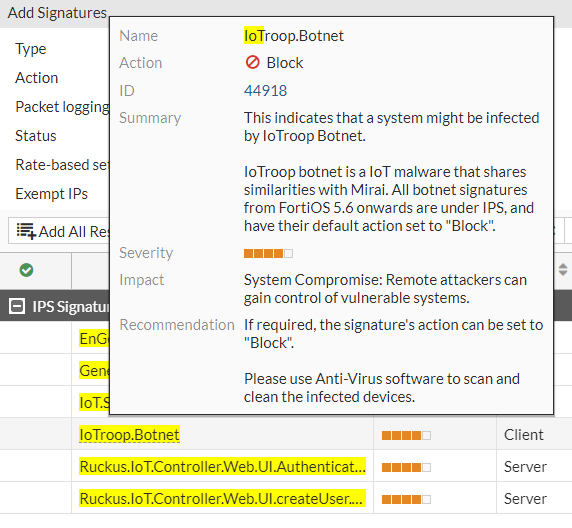
We can select the IoTrop.Botnet and click Add Selected at the top
Press OK to Save.
It should look something like this:
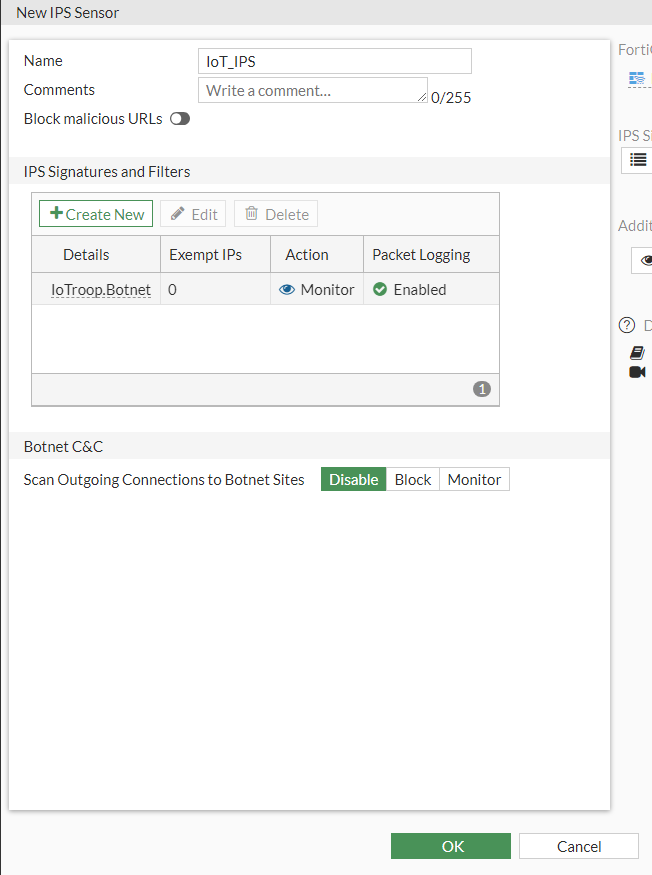
Press OK to save.
Now we can go back to our IoT Devices > Internet Access Firewall Policy and add the IoT_IPS we created to the IPS section on the rule.
You can add multiple signatures to the IPS settings. You can exempt IP addresses, set it to block certain traffic and also monitor the traffic.
Conclusion
The internet of Things (IoT) brings remarkable convenience and innovation to our lives, but it also introduces significant security risks.
In this guide, we have a dedicated IoT SSID and software switch to isolate traffic with firewall policies and enabling Intrusion Prevention Systems (IPS). This layered approach ensures that IoT devices are segmented, monitored, and protected against known vulnerabilities and threats.
Hopefully this guide helped, and Happy Networking!