Setting up an IPsec VPN Tunnel from On-Prem FortiGate to AWS
Setting up an IPsec VPN tunnel between an on-premises FortiGate device and AWS enables secure communication between your local network and resources hosted in the AWS cloud. This configuration is commonly used to extend an enterprise network to the cloud, allowing seamless and encrypted data exchange for hybrid environments.
AWS provides a Virtual Private Gateway (VGW) or a Transit Gateway to establish the VPN connection.
The FortiGate device, acting as the on-premises VPN endpoint, communicates with AWS through one or more IPsec tunnels, ensuring high availability and redundancy.
Objectives
- Configure a Customer Gateway in AWS
- Configure a Virtual Private Gateway
- Create an IPsec VPN between FortiGate on-Premise and AWS
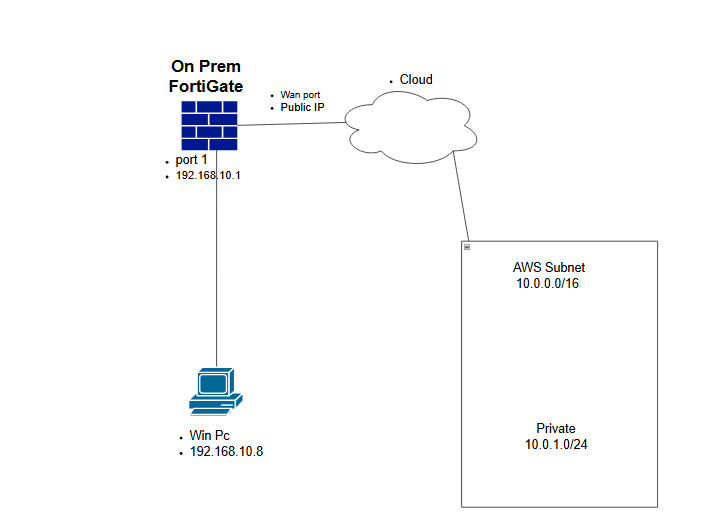
We will establish a IPsec VPN connection between an on-premises FortiGate device and an AWS Virtual Private Gateway. The configuration will begin with setting up the AWS side, followed by connecting the FortiGate to the AWS Virtual Gateway through port 1 which in my case will be an Internal group linked to port 1.
|
Device |
Configuration |
Access |
|
FortiGate |
Wan Port - Public IP address Port 1: 192.168.10.1/24 DHCP 192.168.10.2 - 192.168.10.254 |
Port 1: HTTP, HTTPS, PING |
|
Win PC |
192.168.10.8 |
|
AWS Configuration
We will start with the AWS side first, you will need to create yourself an account on AWS Console Login
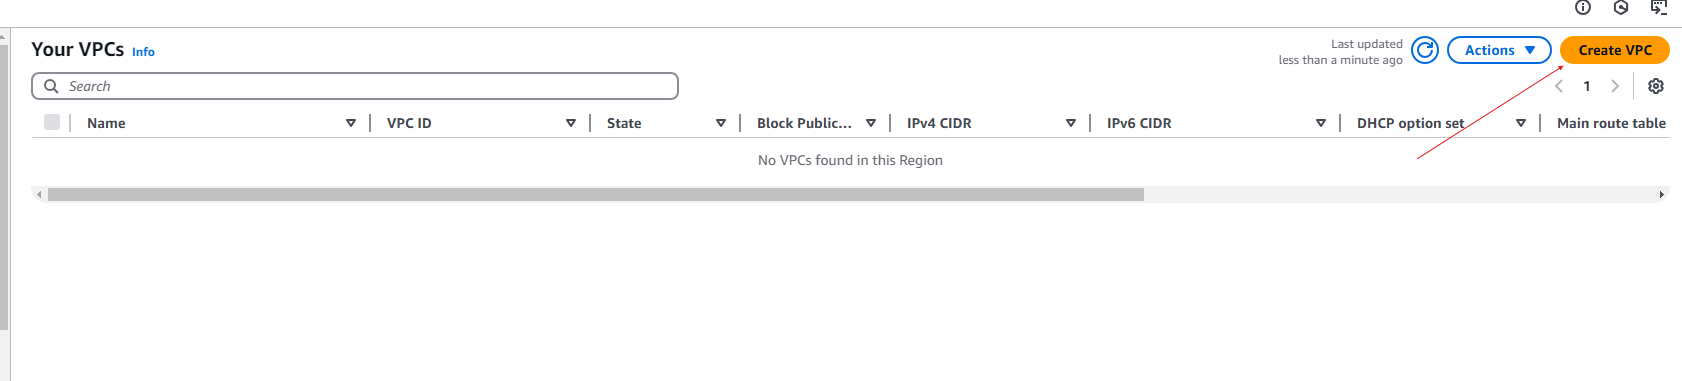
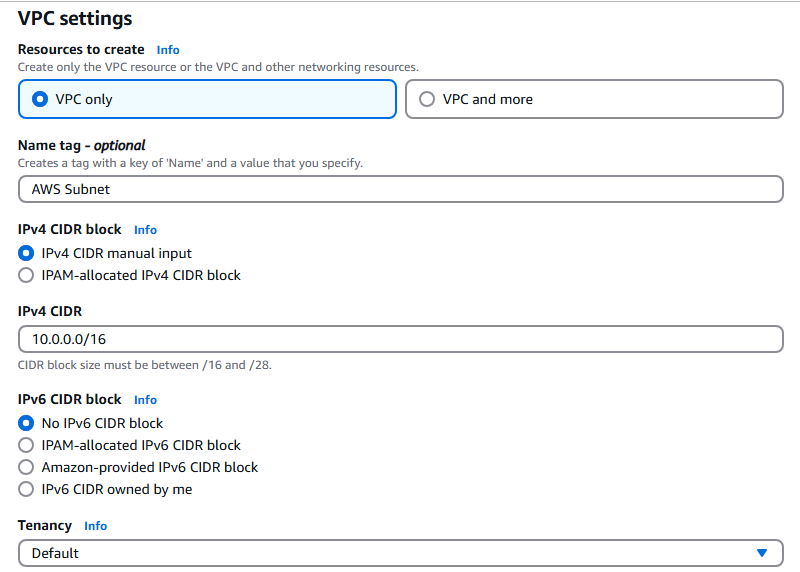
- Create a VPC for AWS:
- Name: AWS Subnet
- IPV4 CDIR: 10.0.0.0/16
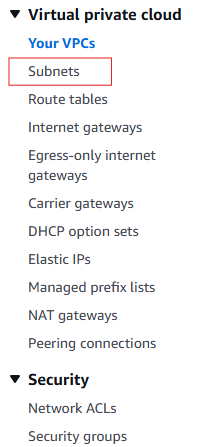
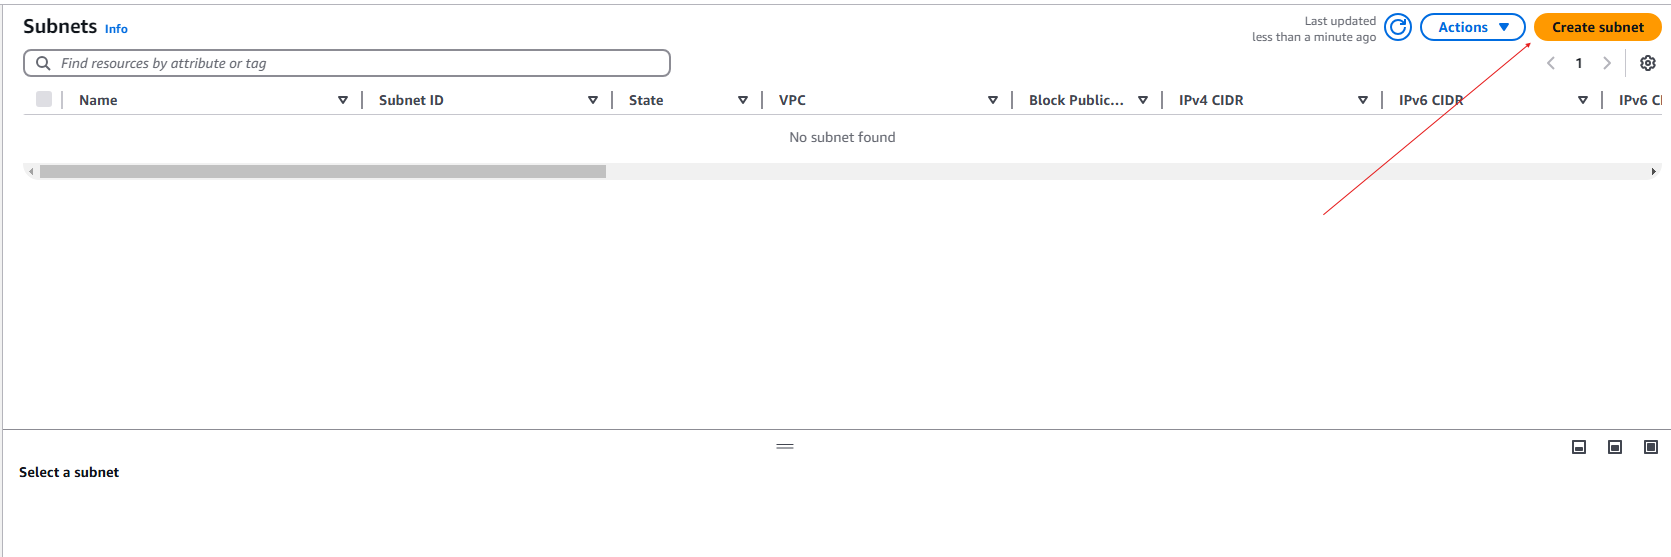
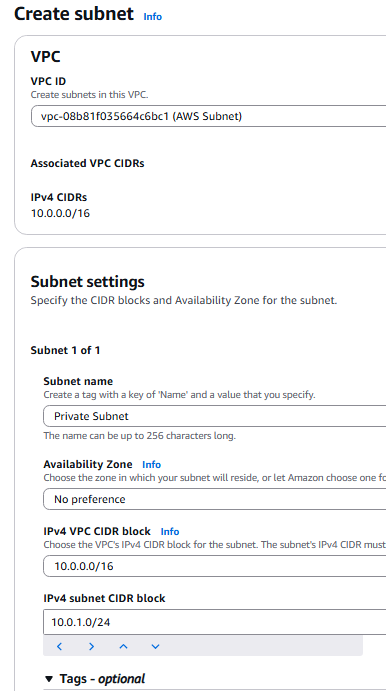
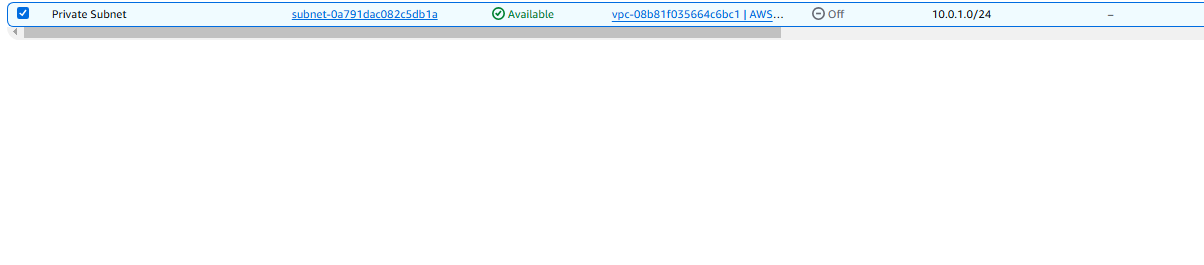
- Create the private subnet under AWS VPC:
- VPC: AWS Subnet
- Subnet Name: Private
- IPv4 CIDR block: 10.0.1.0/24
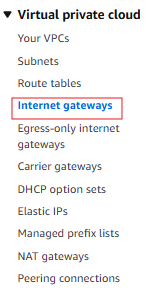
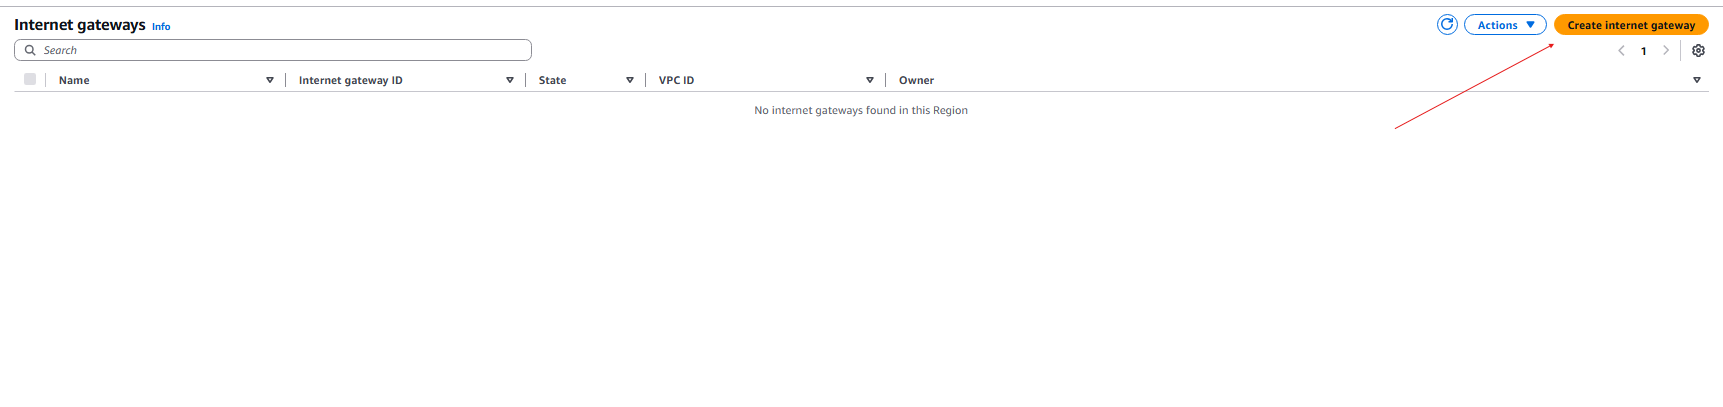
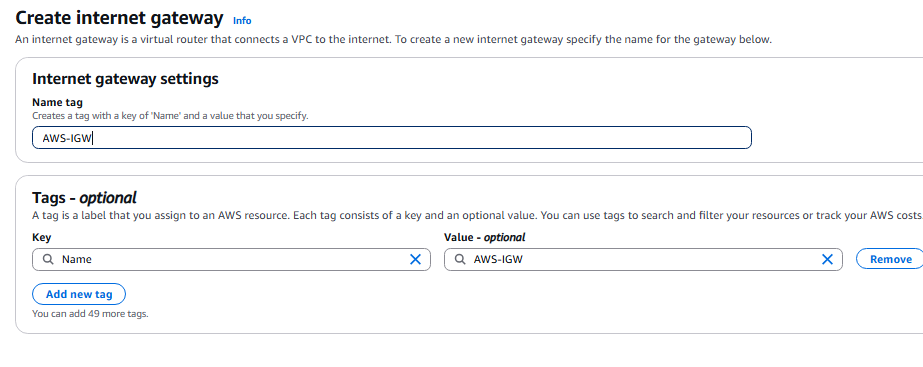
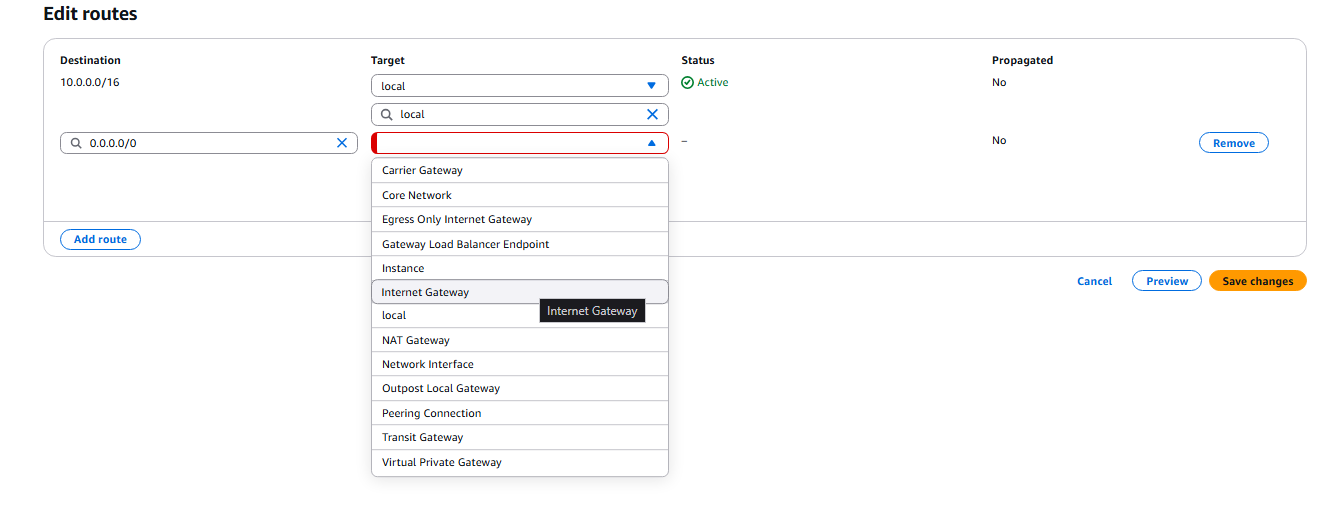
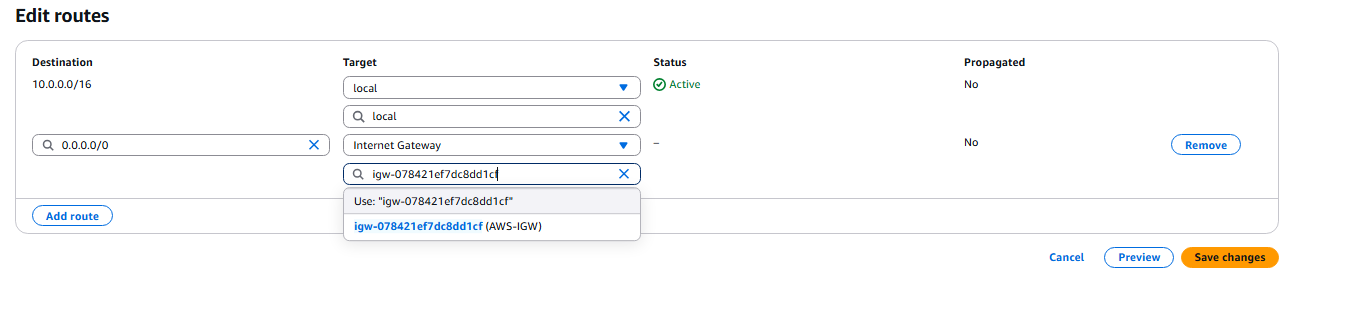
- Now we need to create the internet gateway
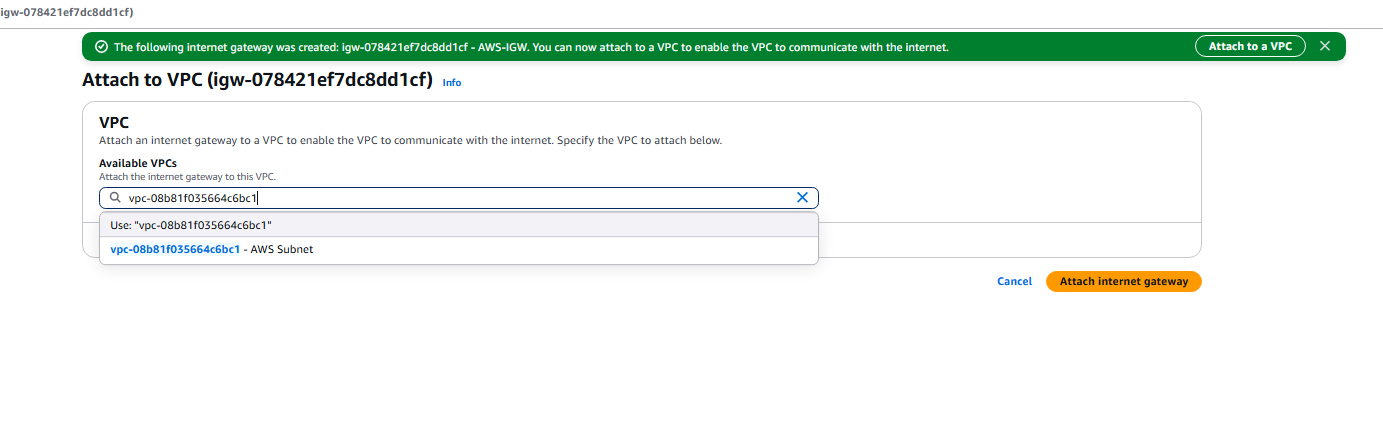
- Attach the Internet Gateway to the VPC
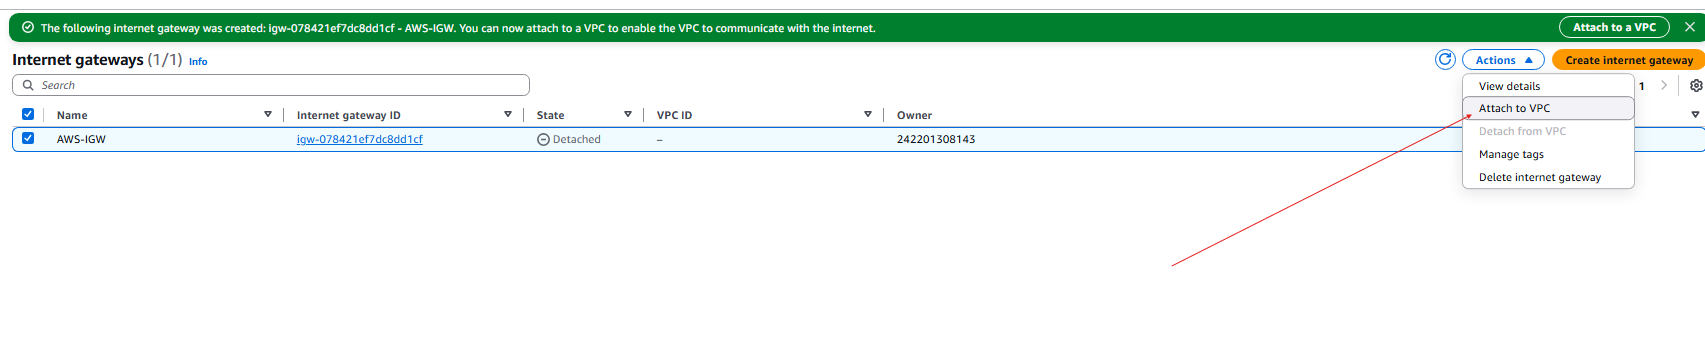
- Select the AWS Subnet VPC
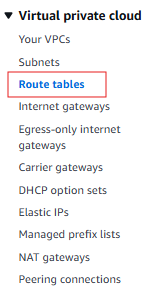
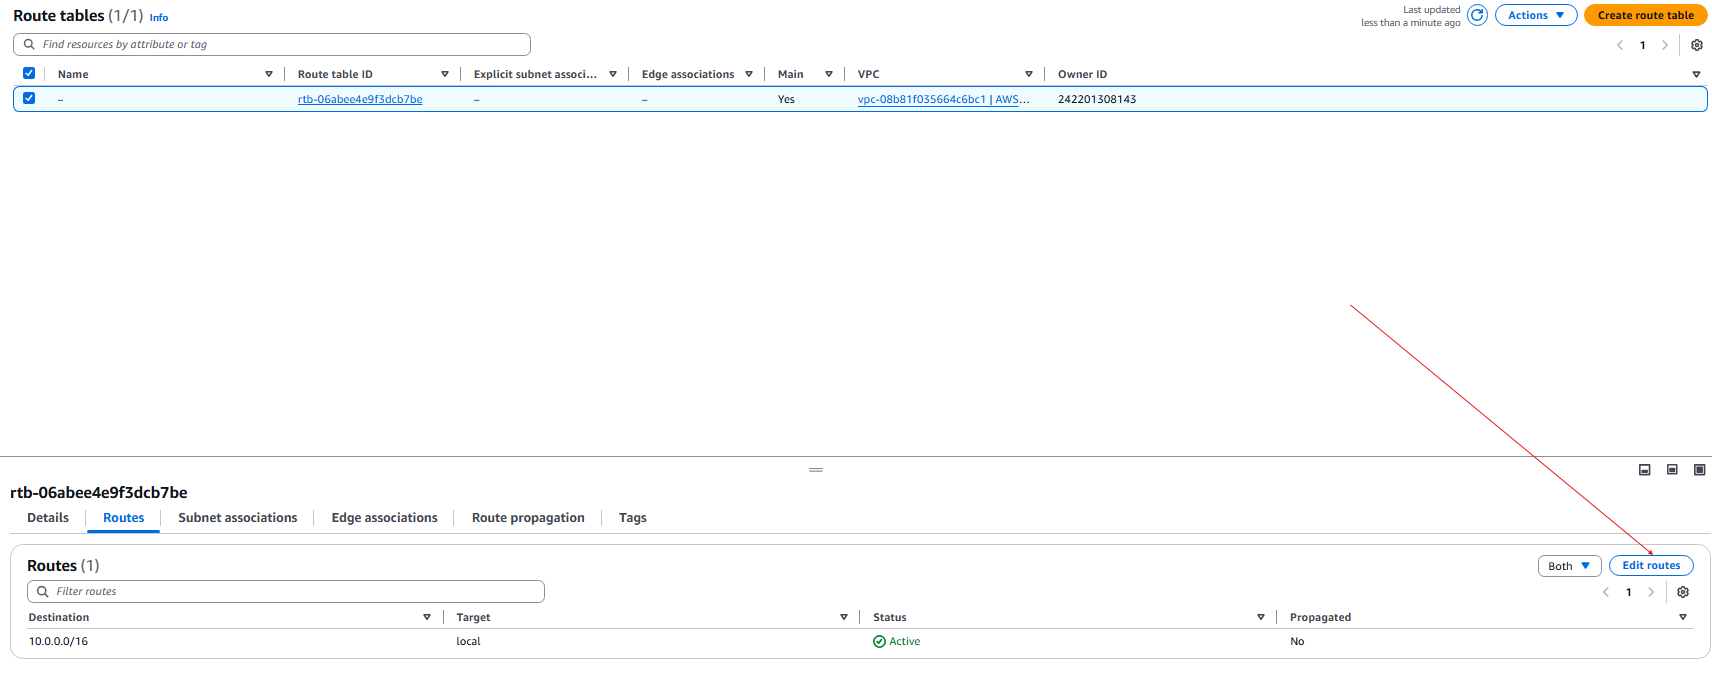
- Now we need to create a static route to the internet Gateway.
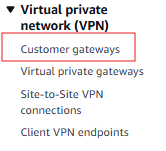
- Now we need to create the Customer Gateway:
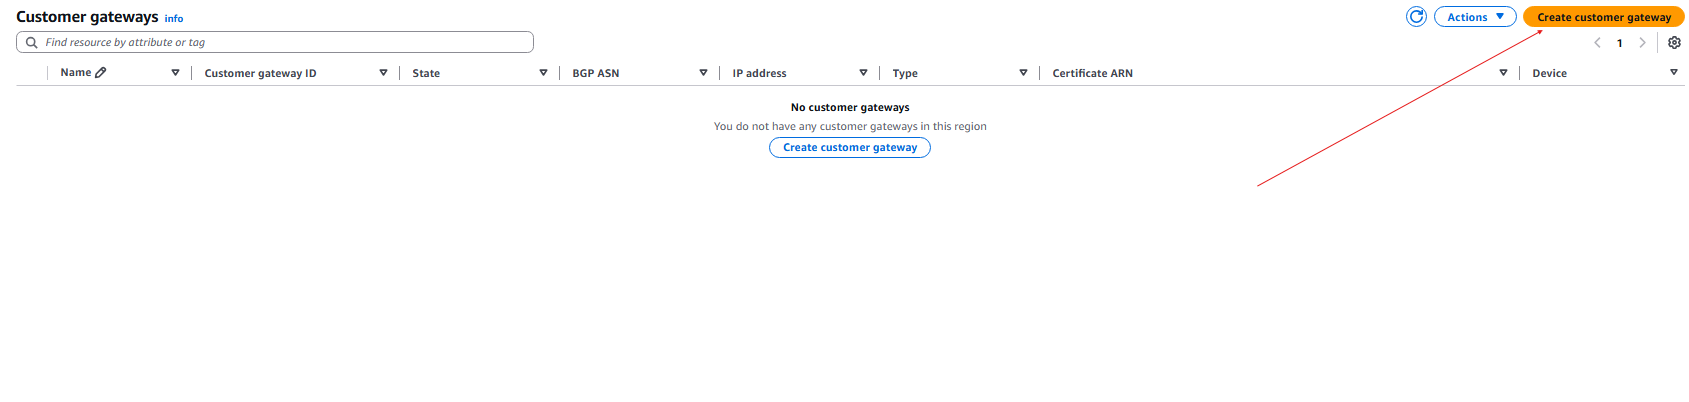
- The IP address will be your public IP address from your On Premise FortiGate

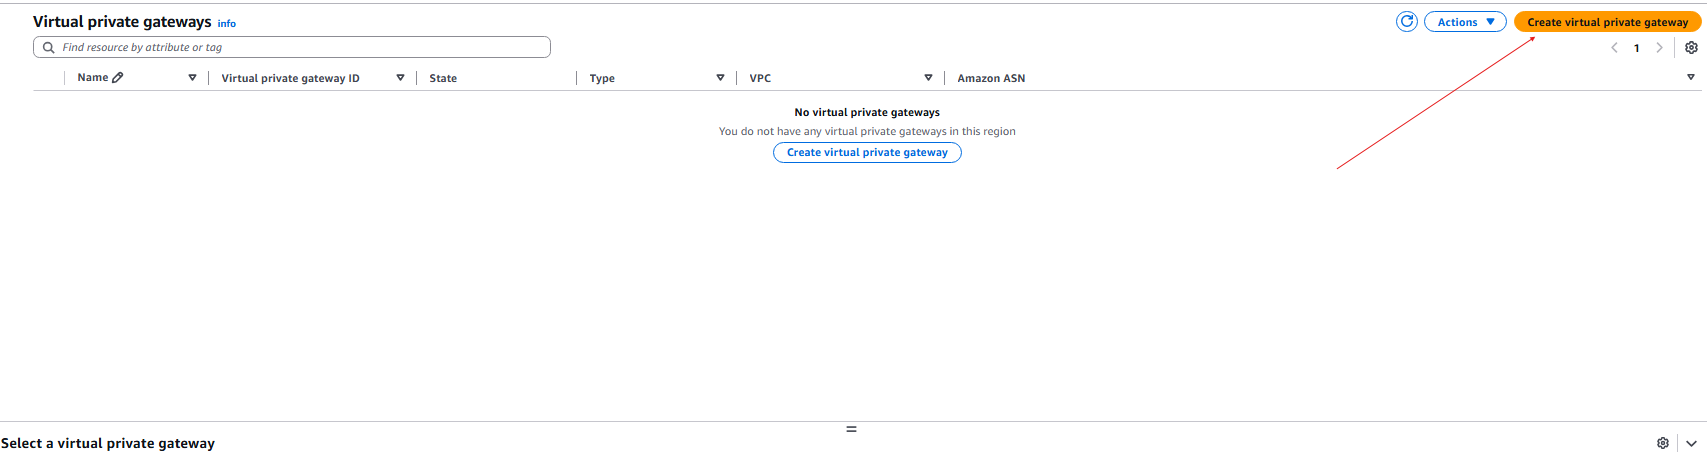
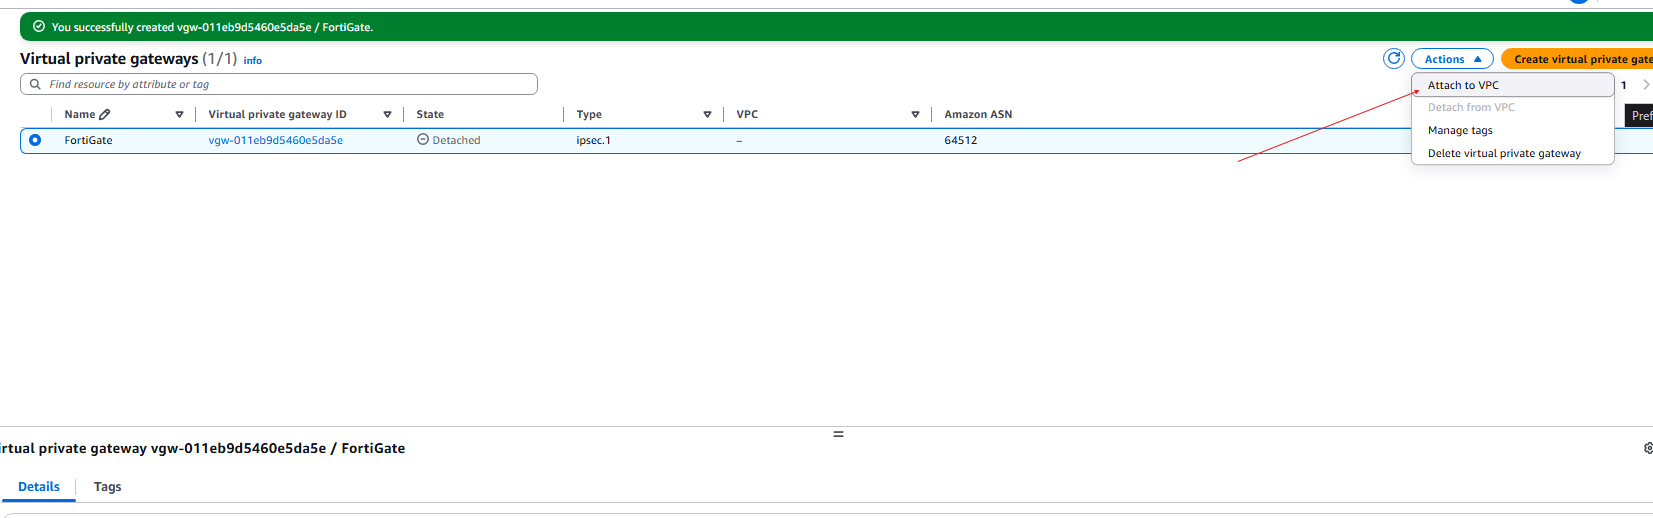
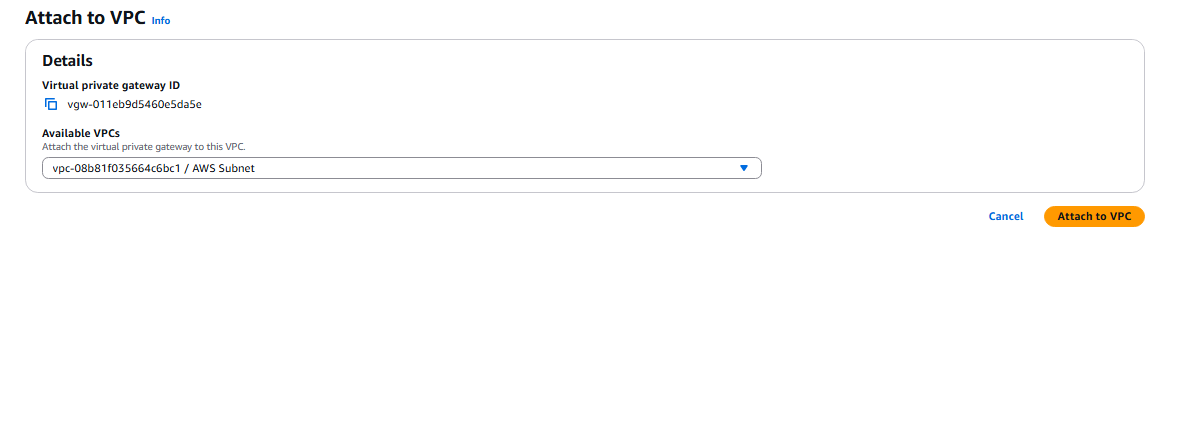
- Create a Virtual Private gateway:


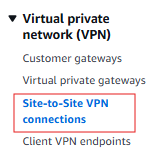
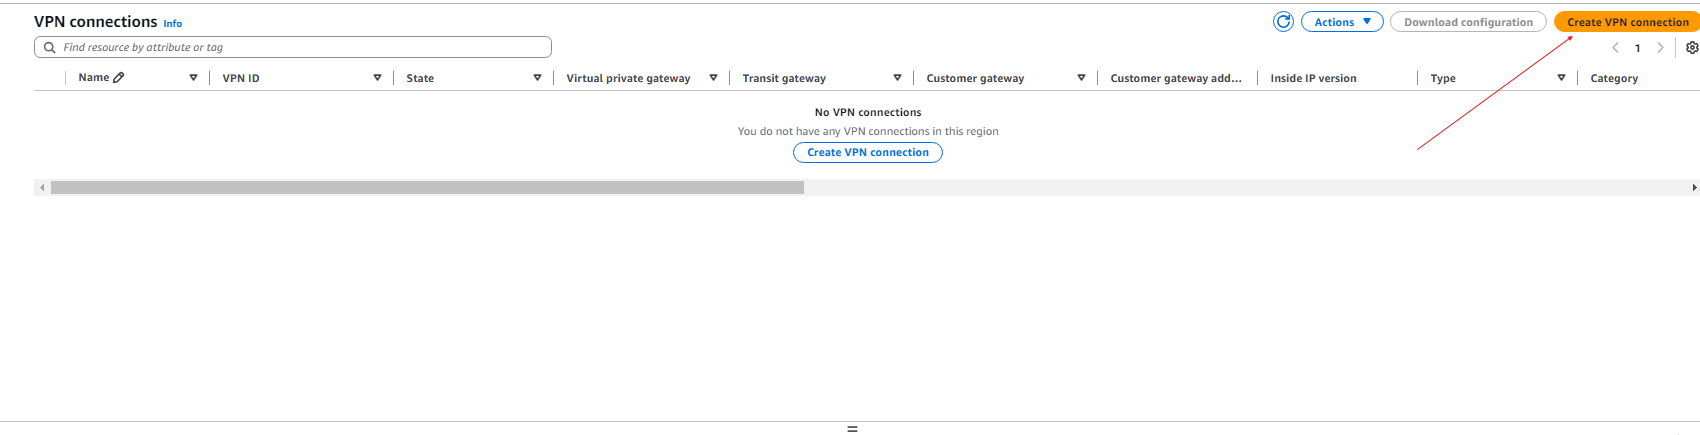
- Now we need to create the Site-to-Site VPN connection:
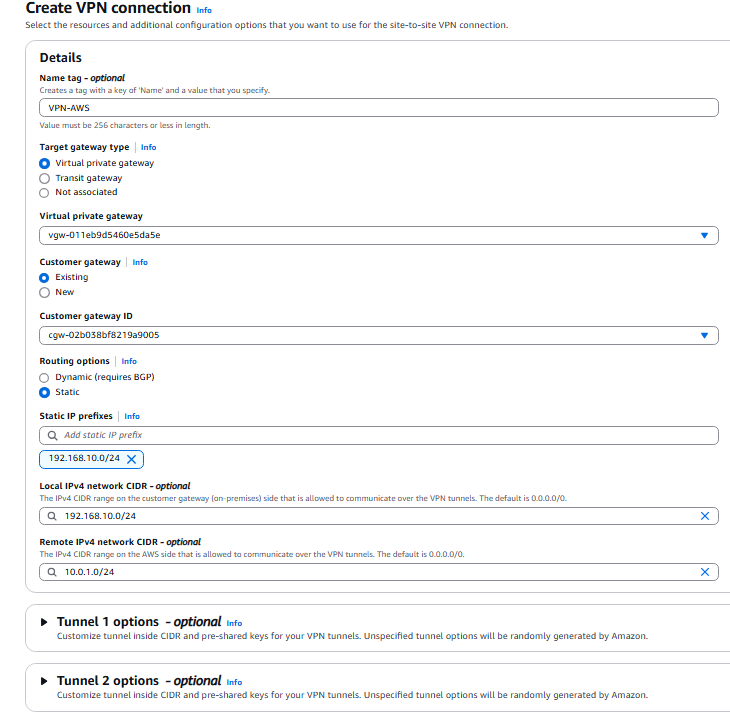
- Name: VPN-AWS
- Target gateway type: Virtual private gateway
- Virtual Private Gateway: FortiGate
- Customer Gateway ID: AWS-VPN-FG
- Routing Option: Static
- Static IP Prefixes: 192.168.10.0/24
- Local IPv4 network CIDR: 192.168.10.0/24
- Remote IPv4 network CIDR: 10.0.1.0/24
- Leave the Tunnel options as default
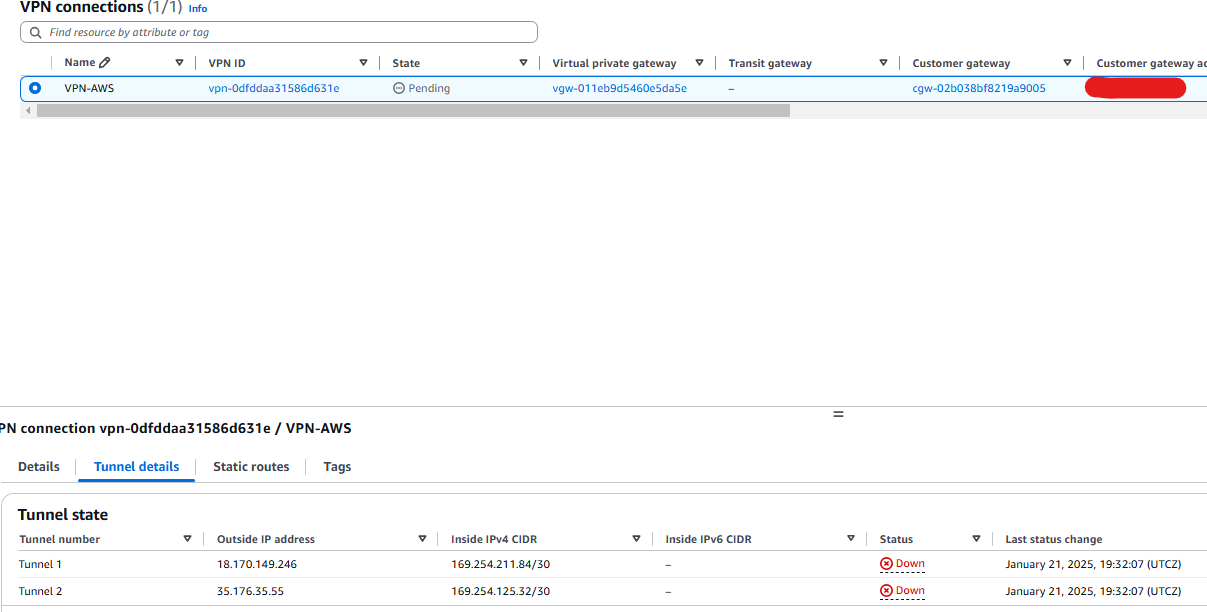
- We have now created our site to site VPN on the AWS. We can see our tunnel interfaces and IP addresses below.
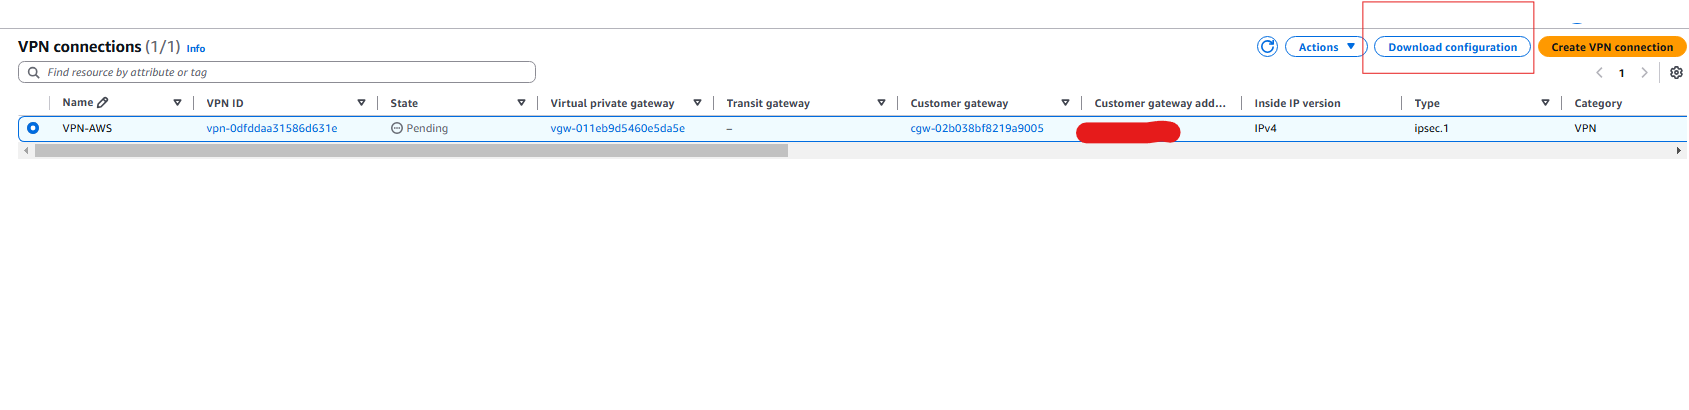
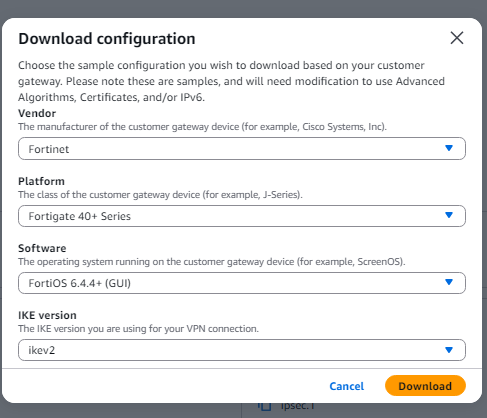
- Now we need to download the configuration file, this will be a text file where we can follow along to set up are FortiGate.
- Drop down the boxes. You should have:
- Fortinet
- FortiGate 40 + Series
- FortiOS 6.4.4 + (GUI)
- IKev2
- You can open the text file, and it will show you phase 1 and phase 2 configuration for setting up on the FortiGate.
FortiGate Configuration
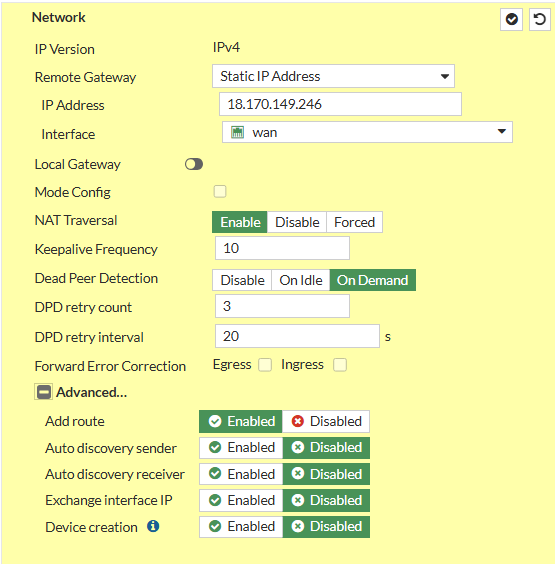
- We will create the IPsec Wizard as a custom setting. Please follow along with the download file you downloaded from AWS. However, if you're following along, it will likely look like mine.
- Remote Gateway IP address: Public IP address, AWS Virtual Gateway
- NAT: Disable
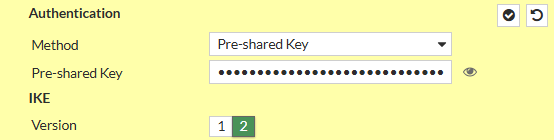
- Pre-Share Key: In the text file
- Local Address: 192.168.10.0/24
- Remote Address: 10.0.0.0/16
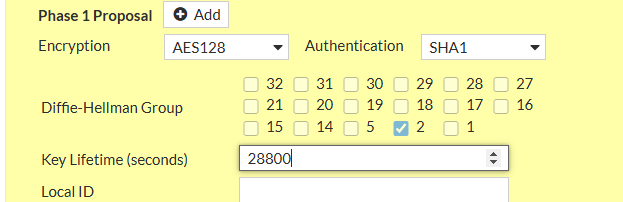
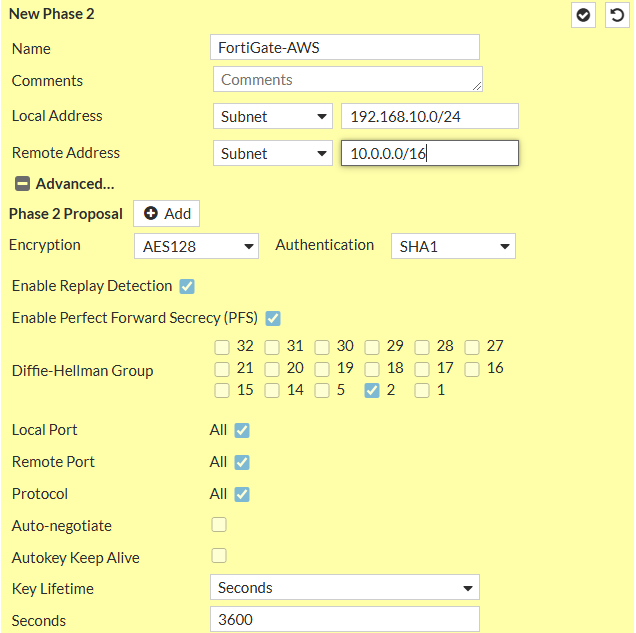
- Phase 1: Encryption: AES128, Authentication: SHA-1, DH: 2, lifetime 28800
- Phase 2: Encryption: AES128, Authentication: SHA-1, DH: 2, lifetime 3600
- IKE: Version 2

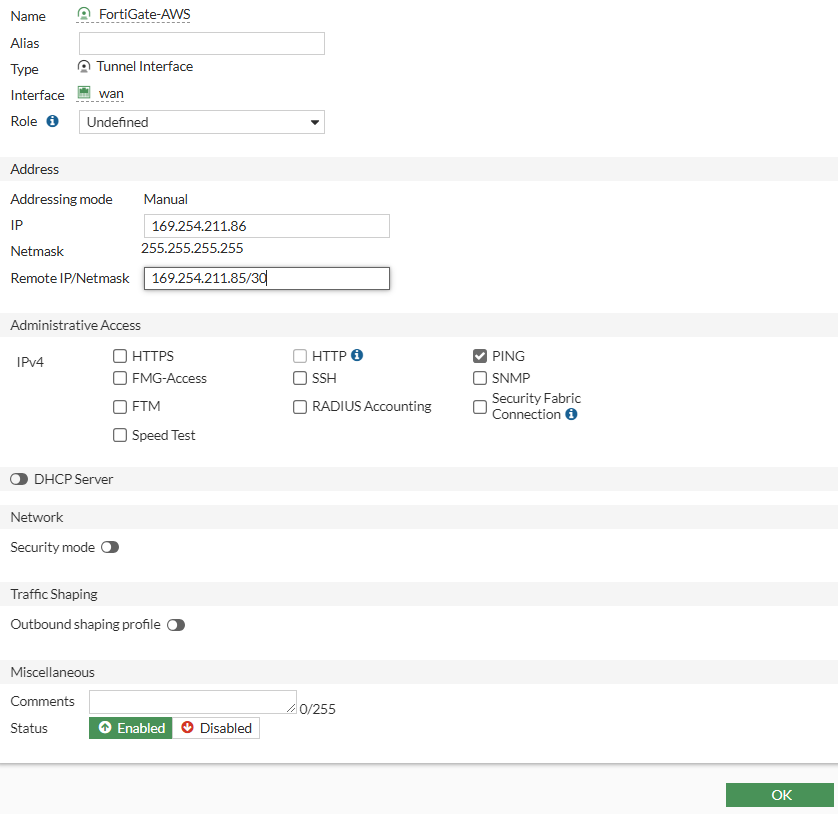
- Now set up an IP address for FG-AWS tunnel. We will set the IP address based on the configuration file.

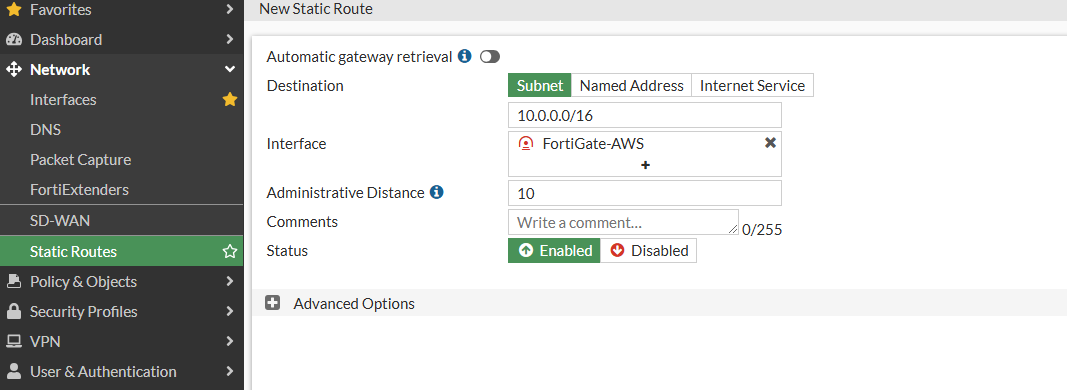
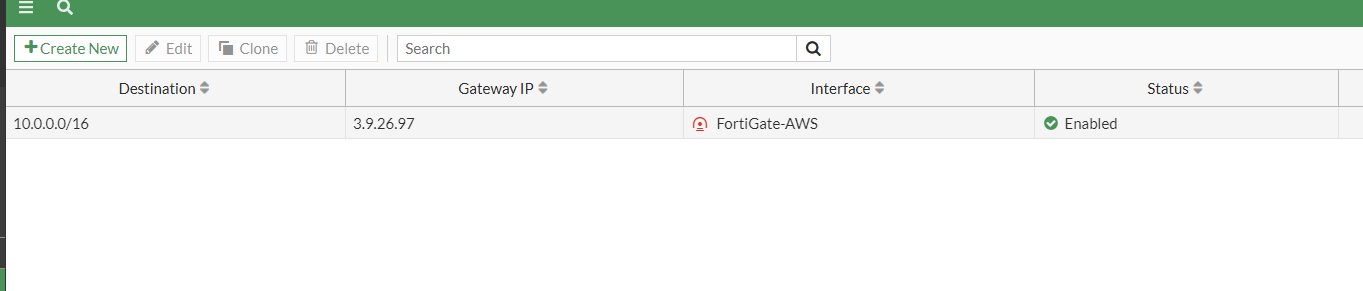
- Now Create a static route from the FortiGate LAN to the AWS LAN. We will set a static route based on the configuration file.
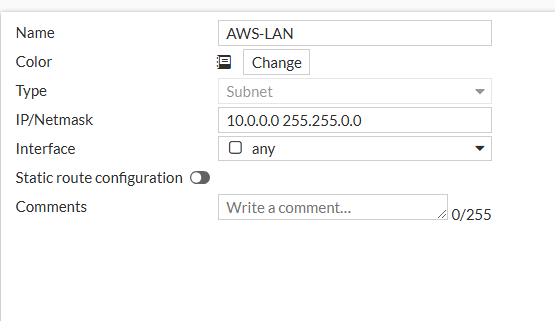
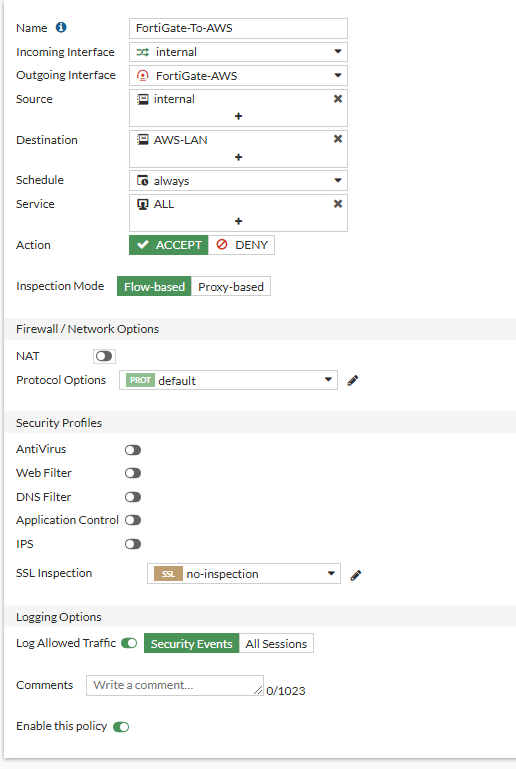
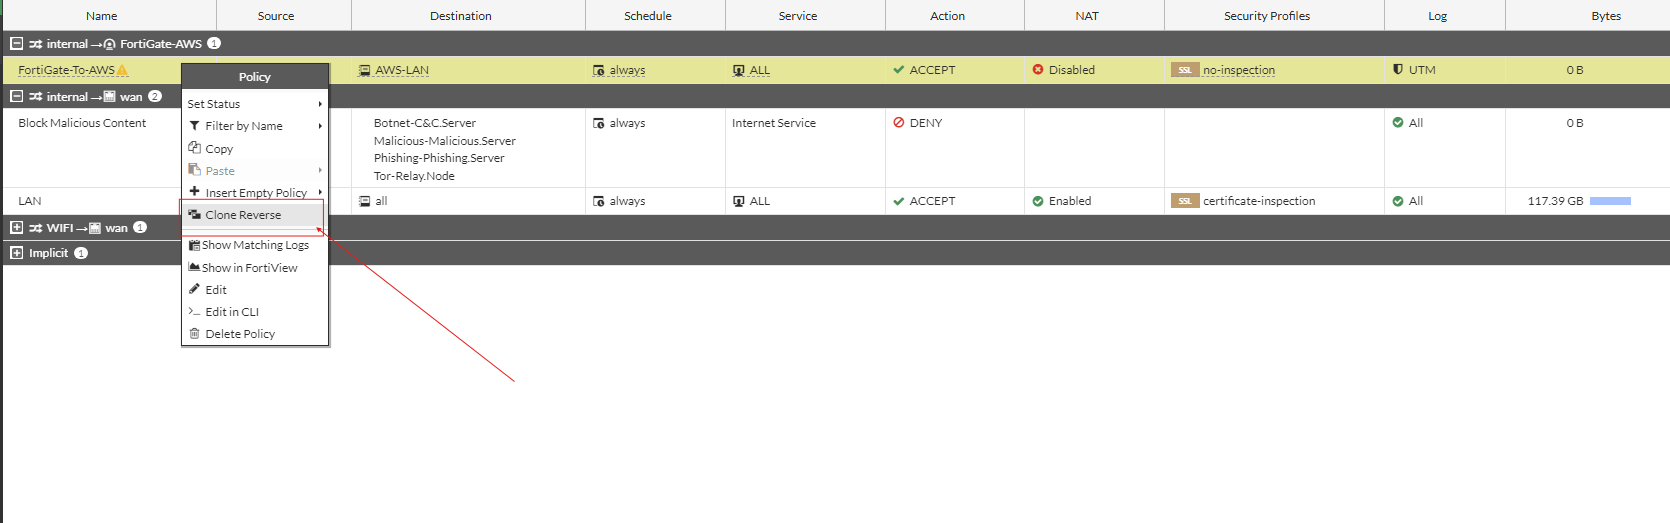
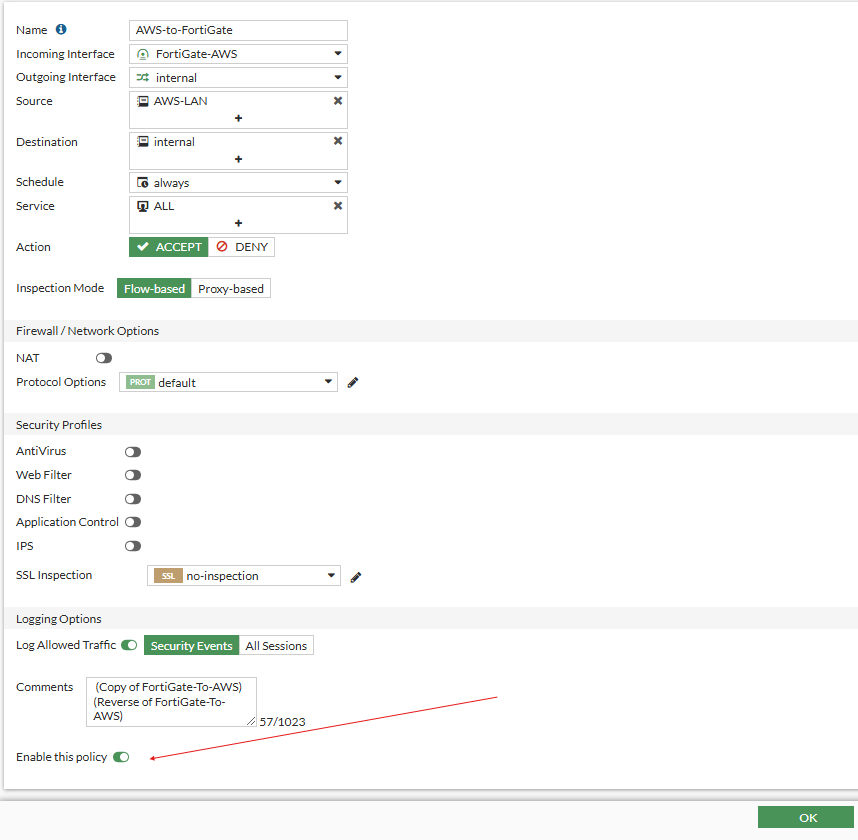
- We can create two firewall policies for this, one for the FortiGate-To-AWS and one for AWS-To-FortiGate. Let's create an address object for our AWS LAN
Verify Connection
Let's check the tunnel is up in the IPSec Tunnel section.

We can see that the IPSec Tunnel is up on the FortiGate.
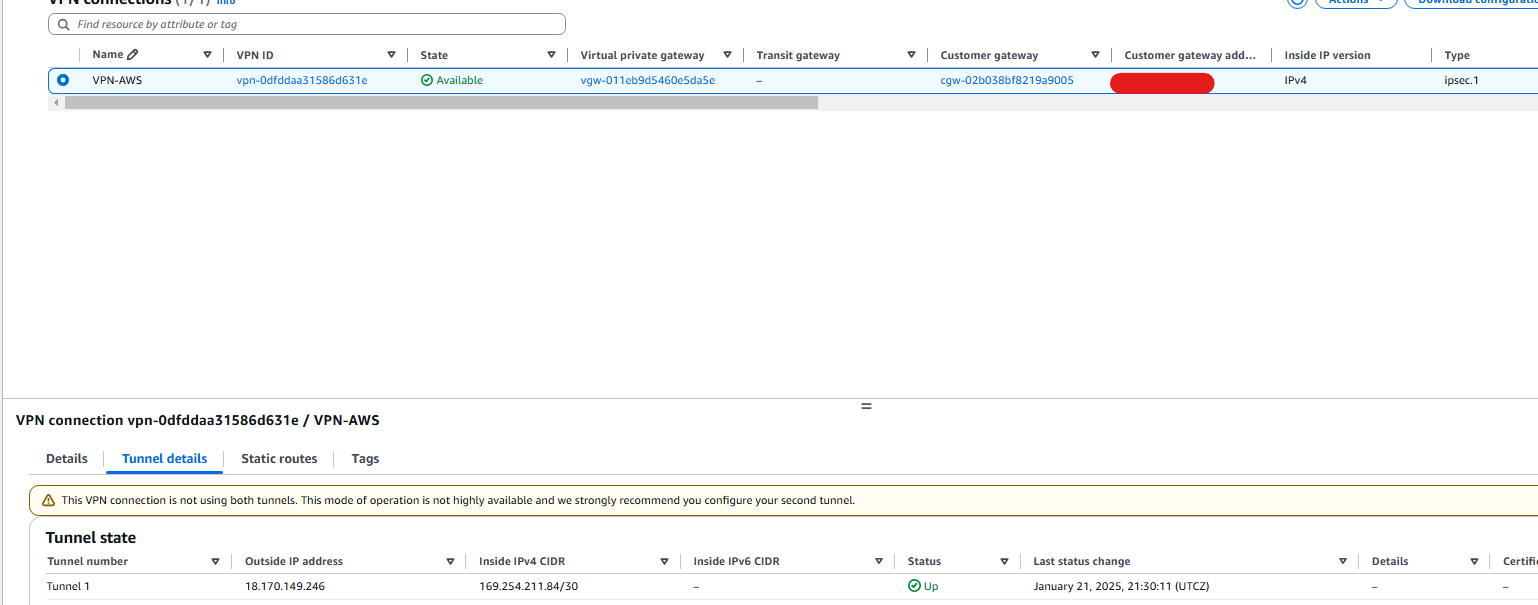
And the tunnel one is up on the AWS.
Conclusion
We have successfully established an IPsec VPN connection between our on-premises FortiGate device and AWS Virtual Private Gateway. This setup ensures secure and seamless communication between the local network and AWS cloud resources.
In this guide we configured the AWS infrastructure, such as the VPC, subnets, and VPN connection, as well as setting up the FortiGate device with phase 1 and phase 2 IPsec configuration. Finally, we verified the connection to ensure the tunnel is active and ready for data exchange.