How to Configure SSL VPN on a FortiGate for Secure Remote Work

What is SSL VPN?
SSL VPN (Secure Sockets Layer Virtual Private Network) Is a feature that allows remote users to securely access your network over the internet. It provides a secure and encrypted connection between the remote user's device and the FortiGate firewall.
Problem-Solving
I want to start this guide with a little Role Play, you don't need to grab your shield or sword with this one, though. However, I would like to break down a potential email from a client that you may see in a real world scenario.
If we look at this email below from our client and break it down:
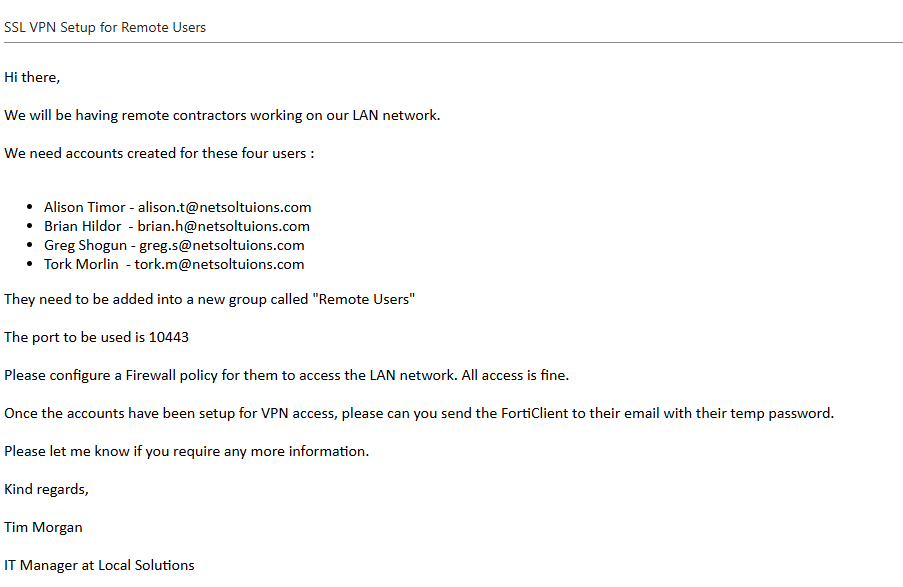
Decrypting client emails can be a challenge at times, especially if they're not familiar with either the Network design or the vendor equipment. I find it best to break down the things they need in steps.
If we look at the email, we can break down what they will be needing:
- Account creation for the users
- Adding users into a group
- Configure the SSL-VPN portal
- Configuring the SSL-VPN Settings pointing to the WAN interface and port 10443
- Configure Firewall Policy to allow the SSL-VPN connection
- Get users to log in with the FortiGate VPN Client and access the FortiGate
Breaking things down above gives us a step by step look on what needs to be done.
Account Creation for Users
We need to create the four users on the FortiGate as the client has requested.
We can do this by going to User & Authentication > User Definition

Create New > Local User
Create the user's account and set a default password for testing.
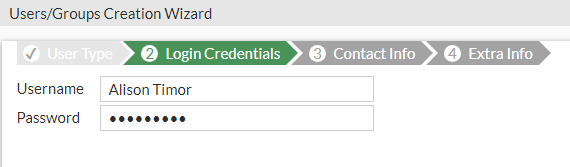
Press Next.
We don't need to set up Two-factor Authentication for this, mainly due to this being a test environment, but also because the client in the scenario has not requested it.
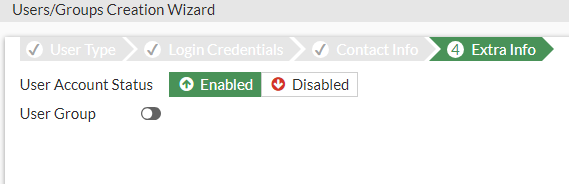
Make sure that the user account is enabled and press submit.
We will need to do this for the other three accounts.
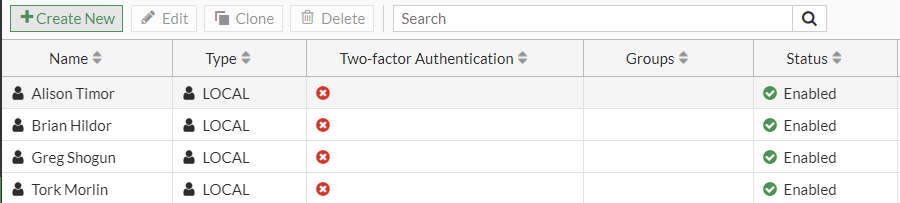
Here we can see all four accounts setup and their Status is enabled.
Adding Users to a Group
We need to add these users to a group, so we can better organise what these users are going to be doing. Also, it makes our lives easier when linking the group to the SSL-VPN later on. It would be a pain to have to add each user individually, when we can just do it once.
Go to User & Authentication > User Groups
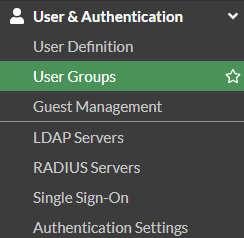
Then Create New
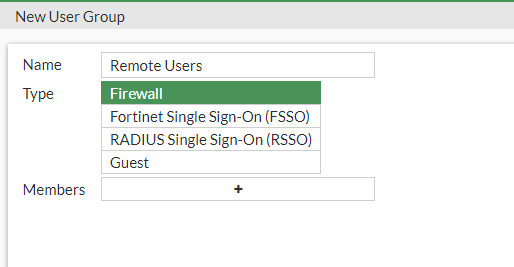
We want to call the group Remote Users. The group will be set to Firewall type. We don't have a RADIUS server, so we won't be using that, and we also don't need the users to be setup with FFSO.
We can now add our users in the member box and press OK.
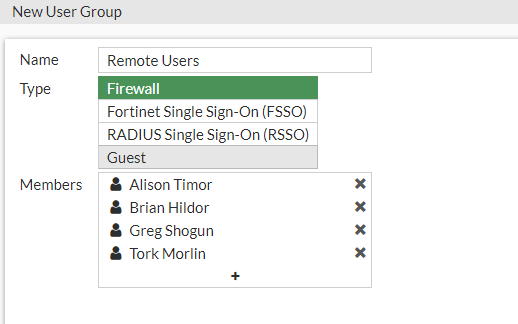
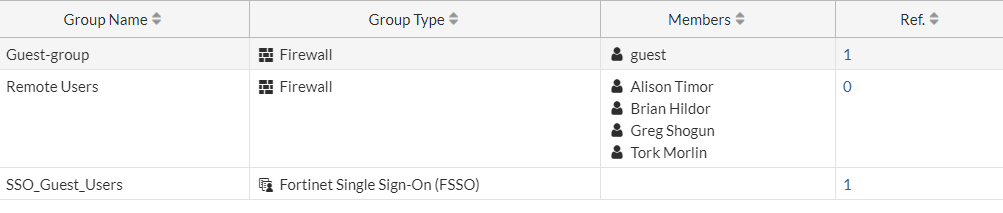
Now we have our Remote Group made with our users added to the group, we can have a look at configuring the SSL-VPN.
Configure the SSL-VPN portal
Next we need to set up the SSL-VPN portal, this is where we enable Tunnel mode, so they have access just like any user who is connected on the LAN. We also need to set up Web Mode to give the users away to access internal network resources on the network through the browser.
Go to VPN > SSL-VPN Portal
We can name it "SSL Remote Users".
When enabling the Tunnel Access, we need to add the "Internal" or "LAN" network to our Routing Address Override. This allows users to access both the internal network and internet without routing all traffic through the VPN.
Then we will need to add a Source IP Pool. We will use a default address pool for now, SSLVPN_TUNNEL_ADD1. This will allow the users to connect via a pool of IP addresses of 10.212.134.200–10.212.134.210 which is plenty for our four uses.
We need to make sure that Web mode is enabled. We can just keep this on the default settings.
In the end, it should look something like this:
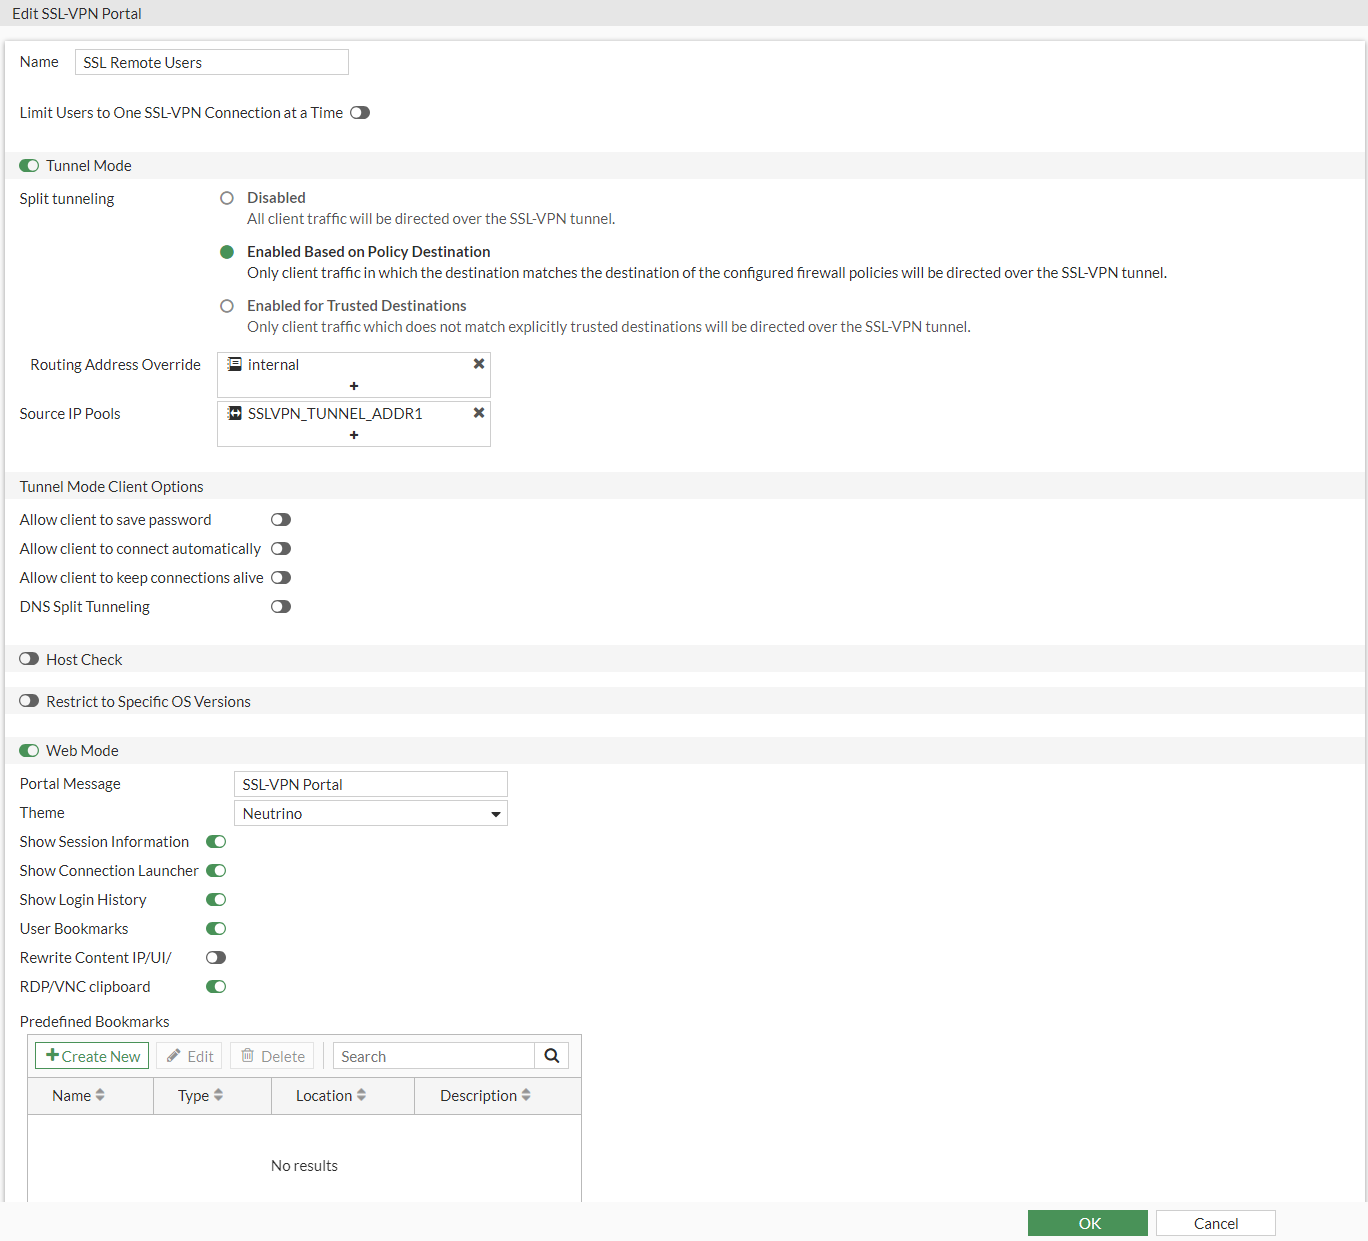
Press OK to save the settings. Next, we will configure the SSL-VPN Settings.
Configure SSL-VPN Settings
Now configuring our SSL-VPN settings, we need to specify the interface and the port this will be listening on.
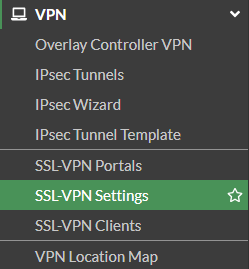
We go to VPN > SSL-VPN Setting
We need to add the WAN interface. It actually allows you to add multiple WAN interfaces, as a business may have multiple interfaces or may have specified a particular one. In this guide, we will just be using one WAN interface.
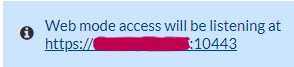
The listening port will be the one the client specified, which is 10443. In this case if we were to browse with Web mode with the WAN IP address with the listening port at the end we will be able to access the FortiClient VPN with one of the users account we set up, after the VPN settings have been configured.
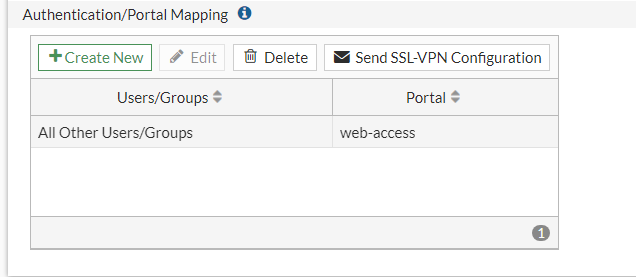
Next, we need to configure the Authentication/Portal Mapping.
At the moment, we have All Other Users/Groups - Web Access.
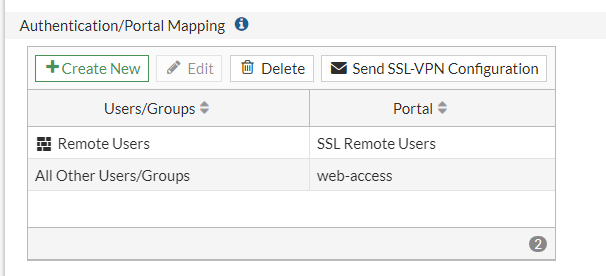
We need to add the Remote users group and link it to our SSL Remote Users Portal we made before.
It should look something like this:
Tunnel Mode Client Settings, should be set to automatically assign address. It will look like this:
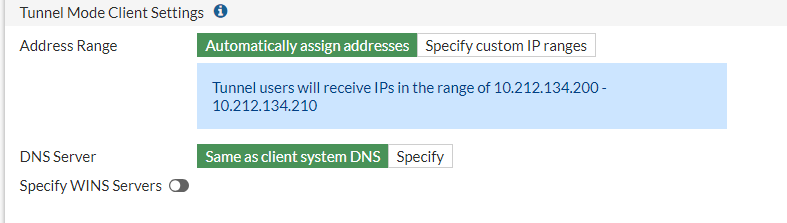
This is getting the IP addresses from the SSLVPN_TUNNEL_ADD1 we set up in our SSL VPN-Portal earlier.
At the end, it should look something like this:

I have blanked out my WAN IP in the Web mode for security reasons, however your one will have the "WAN IP:10443" with the listening port at the end.
Just press apply at the bottom to save it.
Next, we need to configure a Firewall policy for our SSL-VPN.
Configure SSL-VPN Firewall Policy
At the top of our SSL-VPN Settings, we can see a yellow warning box telling us "No SSL-VPN policies exist"
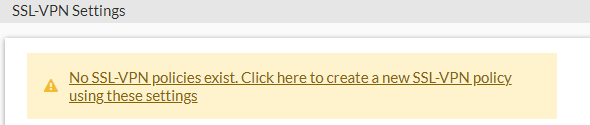
If we click into this, it will bring us into the creation of a Firewall policy for our SSL-VPN.
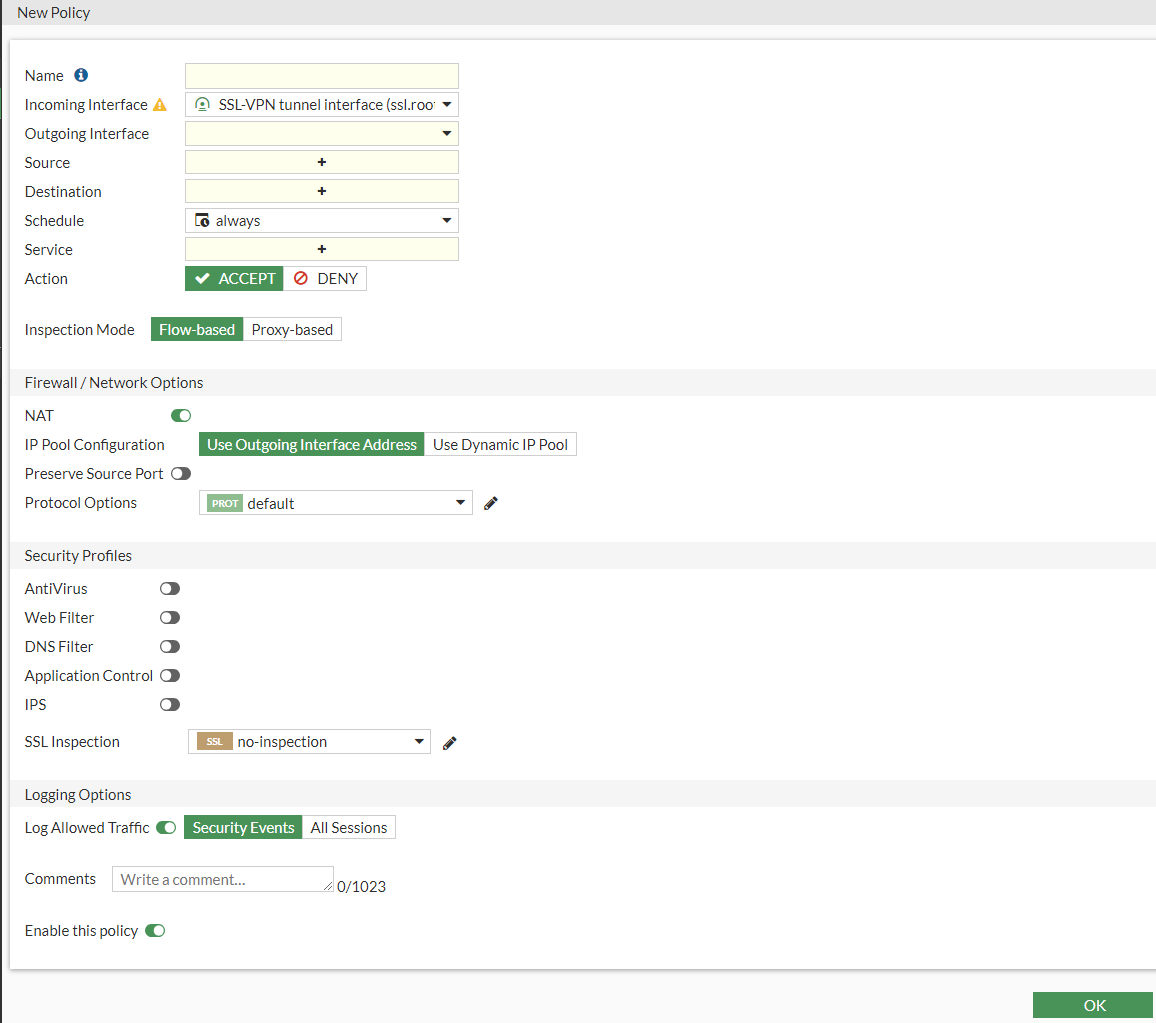
- Name - SSL VPN > Remote Users
- Incoming Interface - This will be the ssl.root as it's the tunnel interface
- Outgoing Interface - Internal (LAN Interface)
- Source - Remote Users Group & SSLVPN_TUNNEL_ADDR1 our IP Pool
- Destination - Internal Subnet range object
- Schedule - always
- Service - All
- Action - Accept
- Inspection Mode - Flow-based
- Nat - Enabled
It should look like this by the end of it.
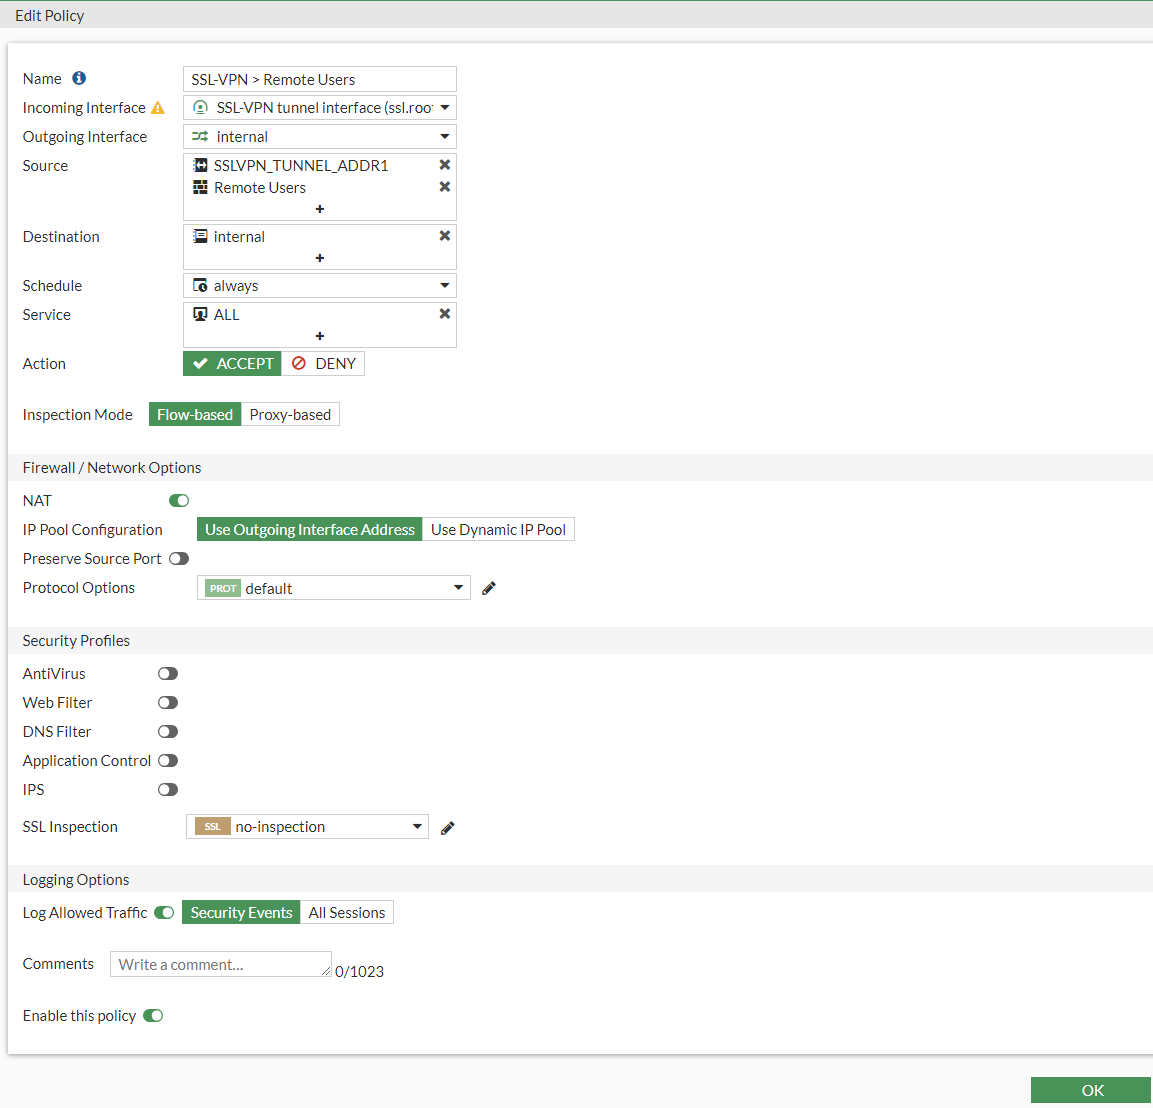
Press OK to save.
Now if we go to Policy Objects > Firewall Policy

Now we have the Firewall Policy, we can test the connection on our LAN device to see if the portal is working and users can log in.
Test User Accounts
We can test our user accounts by heading to VPN > SSL-VPN Settings.
We can click on the Web mode access.
This will open up a new tab allowing us to log in as one of the remote users as if we were remotely logging in.
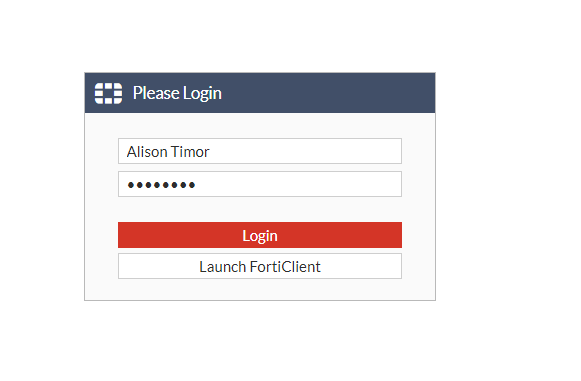
Once logged in, we will get the option to launch the FortiClient or Download the FortiClient.

Right now, we know that the accounts are working, so let's configure the FortiClient on another device while connected to a 4g network to test the remote connection back to the FortiGate.
FortiClient Setup
On the users' device, we need to configure the FortiClient to connect back to our FortiGate.
When on a separate device connected to my phone's hot spot, I can do an ipconfig to see the IP we are getting.

Next, we need to configure the FortiClient VPN.
We should be using the SSL-VPN Tab
- Connection Name - Remote VPN (This can be named to whatever you want)
- Description - I have left this blank, but it's the description of the VPN
- Remote Gateway - This is the IP address of the WAN
- Customize port - 10443
- Authentication - Prompt on login
- Client Certificate - None
It should look something like this:
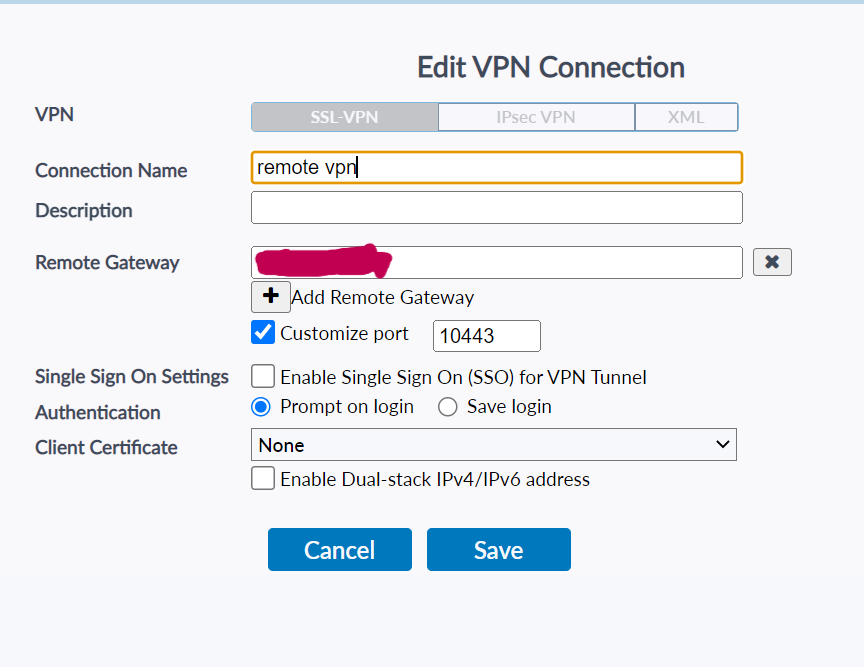
Press Save.
Now we can type in our user credentials to see if we get remote connection.
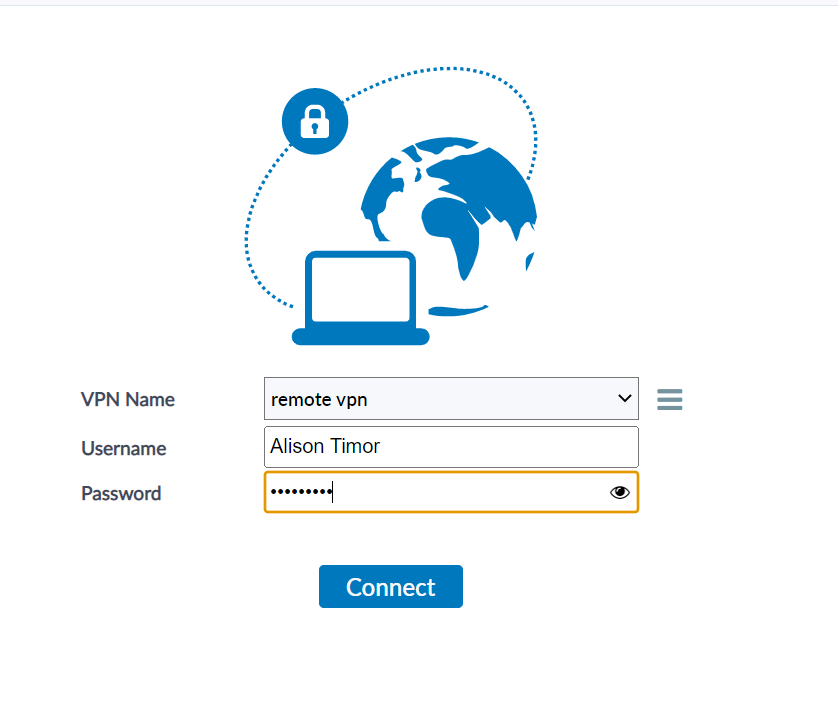
Press Connect.
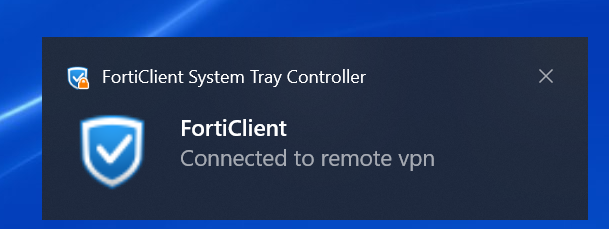
A pop-up on the right side of the screen will come up saying FortiClient Connected to the VPN. This proves that we have connected to the LAN network.
We can do an ipconfig command in CMD on our user device to see what IP address we are getting.
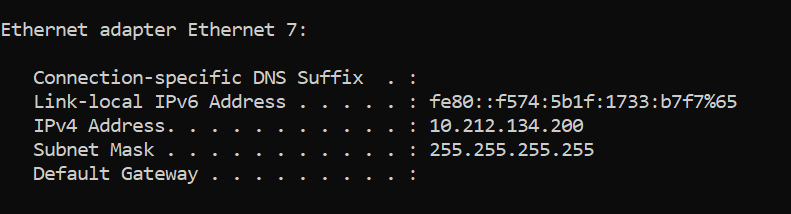
As we can see we are getting an IP of 10.212.134.200 which is given to us from our IP pool.
We have successfully configured the SSL-VPN Connection and Remote access for the users.
Conclusion
We have now configured SSL-VPN connection to our FortiGate and tested the connected. We also followed the steps of configuring the connection from an email that we would get from a client in a real world scenario.
Breaking down the steps we did and what we have learnt.
- Creating users on our FortiGate
- Creating a remote group to add the users too
- Configuring the SSL-VPN Portal
- Configuring the SSL-VPN Settings
- Configure a Firewall Policy
- Testing account access
- Configuring the VPN client on remote device
- And testing VPN connection to FortiGate
Thanks for following this guide, and Happy Networking!