Configure FGCP Active-Passive HA on FortiGate Firewall

HA or High Availably is a clustering feature that links two or more FortiGate Firewalls together to act as a single device. This stops single points of failure in case one of the devices were to go down.
In this guide I will configure the FortiGates interfaces and HA port. The network topology will be created in EVE-NG. Once both FortiGates are configured, I will demonstrate the HA failover.
EVE-NG Topology
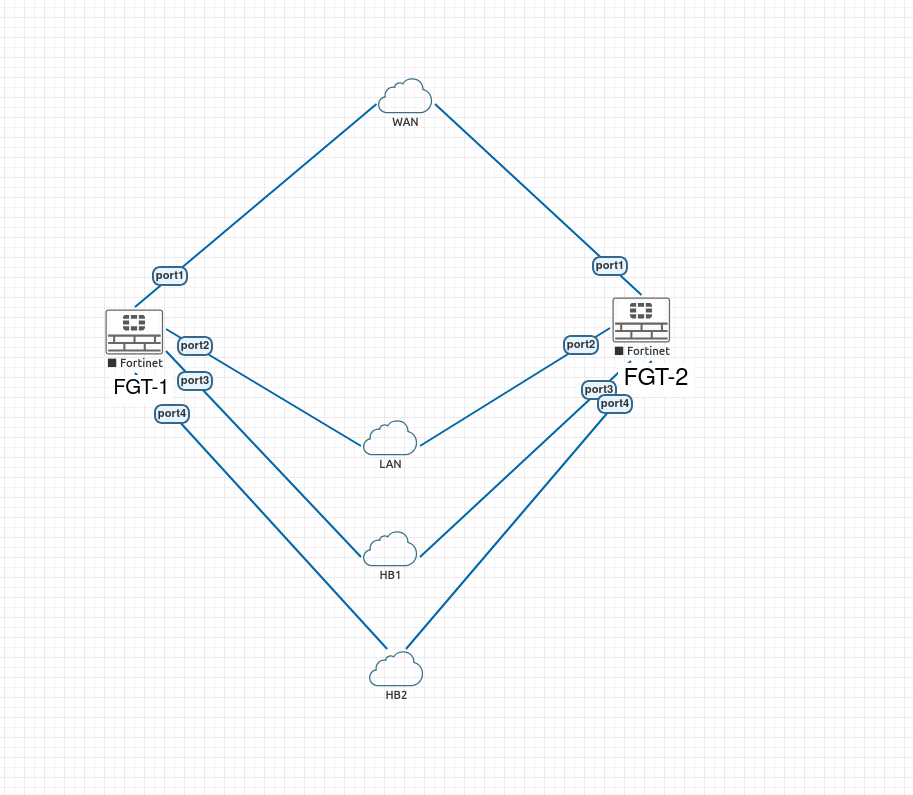
Above is my network topology for this project.
| Device | Interface | IP Address | Role |
|---|---|---|---|
| WAN Gateway | - | 192.168.122.1/24 | Default Gateway |
| FGT-1 | port1 | 192.168.122.106/24 | WAN |
| FGT-2 | port1 | 192.168.122.107/24 | WAN |
| FGT-1 | port2 | 10.0.0.1/24 | LAN |
| FGT-2 | port2 | 10.0.0.1/24 | LAN |
| FGT-1 | port3 | - | Heartbeat 1 |
| FGT-2 | port3 | - | Heartbeat 1 |
| FGT-1 | port4 | - | Heartbeat 2 |
| FGT-2 | port4 | - | Heartbeat 2 |
- WAN - network is for FortiGates to communicate out to the internet.
- LAN - internal network, protected by the HA cluster.
- HB1 and HB2 is for the two FortiGates to sent heartbeat packets to each other.
Configuring FortiGate Firewalls
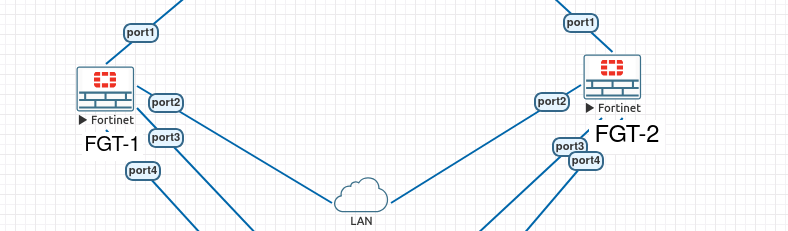
If we right-click on both firewall and click start, these will power them both up. We will know this because the icon goes from gray to red.
Now we can click on FGT-1 to open up the terminal and configure this device.
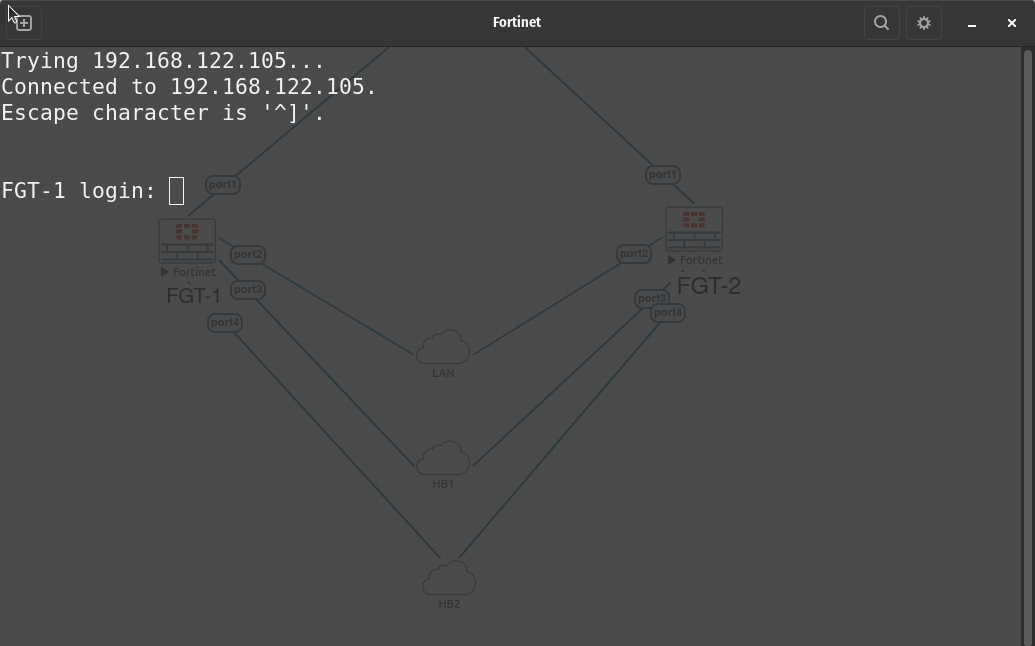
I have already configured the password and changed the hostname of this device. Now that we have logged into the device we will need to configure the ports with the IP addresses we listed in our topology above.
FGT-1
config system interface
     edit "port1"
        set vdom "root"
        set ip 192.168.122.106 255.255.255.0
        set allowaccess ping https ssh
        set type physical
        set alias "WAN"
        set snmp-index 1
    next
    edit "port2"
        set vdom "root"
        set ip 10.0.0.1 255.255.255.0
        set allowaccess ping https ssh
        set type physical
        set alias "LAN"
        set snmp-index 2
    next
    edit "port3"
        set vdom "root"
        set type physical
        set alias "HB1"
        set snmp-index 3
    next
    edit "port4"
        set vdom "root"
        set  type physical
        set alias "HB2"
        set snmp-index 4
Perfect, that is the interface configuration. Now we need to configure the default gateway and test if we can ping out to the internet.
config router static
    edit 1
        set dst 0.0.0.0 0.0.0.0
        set gateway 192.168.122.1
        set device port1
    next
end
Let's ping our default gateway and 8.8.8.8
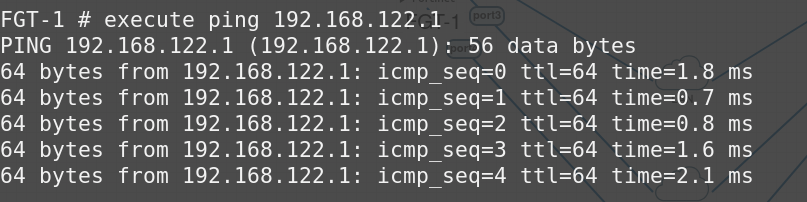
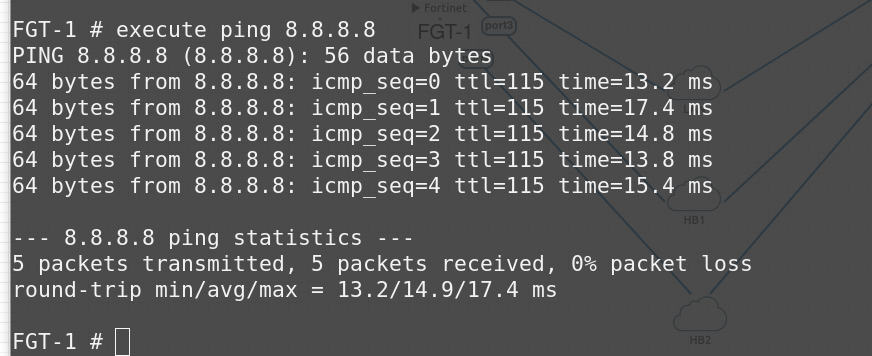
This proves that we can ping our default gateway and Googles DNS server on 8.8.8.8
Now we can do the same on FGT-2
FGT-2
config system interface
  edit "port1"
       set vdom "root"
       set ip 192.168.122.106 255.255.255.0
       set allowaccess ping https ssh
       set type physical
       set alias "WAN"
       set snmp-index 1
   next
       edit "port2"
       set vdom "root"
       set ip 10.0.0.1 255.255.255.0
       set allowaccess ping https ssh
       set type physical
       set alias "LAN"
       set snmp-index 2
   next
   edit "port3"
       set vdom "root"
       set type physical
       set alias "HB1"
       set snmp-index 3
   next
   edit "port4"
       set vdom "root"
       set  type physical
       set alias "HB2"
       set snmp-index 4
config router static
    edit 1
        set dst 0.0.0.0 0.0.0.0
        set gateway 192.168.122.1
        set device port1
    next
end
Now that both FGT-1 & FGT-2 are configured it's time to configure HA.
Configure HA
FGT-1
config system ha
    set mode a-p
    set group-name HA-LAB
    set group-id 1
    set password fortinet123
    set priority 200
    set hbdev port3 50 port4 50
    set session-pickup enable
    set override enable
end
FGT-2
config system ha
    set mode a-p
    set group-name HA-LAB
    set group-id 1
    set password fortinet123
    set priority 100
    set hbdev port3 50 port4 50
    set session-pickup enable
    set override enable
end
- We set the mode a-p to be Active-Passive
- Group-name and group-id must match on both units or there will be misconfiguration issues.
- Password must match for the same reason as the group-name and ID
- Priority, we want the primary to have a higher number than the secondary
- hbdev- port3 and port4 are both used for heartbeat, 50 is the priority per link
- overrider enable means FGT-1 will reclaim primary role after recovering from failure
We want override enable on both FortiGates as both units will agree that the priority number takes priority, otherwise, if the secondary were to come up before the primary that would take ownership.
Now we can verify the HA cluster has formed.
get system ha status
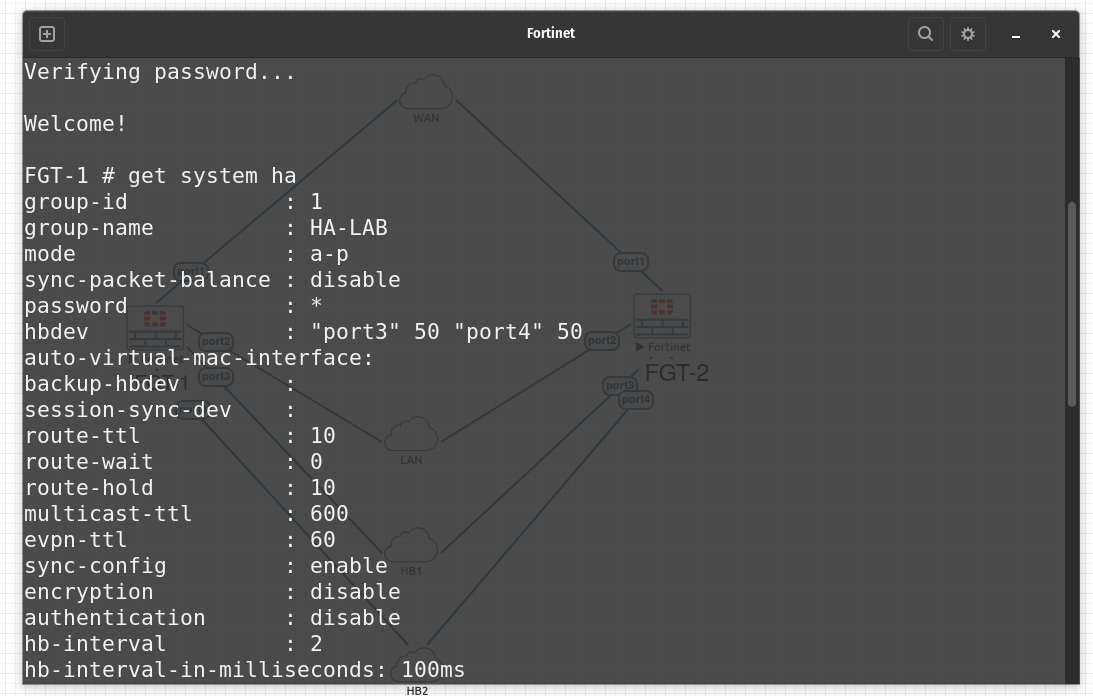
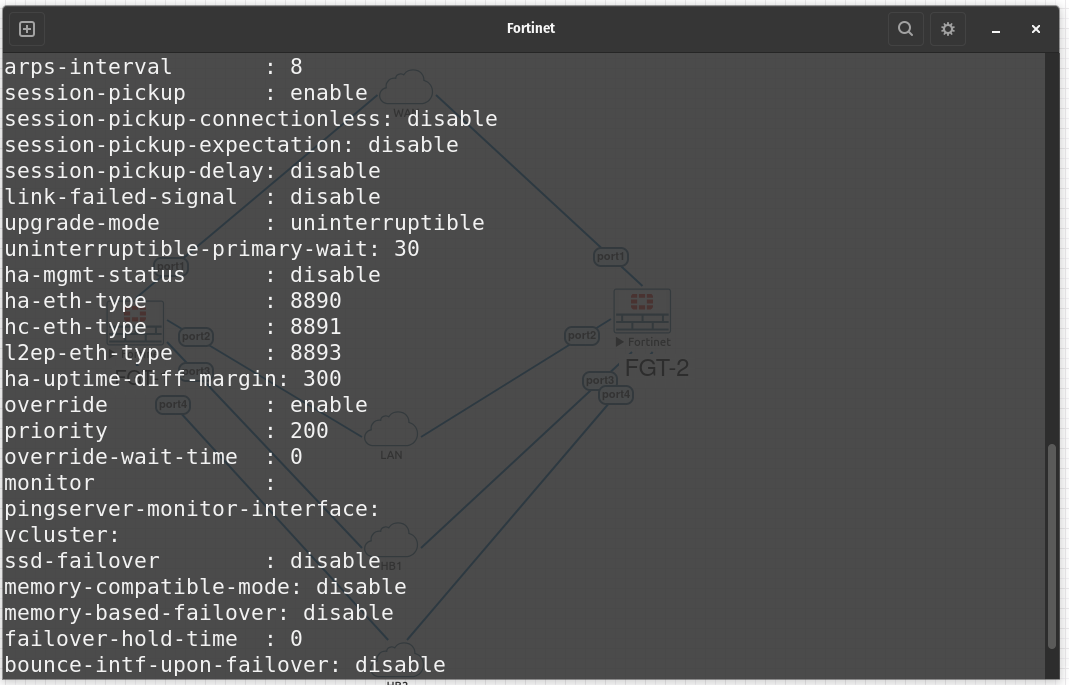
This gives me the information I need. I can see the group-id, group-name, the mode a-p. I can also see that the priority is set to 200.
Now I can do a synchronize command to sync the units together.
execute ha synchronize start
After that has finished we can check to see if both devices have synced
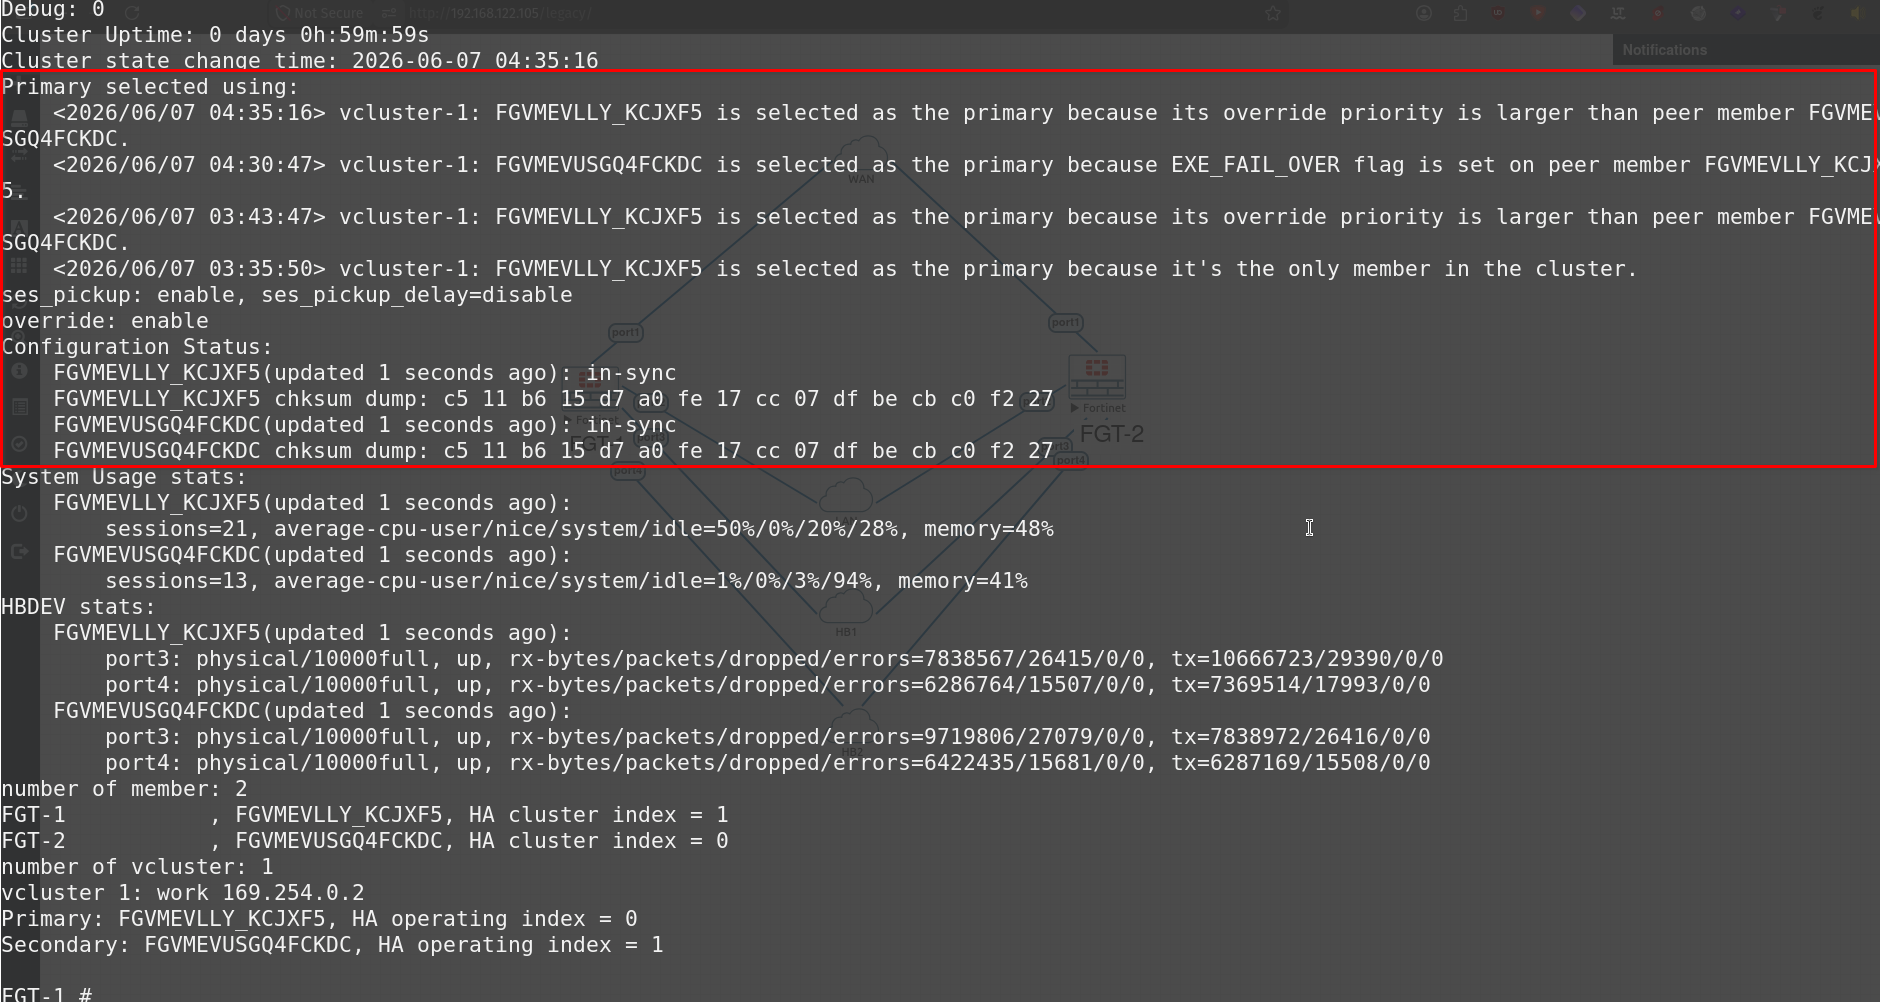
On FGT-2 run
get system ha status
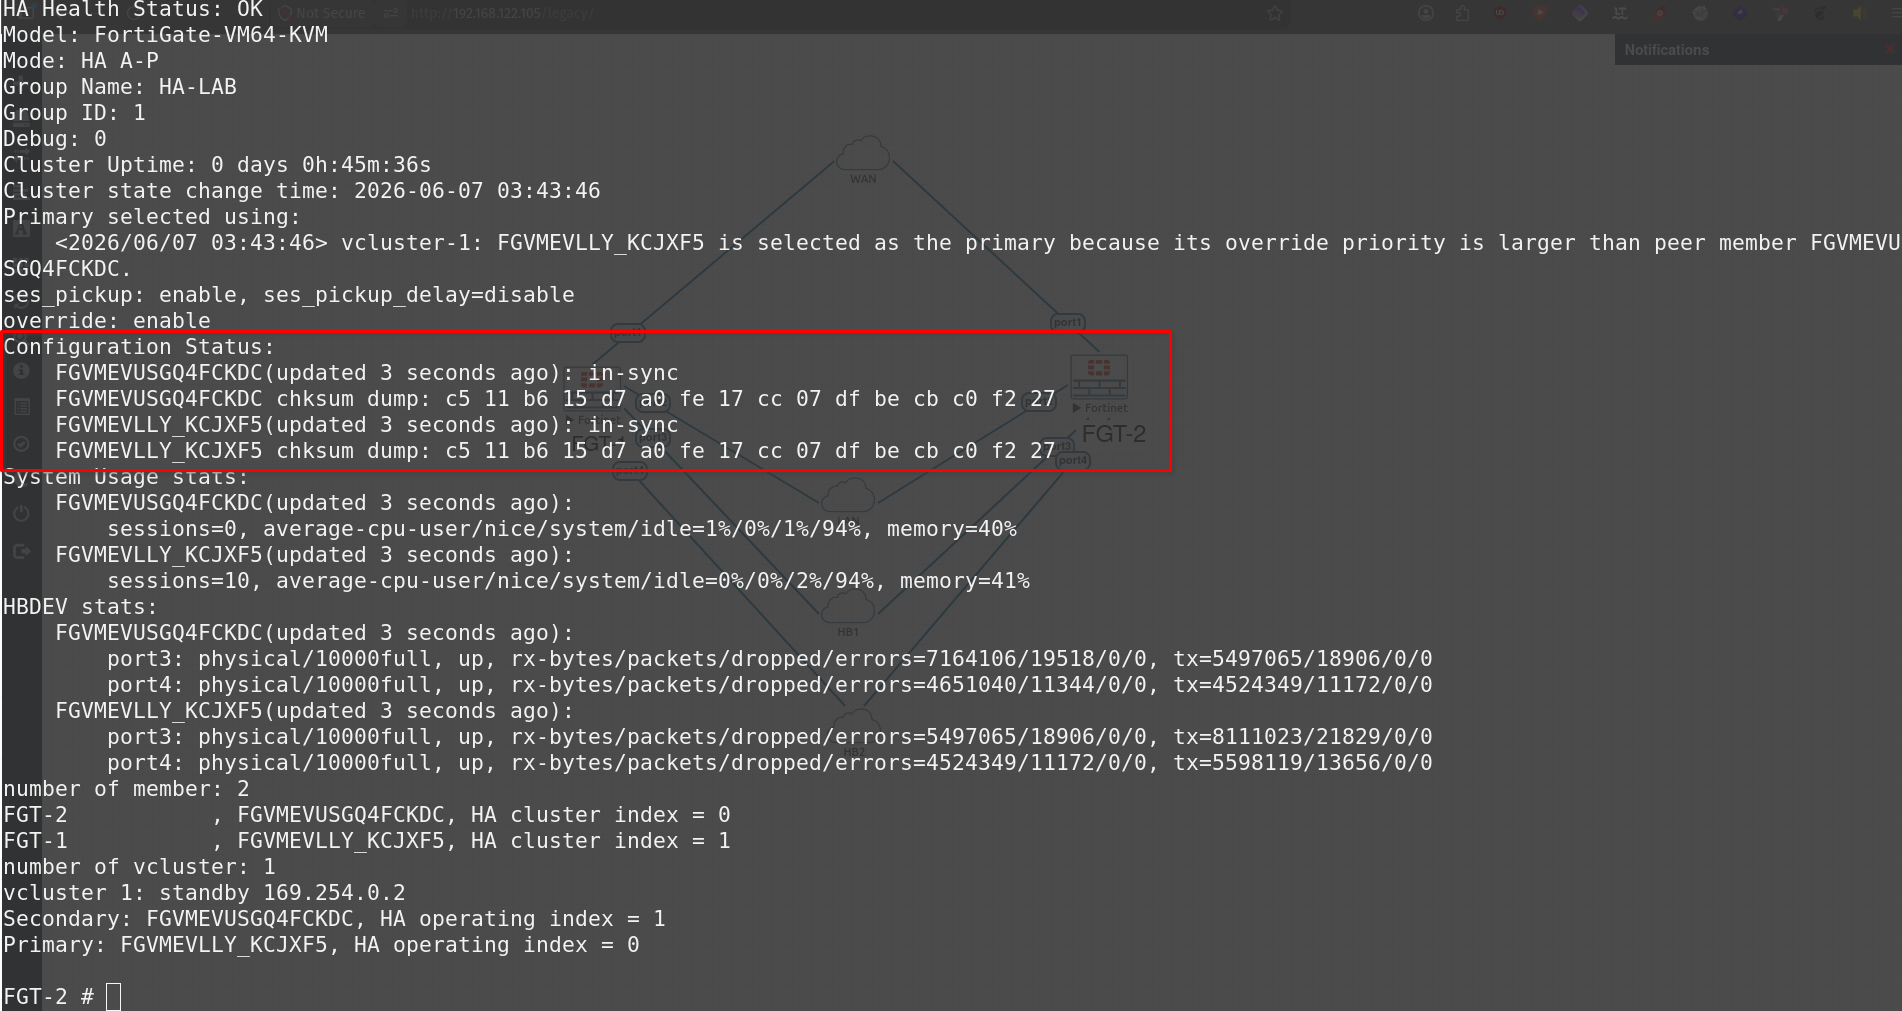
We can see the chksum dump that both FortiGate devices are in-sync. FGT-1 is the primary and FGT-2 is the secondary and the heartbeat links are up and have zero errors.
HA Failover
Now we need to do a failover test to see if the HA we have configured actually does what it's supposed to.
FGT-1
execute ha failover set 1
This command will force a failover.
Now run on FGT-2
get system ha status
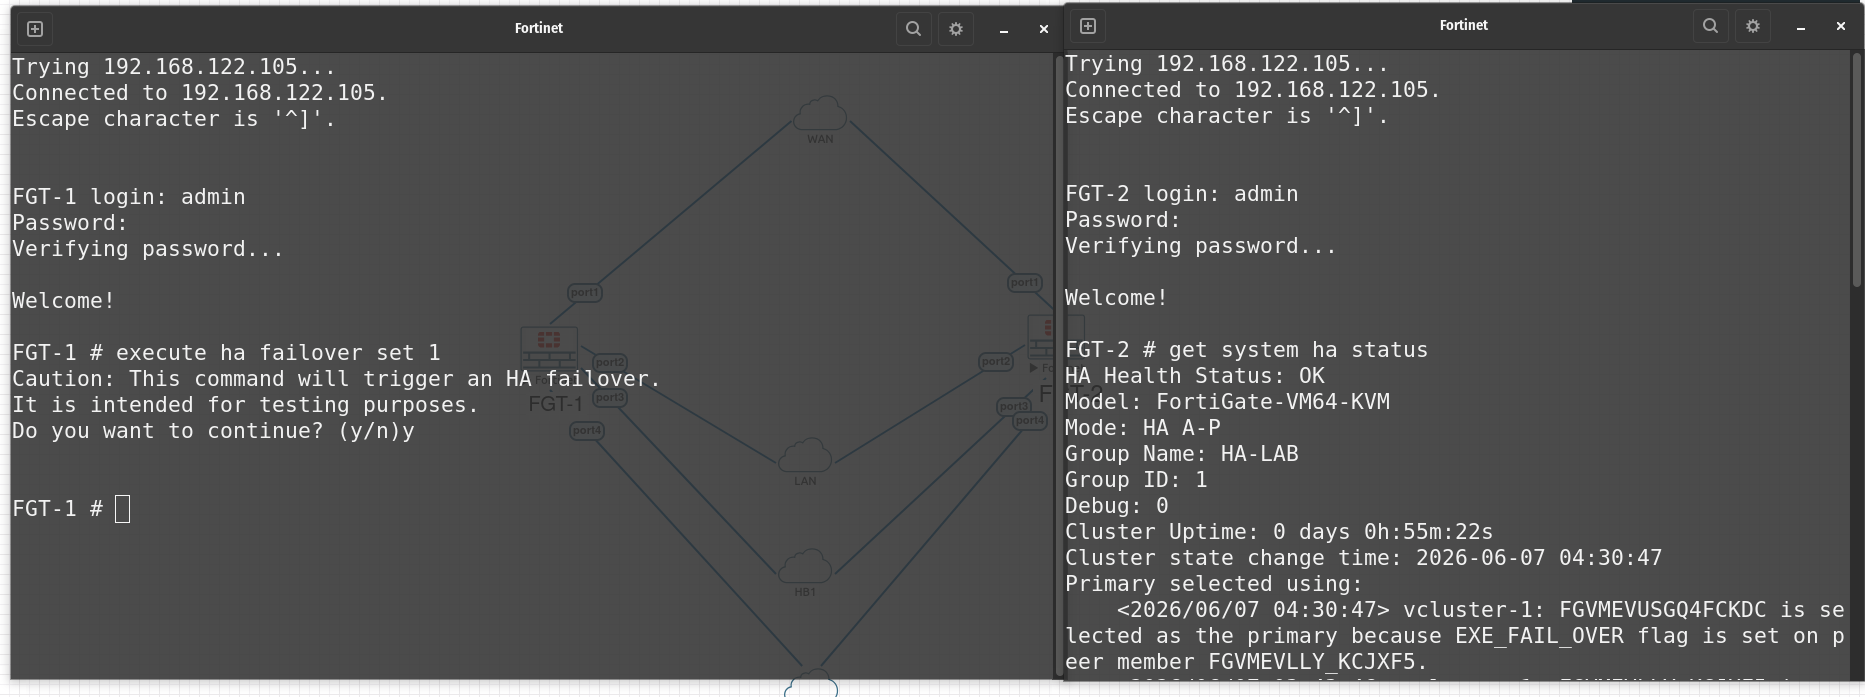

We can see above that FGT-2 is now the primary. Due to the failover the secondary was elected to the primary.
This proves to us that the HA has been configured correctly and is working as intended to do so.
Now we can move FGT-1 back to the primary.
FGT-1
execute ha failover unset 1
Now check the status on FGT-1
get system ha status
We can see now that FGT-1 has been switched back to the Primary.